
talpia-3
This article, completely original, is copyrighted by its author, me. Please do not reproduce it.
本文为原创作品,作者 Kolyn090 拥有其著作权,受法律保护。严禁复制、转载、仿冒或以任何形式使用。
Category: Tutorial
Prerequisite: Basic Python
Now I have an editor that can depict colorful pixel arts, but sadly there is no way to preserve the works yet. Therefore, that will be what I am going after today - to save artworks.
There are plenty of formats to choose from when it comes to saving an image. This time I will choose .PNG format because it’s widely used and supports transparency.
The pillow library is a great choice for this task. Its Image module supports converting a numpy array into a wide range of image formats, including .PNG format.
![]()
Credit: pillow
The official website of pillow
To install pillow, run this command in terminal
pip install pillowNext is the NumPy library. This library also plays a crucial role in my ML journey. This time I am only going to use its array object.
![]()
Now I have everything needed for today’s goal. But before that, I’d like to explain how the image is going to be saved in a bit more detail.
First of all, let’s get back to the grid system. Within a grid, there are pixels. Most importantly, each pixel stores one color. In this case, the pixels are aligned in such a way that it forms a 2D image.
![]()
This system can be perfectly converted into a “2D array” with each item in the array storing one color. Here comes something confusing. Each color is stored as a list. So instead like previously what we have discussed
# Example (Don't copy)
# Decimal code
 R    G    B
(255, 255, 255)
or
# Example (Don't copy)
# Hex code
 R G B
#FFFFFF
Now it’s
# Example (Don't copy)
# List
 R    G    B
[255, 255, 255]
so basically it turns into a list of 3 integers, with each integer representing a color value.
The next thing is to create a numpy array. In this case, we want a square 2D array with the length of grid. However, below I’ve created a 3D array instead.
from vcolorpicker import getColor
from vcolorpicker import rgb2hex
import tkinter as tk
import numpy as np

base_height = 800
base_width = 600
theme_color = '#383838'
canvas_len = 512
outline_width = 2
grid_len = 16
sqsize = canvas_len / grid_len
color = '#FFFFFF'
arr = np.zeros([grid_len, grid_len, 3], dtype=np.uint8)
This is because each element is a list of 3 integers, to be more precise, 3 unsigned 8-bit integers. Imagine we have three grids stack on the top of each other.
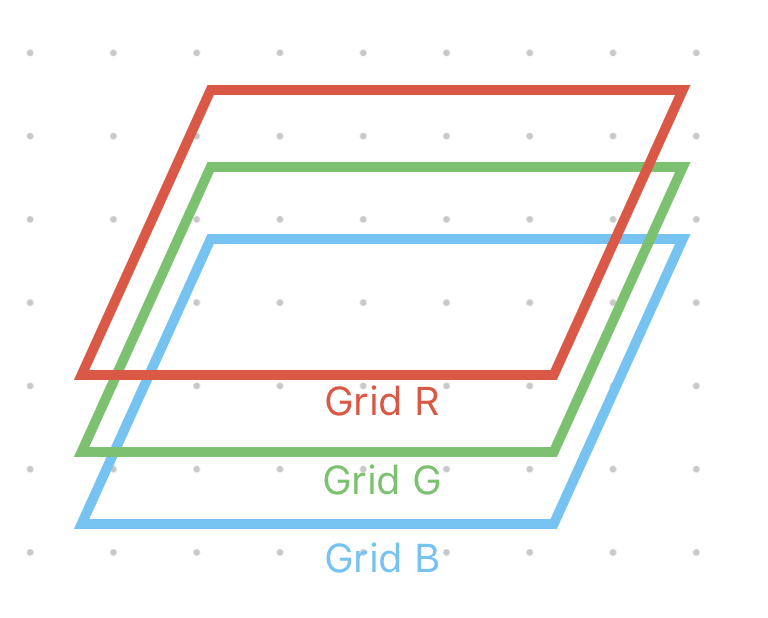
An alternative way to understand this is to imagine a 8 by 8 by 3 Rubik’s cube. Each piece contains a single number ranged from [0, 255]
Notice that an element in the array is not a piece; an element is 1 by 1 by 3 whereas a piece is 1 by 1 by 1, which means that an element is a stack of 3 pieces, representing a full RGB code.
To modify the array according to index, i.e.
# Example (Don't copy)
arr[row, col] = [255, 255, 255]
Now go back to the canvas initialization for loop, add the above statement to fill the array with integer 255, which is equivalent to setting the entire canvas to color white.
for row in range(grid_len):
    for col in range(grid_len):
        x0 = row * sqsize + 3
        y0 = col * sqsize + 3
        rect = OnePixel(canvas, row, col,
                        x0, y0, sqsize, 'gray', outline_width)
        arr[row, col] = [255, 255, 255]
Now it’s a good time to visit another old friend, OnePixel. Here, I modified its set_color() function so that arr will be updated whenever a pixel is painted. In this way, array can track every pixel on the canvas.
from vcolorpicker import getColor
from vcolorpicker import rgb2hex
from vcolorpicker import hex2rgb
import tkinter as tk
import numpy as np

class OnePixel:
    def __init__(self, m_canvas, pixel_row, pixel_col,
                 start_x, start_y, size, outline, width):
        self.canvas = m_canvas
        self.id = self.canvas.create_rectangle((start_x,
                                                start_y,
                                                start_x + size,
                                                start_y + size),
                                               fill="white",
                                               outline=outline,
                                               width=width)
        self.canvas.tag_bind(self.id, "<ButtonPress-1>", self.set_color)
        self.row = pixel_row
        self.col = pixel_col

    def set_color(self, event=None):
        self.canvas.itemconfig(self.id, fill=color)
        m_rgb = hex2rgb(color[1:])
        arr[self.row, self.col] = [m_rgb[0], m_rgb[1], m_rgb[2]]
Finally, to save arr as .PNG format.
from vcolorpicker import getColor
from vcolorpicker import rgb2hex
from vcolorpicker import hex2rgb
from PIL import Image
import tkinter as tk
import numpy as np

base_height = 800
base_width = 600
theme_color = '#383838'
canvas_len = 512
outline_width = 2
grid_len = 16
sqsize = canvas_len / grid_len
color = '#FFFFFF'
arr = np.zeros([grid_len, grid_len, 3], dtype=np.uint8)


def save_arr_as_png():
    modified_arr = np.rot90(arr, k=1)
    modified_arr = np.flip(modified_arr, axis=0)
    image = Image.fromarray(modified_arr)
    image.save("talpia.png")
Notice that if you forgot to add the first two lines in the function, you will get a result flipped in the diagonal line. For example
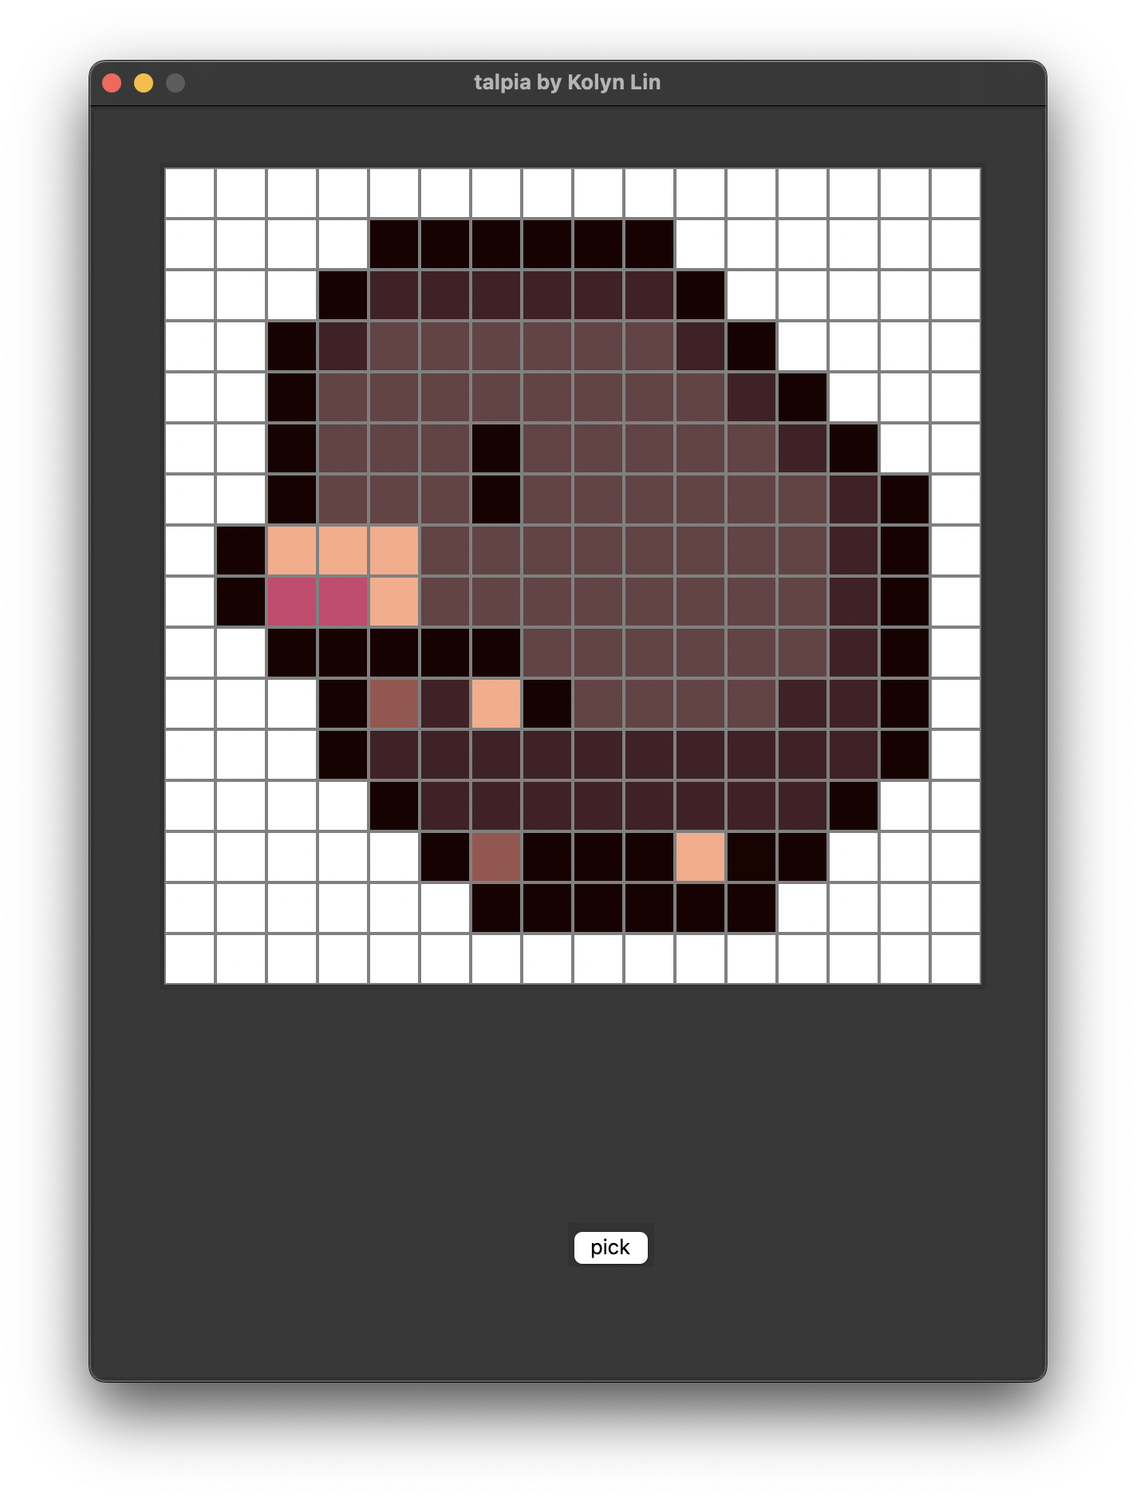
You drew this.
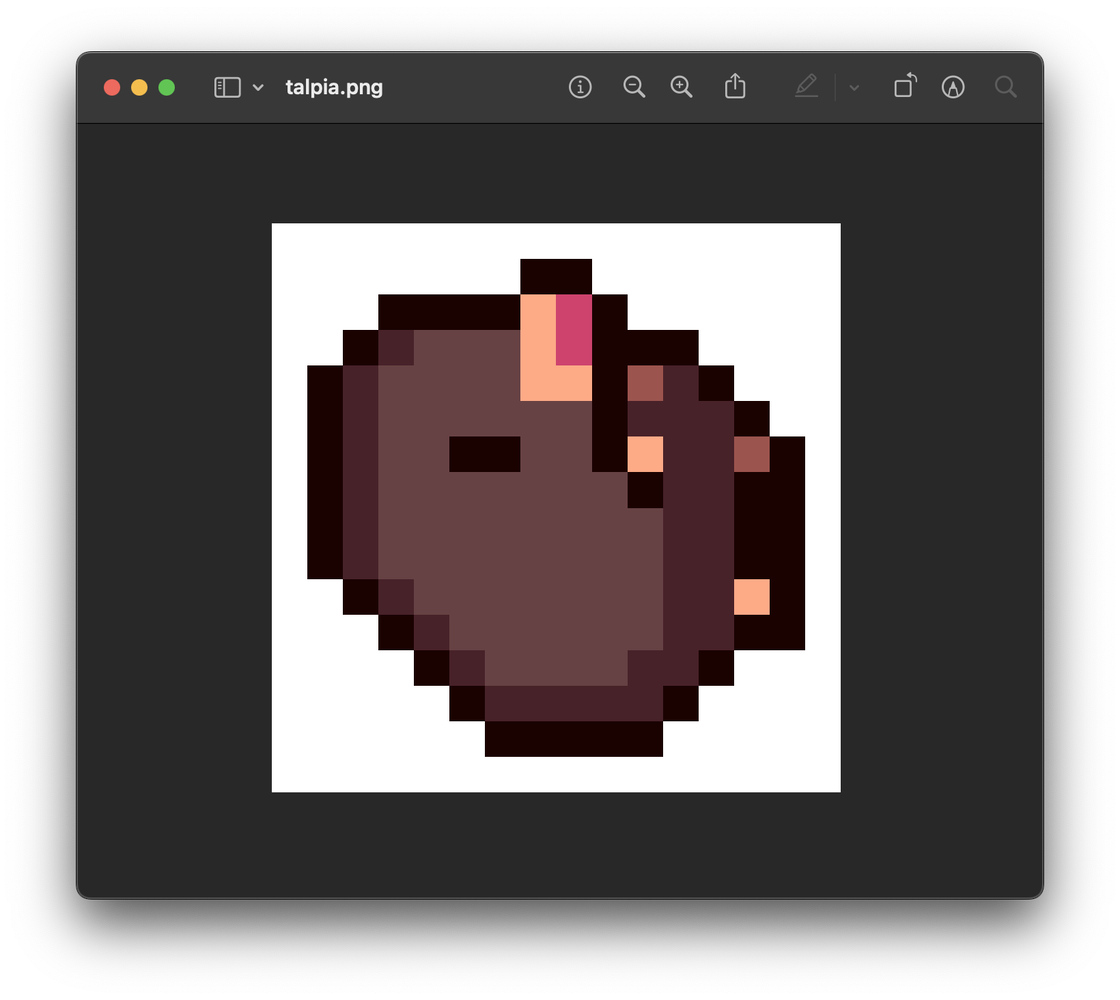
However, it would be saved like this, so be sure to add those two lines.
Now, the only thing left to do is to create a button that invokes this function.
button3 = tk.Button(base,
                    text='save',
                    command=save_arr_as_png)
button3.config(width=2, height=1)
button3.place(x=base_width / 2 - 200, y=700)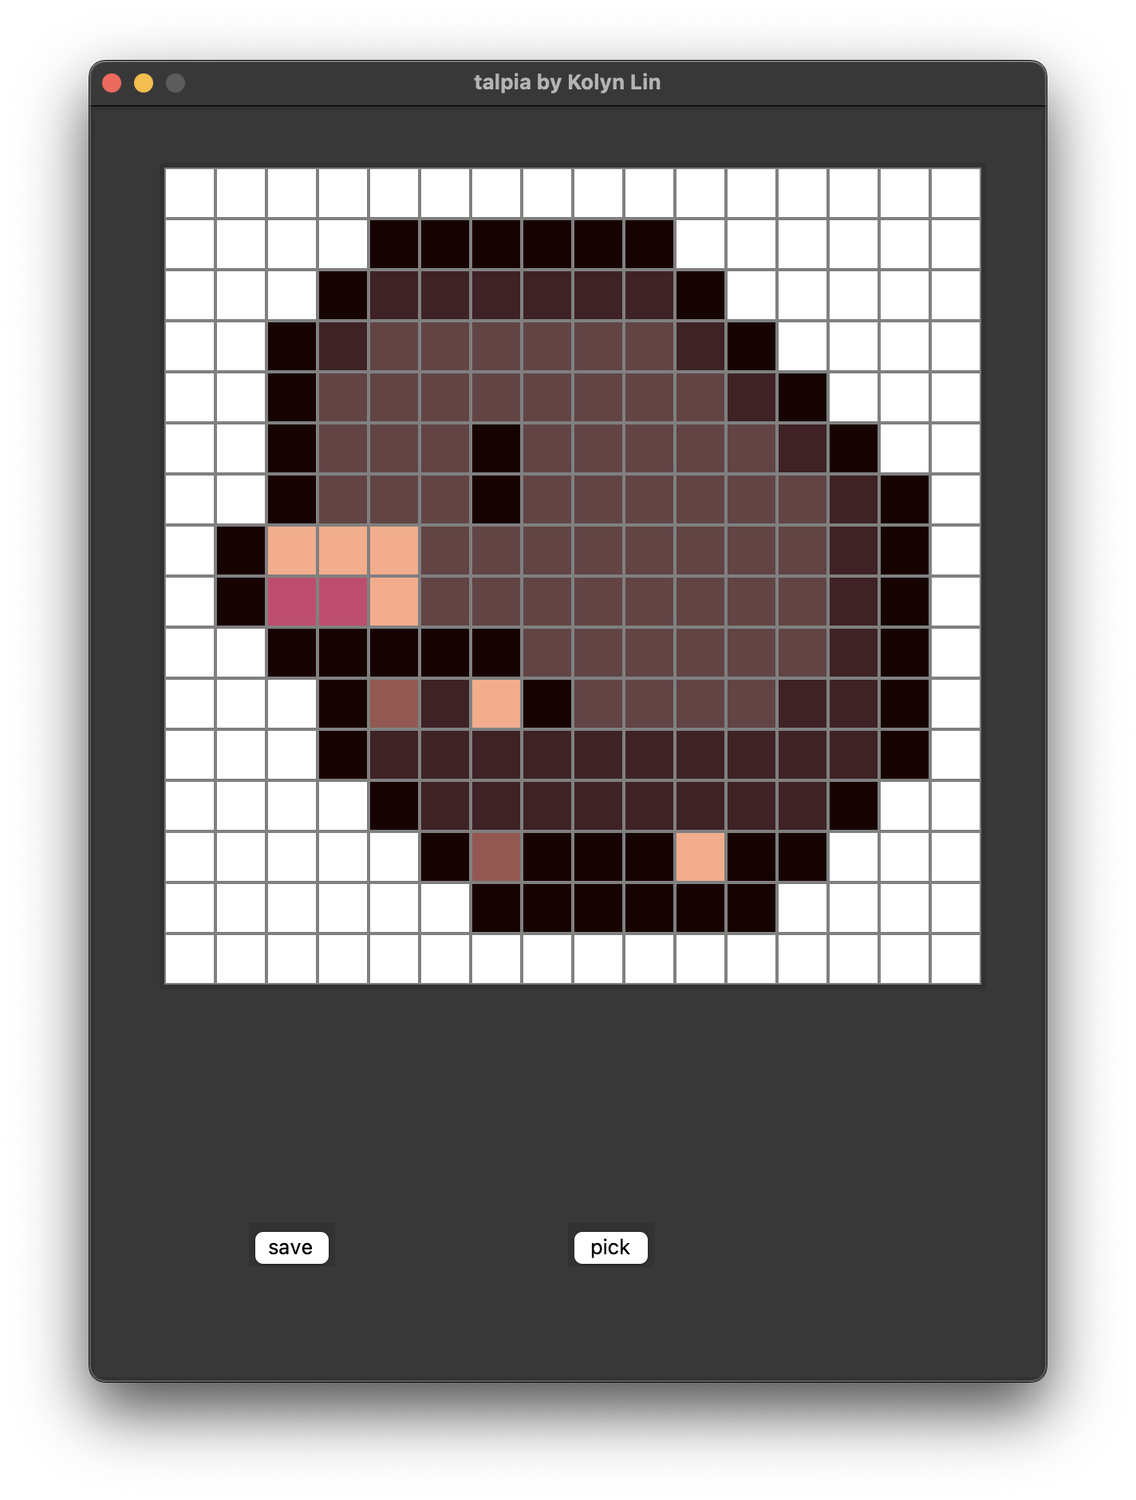
After saving, get
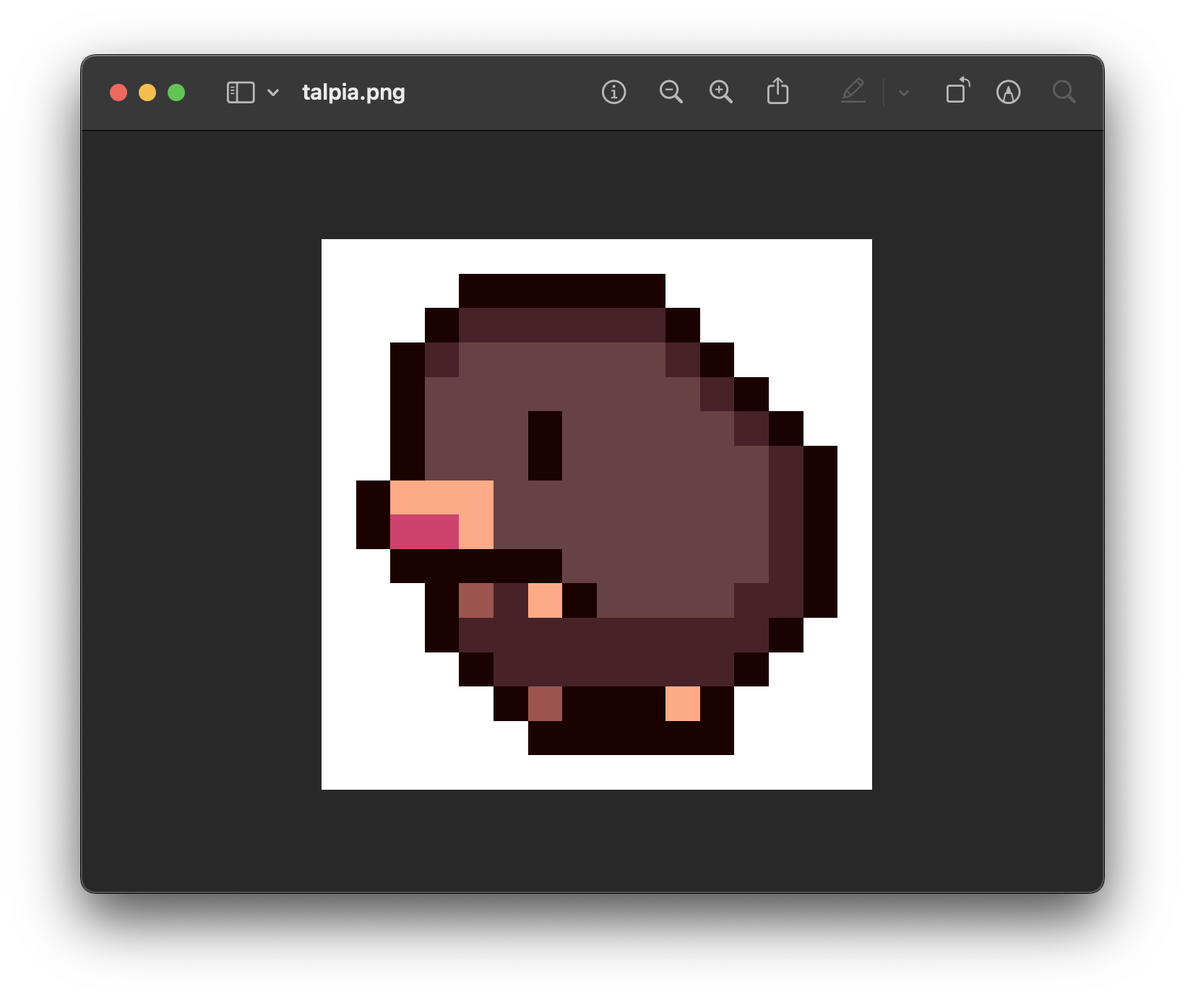
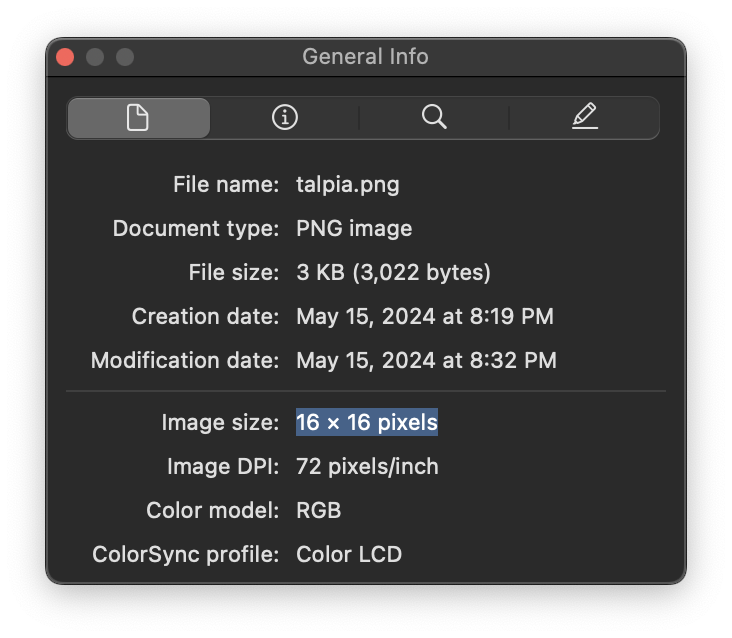
Awesome!
Find the code on my GitHub page, under the part_3 directory.
If you liked this tutorial, consider giving a Star to this repository or a Like to the original post.
🍯 Happy Coding 🍯
👉 Read next: talpia-4
This article, completely original, is copyrighted by its author, me. Please do not reproduce it.
本文为原创作品,作者 Kolyn090 拥有其著作权,受法律保护。严禁复制、转载、仿冒或以任何形式使用。