
talpia-1
This article, completely original, is copyrighted by its author, me. Please do not reproduce it.
本文为原创作品,作者 Kolyn090 拥有其著作权,受法律保护。严禁复制、转载、仿冒或以任何形式使用。
Category: Tutorial
Prerequisite: Basic Python
Python was the first language I learned in school, and it’s a shame that I haven’t coded in Python since my very first CS class. Recently, I’ve gotten into ML, so I decided to pick up Python again. In my experience, doing projects is the fastest way to gain knowledge of a programming language. This time, I chose to replicate the dotpict! pixel art editor.
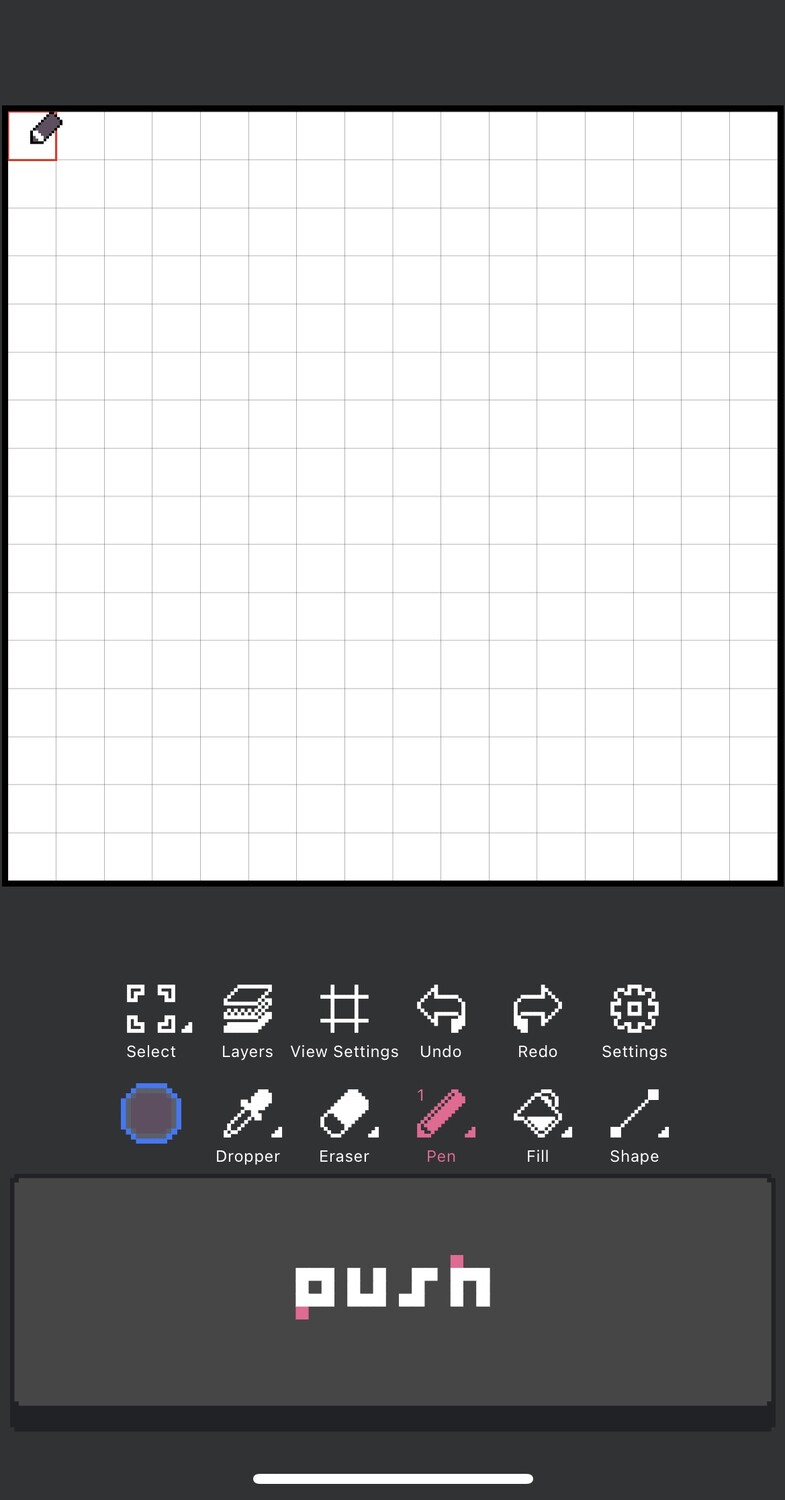
Credit: dotpict!
![]()
Credit: Google Play
It’s an app that allows users to draw pixel art (of course). It used to be my favorite pixel art editor until I purchased Aseprite, but dotpict! still has its advantages over Aseprite, such as being free, showcasing user artwork, and working on phones. I can say that dotpict! is a great starting point for pixel art.
So, what do I need to make this editor? The first thing that comes to mind is choosing a good Python GUI framework. After a quick Google search, I found the following
![]()
Credit: Stack Overflow
After playing with the framework and python, I was able to create a window and put a canvas inside it.
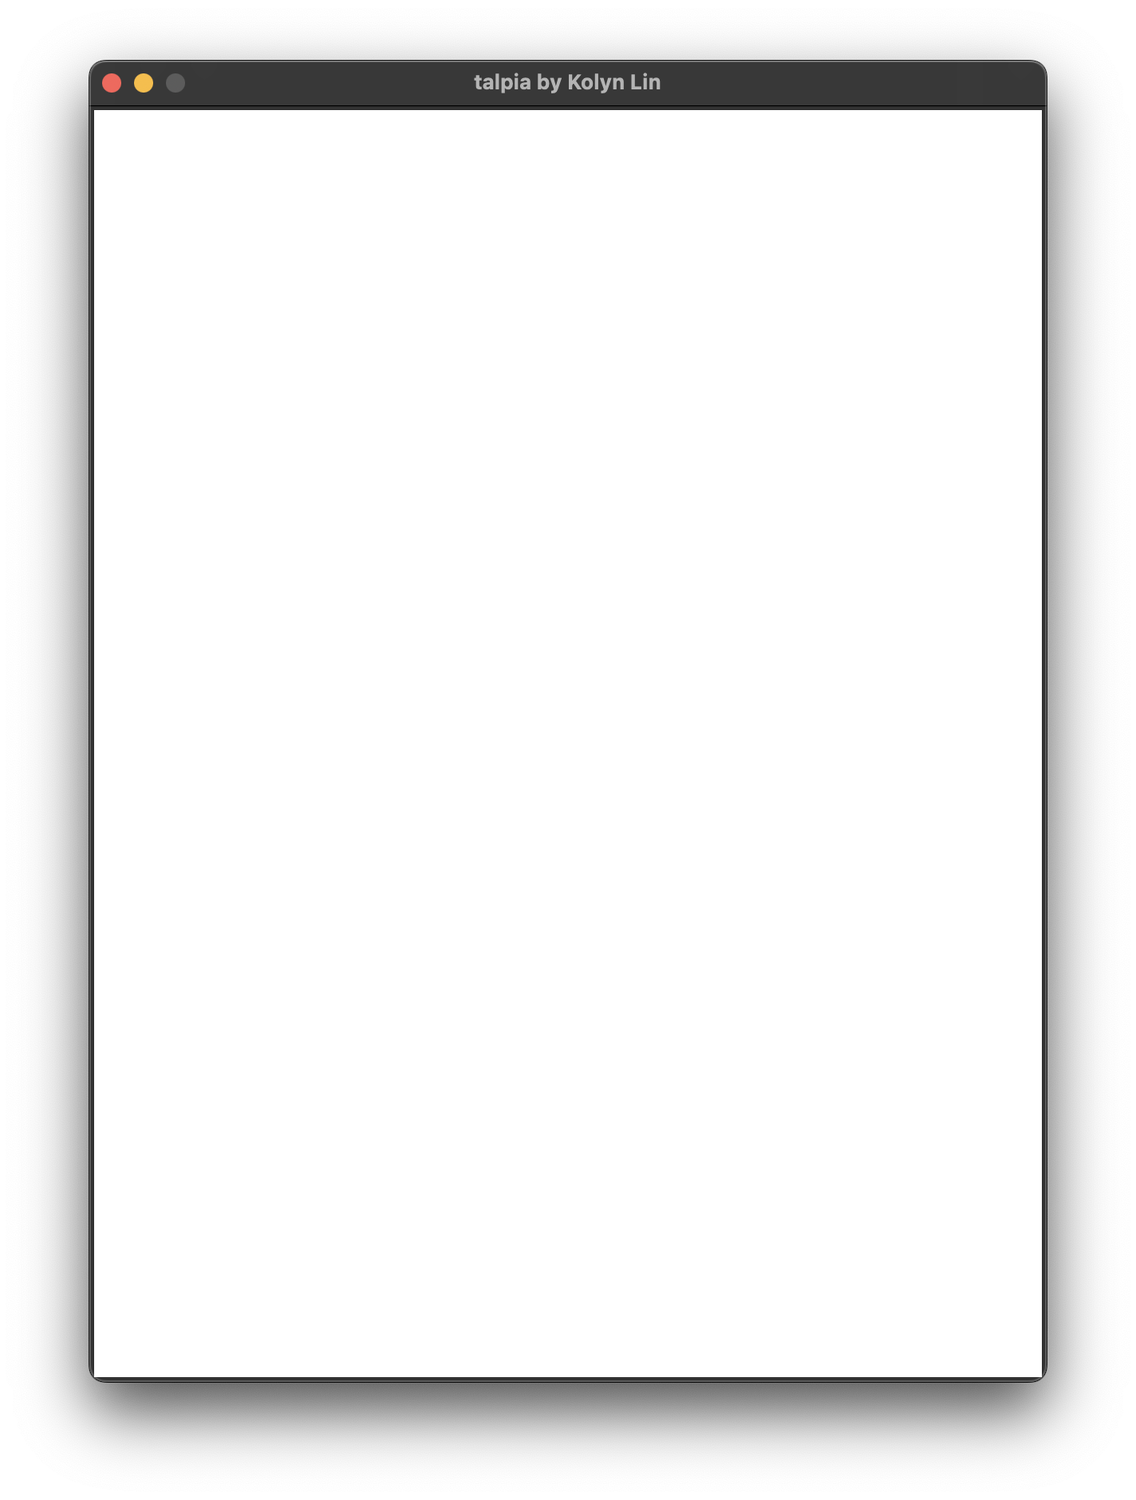
import tkinter as tk

window = tk.Tk()
window.title('talpia by Kolyn Lin')
window.geometry(f"{600}x{800}")

base = tk.Canvas(window, bg='#FFFFFF')
base.config(width=600, height=800)
base.pack()

window.mainloop()
I think this is quite similar to Java’s swing framework, which I have more experience with.
// Java (Don't copy)
JFrame window = new JFrame();
window.setOpacity(1f);
window.setDefaultCloseOperation(WindowConstants.EXIT_ON_CLOSE);
window.setTitle("talpia by Kolyn Lin");
window.setSize(600, 800);

Container container = window.getContentPane();
container.setBackground((new Color(255, 255, 255)));
container.setPreferredSize(new Dimension(600, 800));

window.setVisible(true);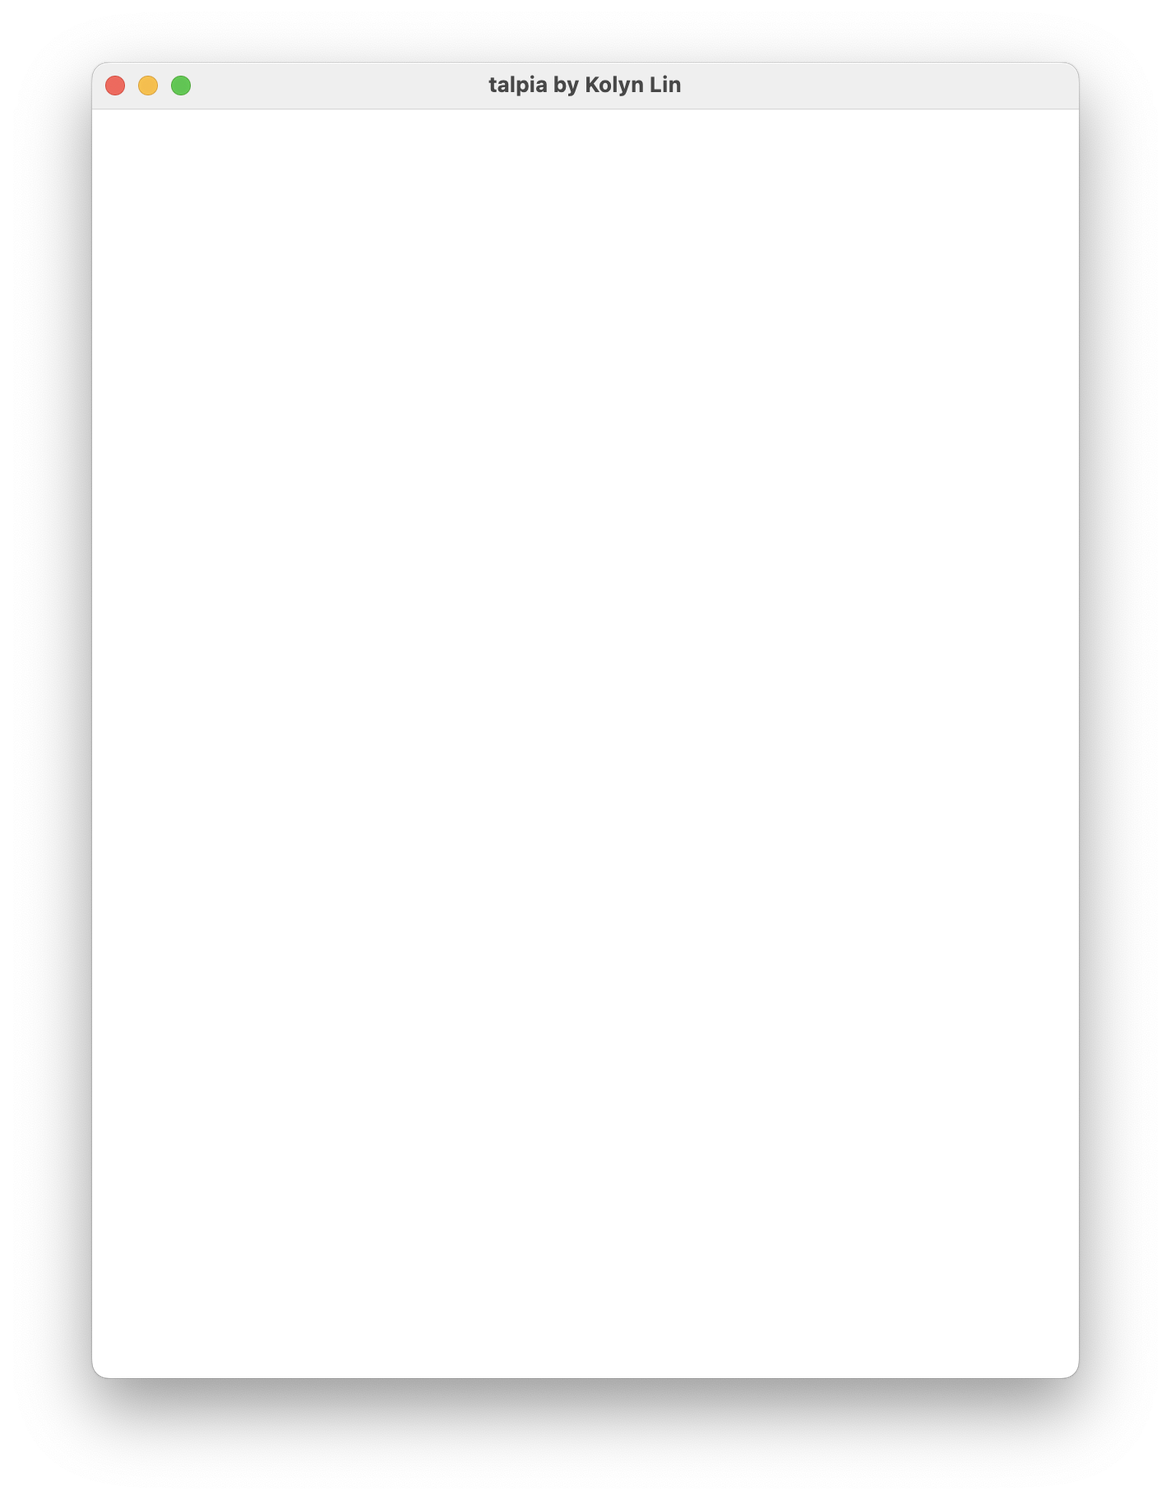
The same thing in Java Swing.
As a good programming practice, I avoid using magic numbers, so I decided to replace the integers with variables. Additionally, I made the theme color a variable as well.
import tkinter as tk

base_height = 800
base_width = 600
theme_color = '#FFFFFF'

window = tk.Tk()
window.resizable(False, False)
window.title('talpia by Kolyn Lin')
window.geometry(f"{base_width}x{base_height}")

base = tk.Canvas(window, bg=theme_color)
base.config(width=base_width, height=base_height)
base.pack()
One thing I’m still not getting used to is that there is literally nothing next to python variables besides the assignment—no type, no var. Come to think of it, I found it strange that UMass Boston was teaching their first year CS majors python and there is no type indications in python. Types are fundamental in programming!
OK, back to the editor. Now I realize that I need a canvas. I know that a pixel art canvas can be created using squares, so naturally, I should start by learning how to draw a square.
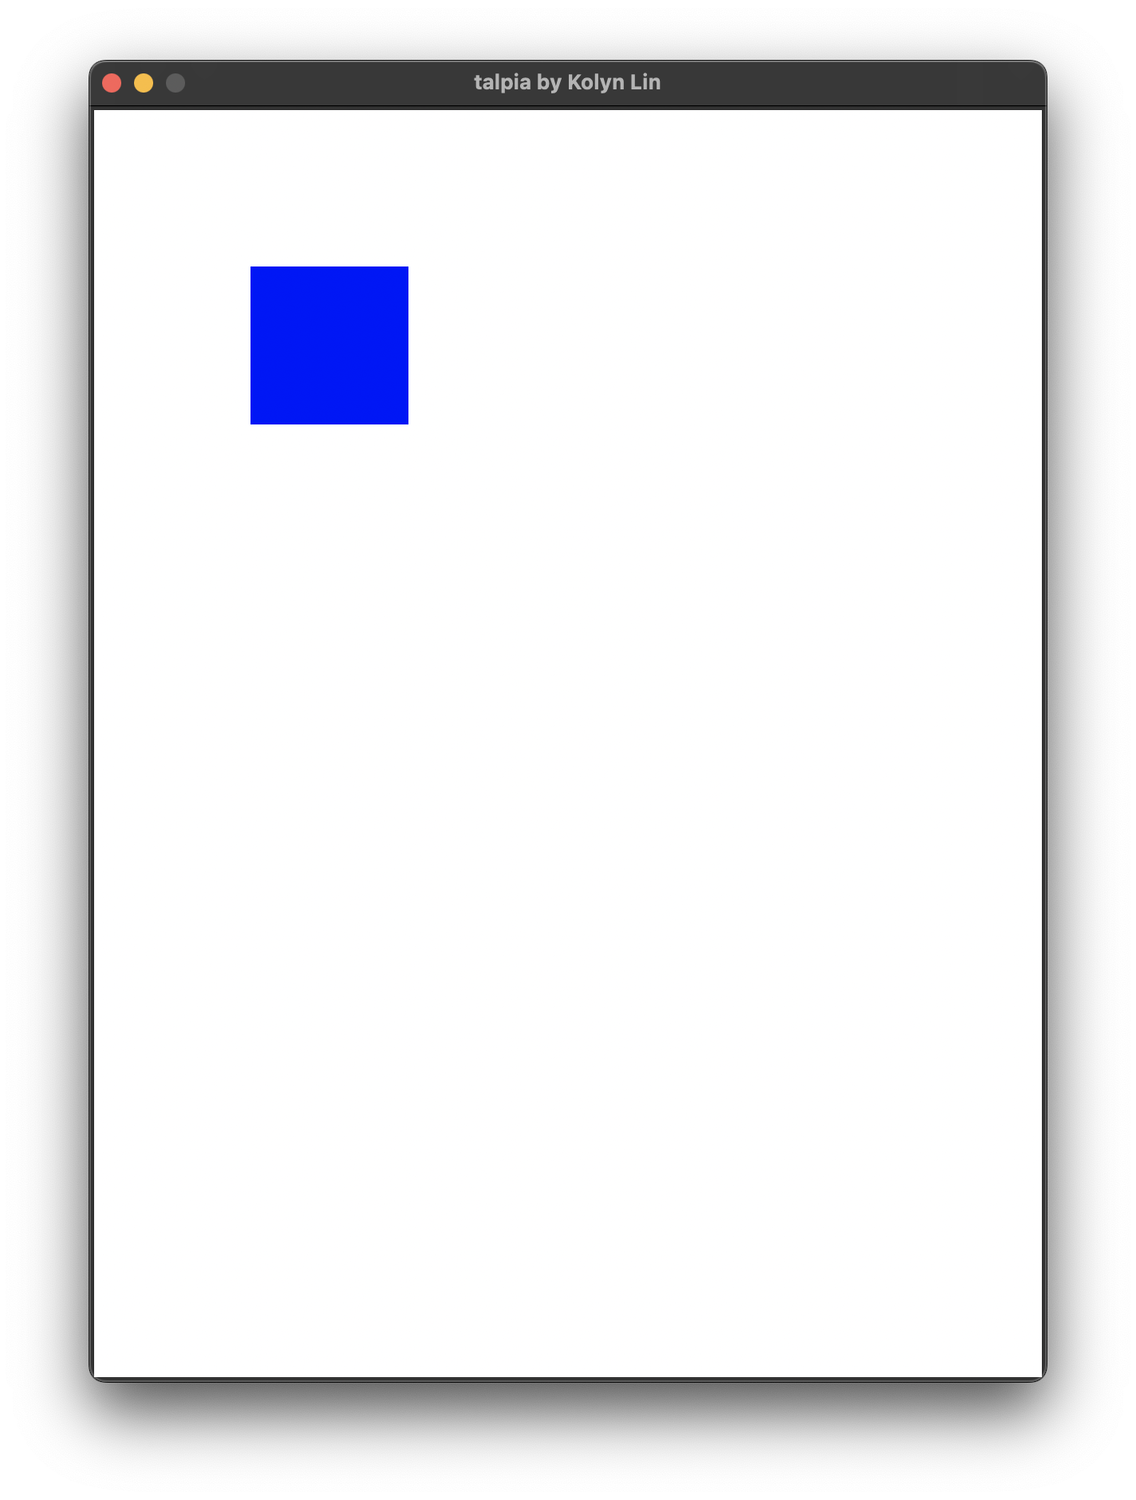
# Example (Don't copy)
rect = base.create_rectangle((100, 100, 200, 200), fill='blue')
Result
I found this to be interesting. Rather than defining width and height for a rectangle, tkinter uses two points to represent it.
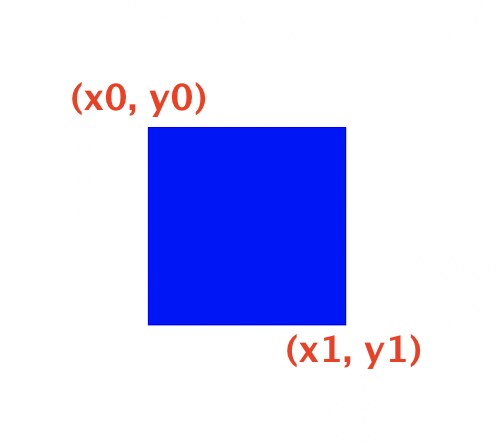
In tkinter, it is actually
# Example (Don't copy)

                              x0   y0   x1   y1
rect = base.create_rectangle((100, 100, 200, 200), fill='blue')
Whereas in Java Swing, we explicitly specify the width and height. However, since this is a post about Python, I won’t be posting Java examples.
Having learned how to create a single square, the next logical step is to create a grid. A double for-loop is the best choice for this. However, before that, I need to define the area where the canvas will be placed.
import tkinter as tk
base_height = 800
base_width = 600
theme_color = '#383838'
canvas_len = 512
window = tk.Tk()
window.resizable(False, False)
window.title('talpia by Kolyn Lin')
window.geometry(f"{base_width}x{base_height}")
base = tk.Canvas(window, bg=theme_color)
base.config(width=base_width, height=base_height)
base.pack()
canvas = tk.Canvas(base, bg='white')
canvas = config(width=canvas_len, height=canvas_len)
canvas.place(x=(base_width-canvas_len)/2,
y=(base_height-canvas_len)/8)
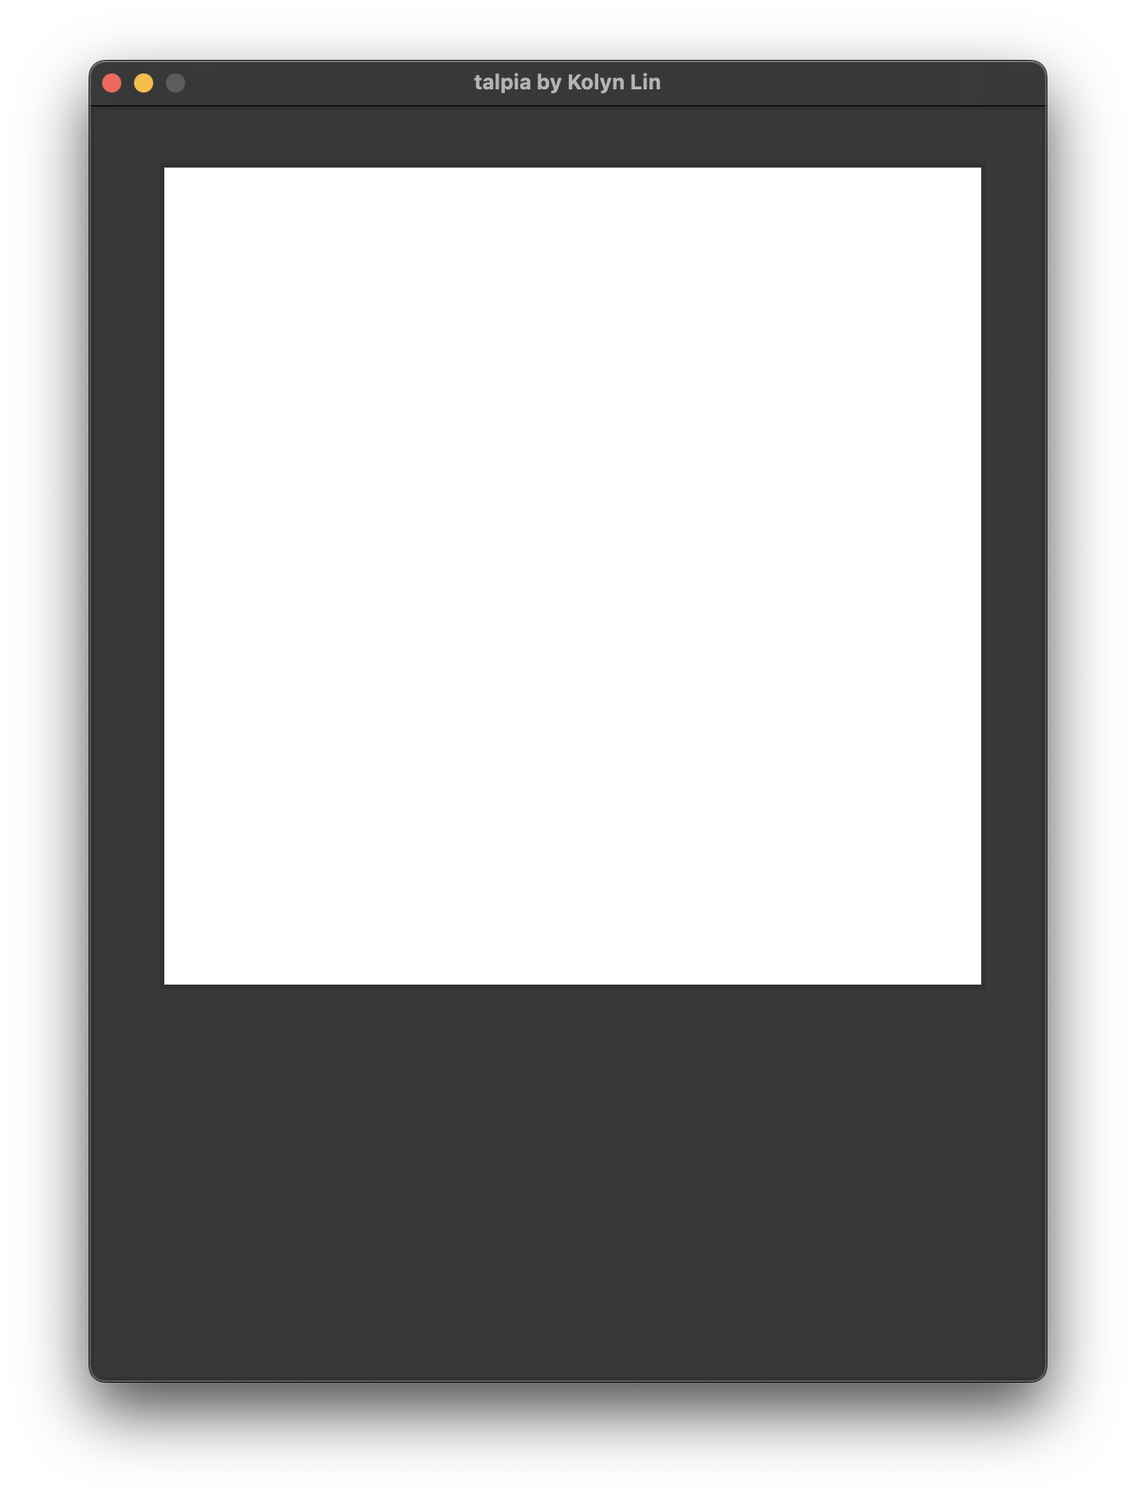
window.mainloop()Here I’ve re-assigned the theme color to #383838 (Dark gray), created a Canvas called canvas and put it inside the base Canvas (canvas inside canvas). Now it looks like the following
Great! The next to do is to put squares inside it. I would like to use the square’s outline color to resemble a grid. Like this
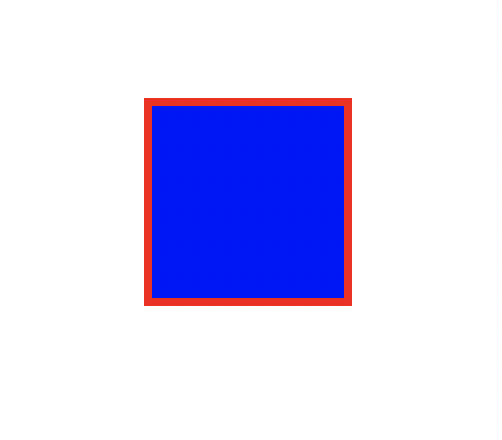
But we want the inner color to be white and outline color to be light gray. After adjusting the outline width, we get
Now I will define a few more variables.
import tkinter as tk
base_height = 800
base_width = 600
theme_color = '#383838'
canvas_len = 512
outline_width = 2
grid_len = 4
sqsize = canvas_len / grid_len
window = tk.Tk()
window.resizable(False, False)
window.title('talpia by Kolyn Lin')
window.geometry(f"{base_width}x{base_height}")
base = tk.Canvas(window, bg=theme_color)
base.config(width=base_width, height=base_height)
base.pack()
canvas = tk.Canvas(base, bg='white')
canvas = config(width=canvas_len, height=canvas_len)
canvas.place(x=(base_width-canvas_len)/2,
y=(base_height-canvas_len)/8)
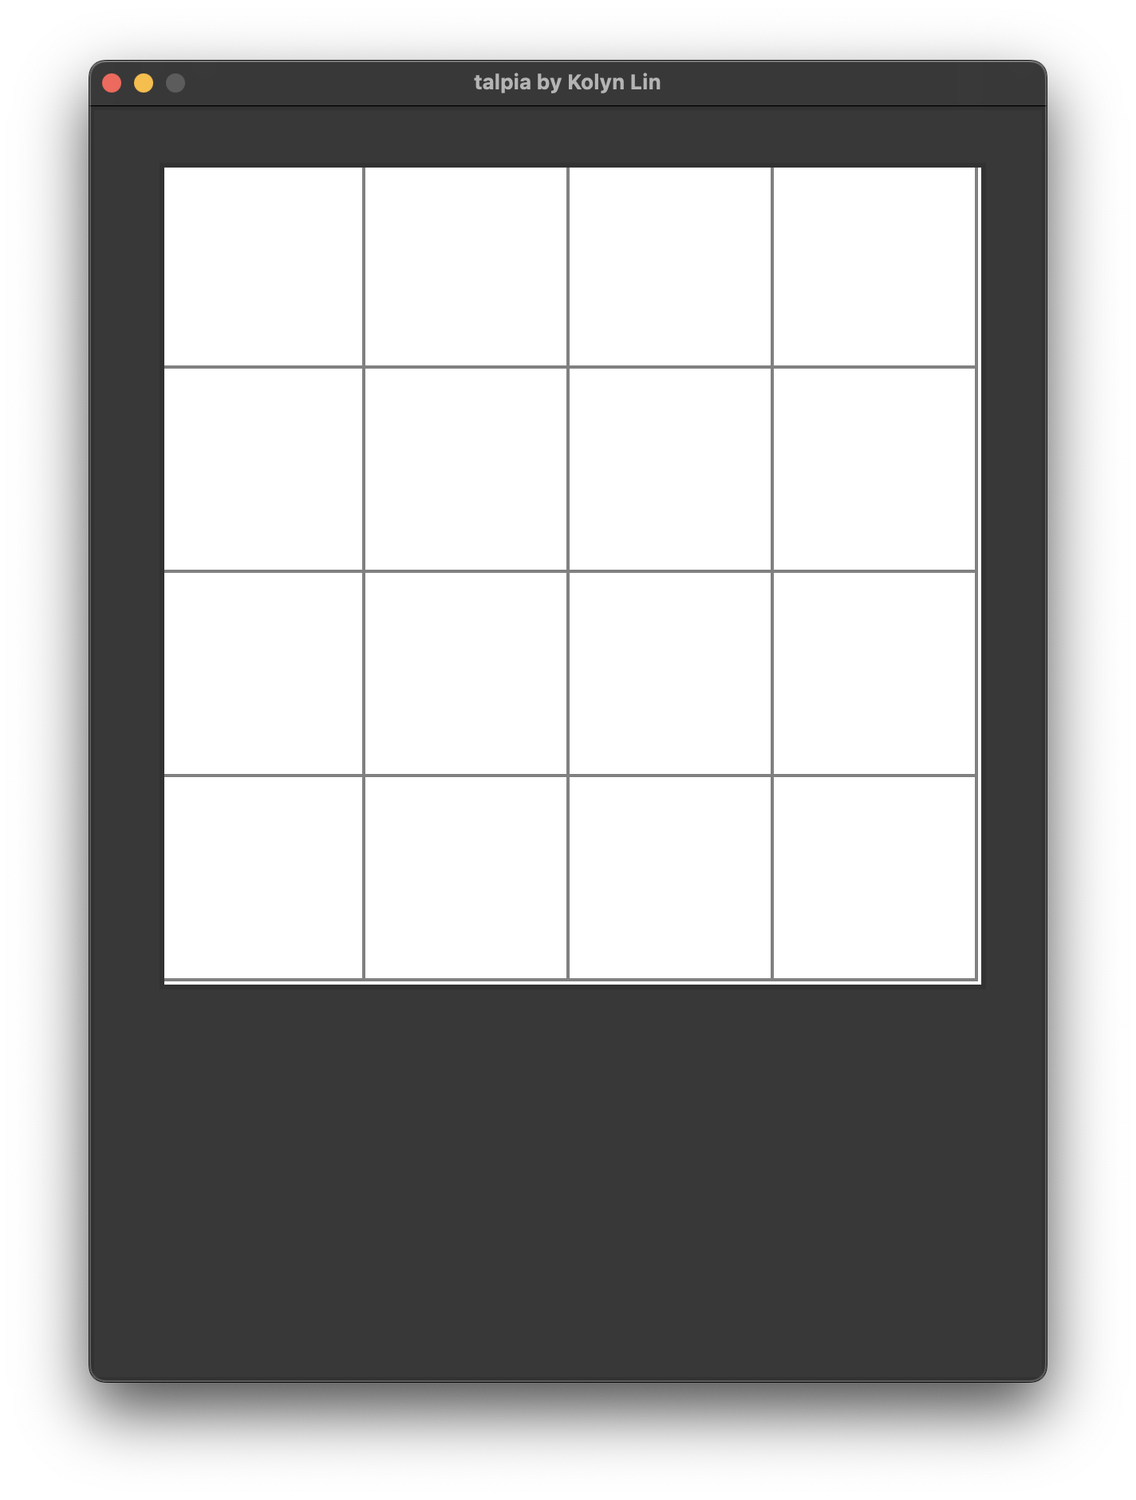
window.mainloop()To create a grid, I’ll use a double for-loop to create squares. Our code is getting long here so I’ve chosen to omit some contents.
for row in range(grid_len):
for col in range(grid_len):
x0 = row * sqsize
y0 = col * sqsize
x1 = (row+1) * sqsize
y1 = (col+1) * sqsize
rect = canvas.create_rectangle((x0, y0, x1, y1),
fill='white',
width=2,
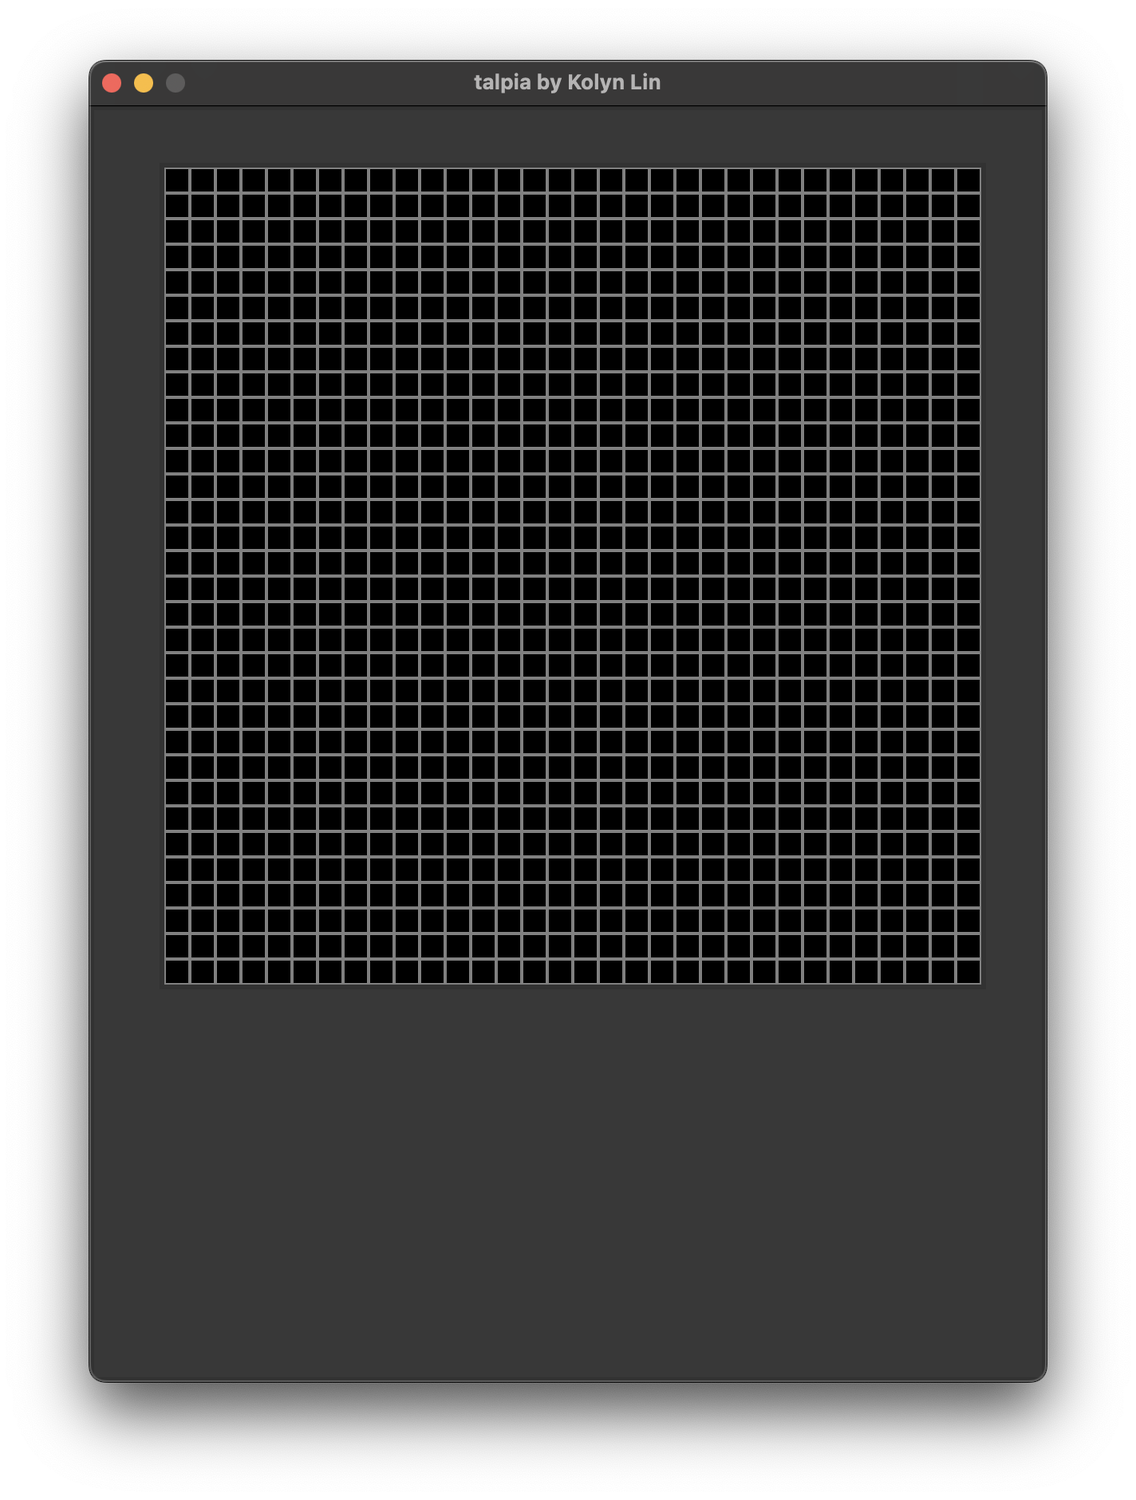
outline='gray')Now we have the grid!
The grid is a little off the margin. After a bit trial-and-errors, I found out that moving every square to (3, 3) solves the problem.
for row in range(grid_len):
    for col in range(grid_len):
        x0 = row * sqsize + 3
        y0 = col * sqsize + 3
        x1 = (row+1) * sqsize+3
        y1 = (col+1) * sqsize+3
        rect = canvas.create_rectangle((x0, y0, x1, y1),
                                       fill='white',
                                       width=2,
                                       outline='gray')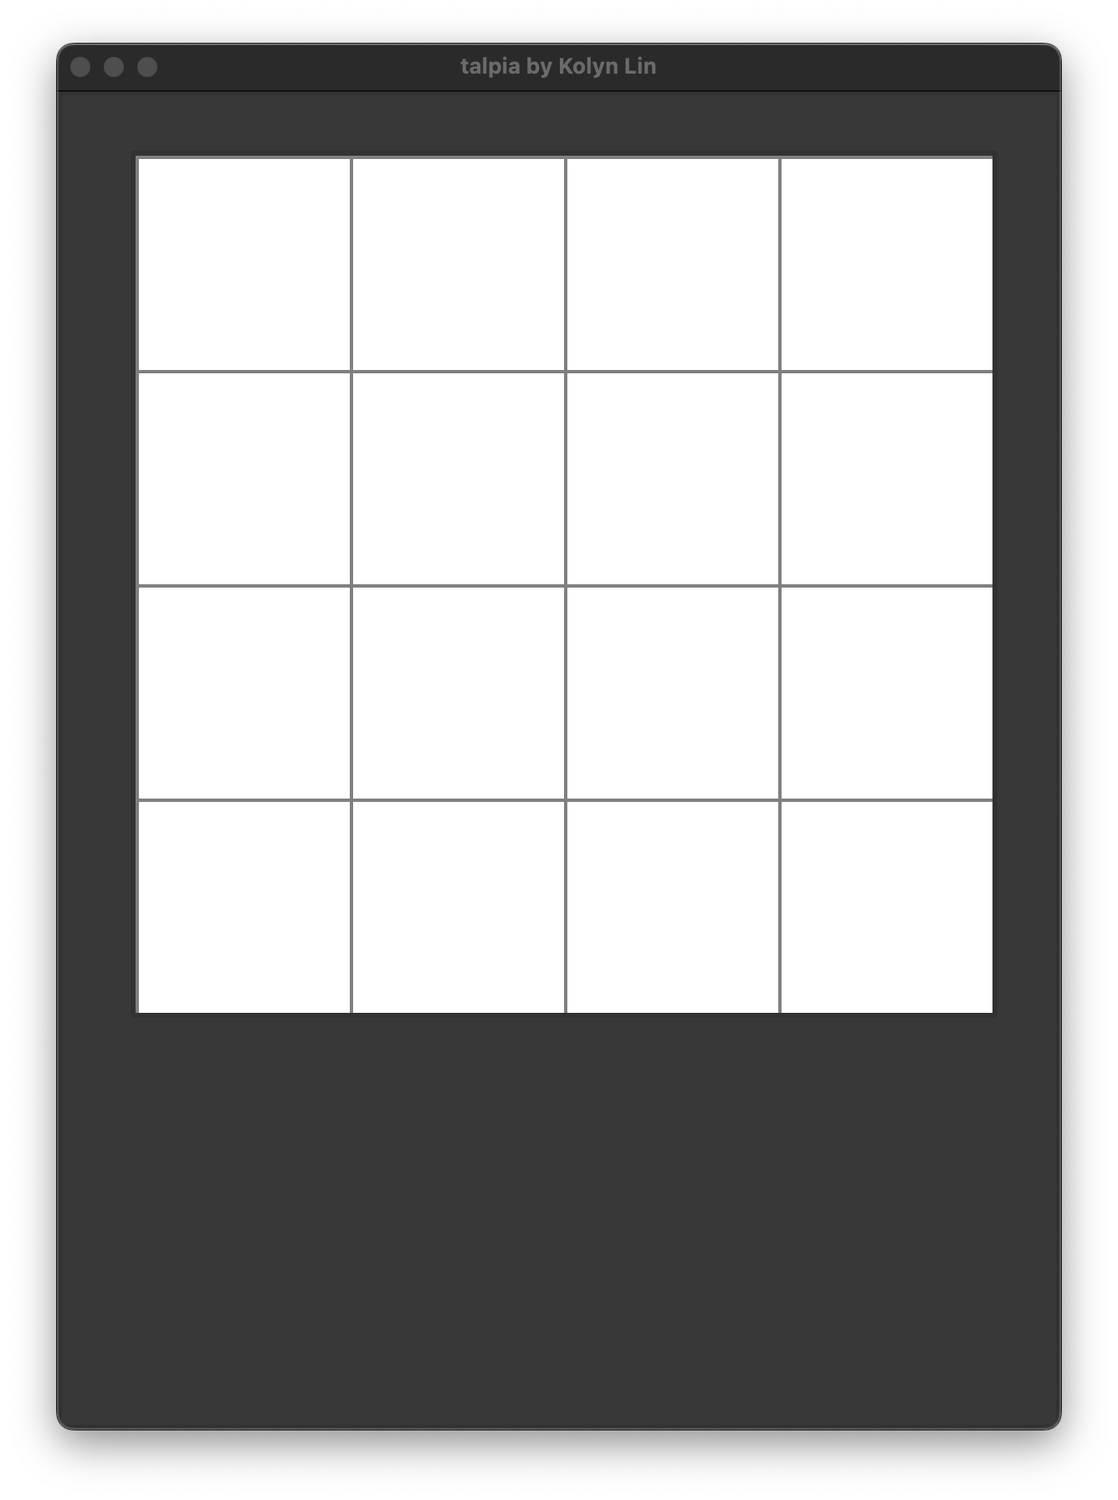
This method works when the outline width equals to 2. After trying, I found it hard to tell when the grid is going to perfectly fit into the canvas. In this case, it is. If I modify the grid to 32 x 32
base_height = 800
base_width = 600
theme_color = '#383838'
canvas_len = 512
outline_width = 2
grid_len = 32
sqsize = canvas_len / grid_len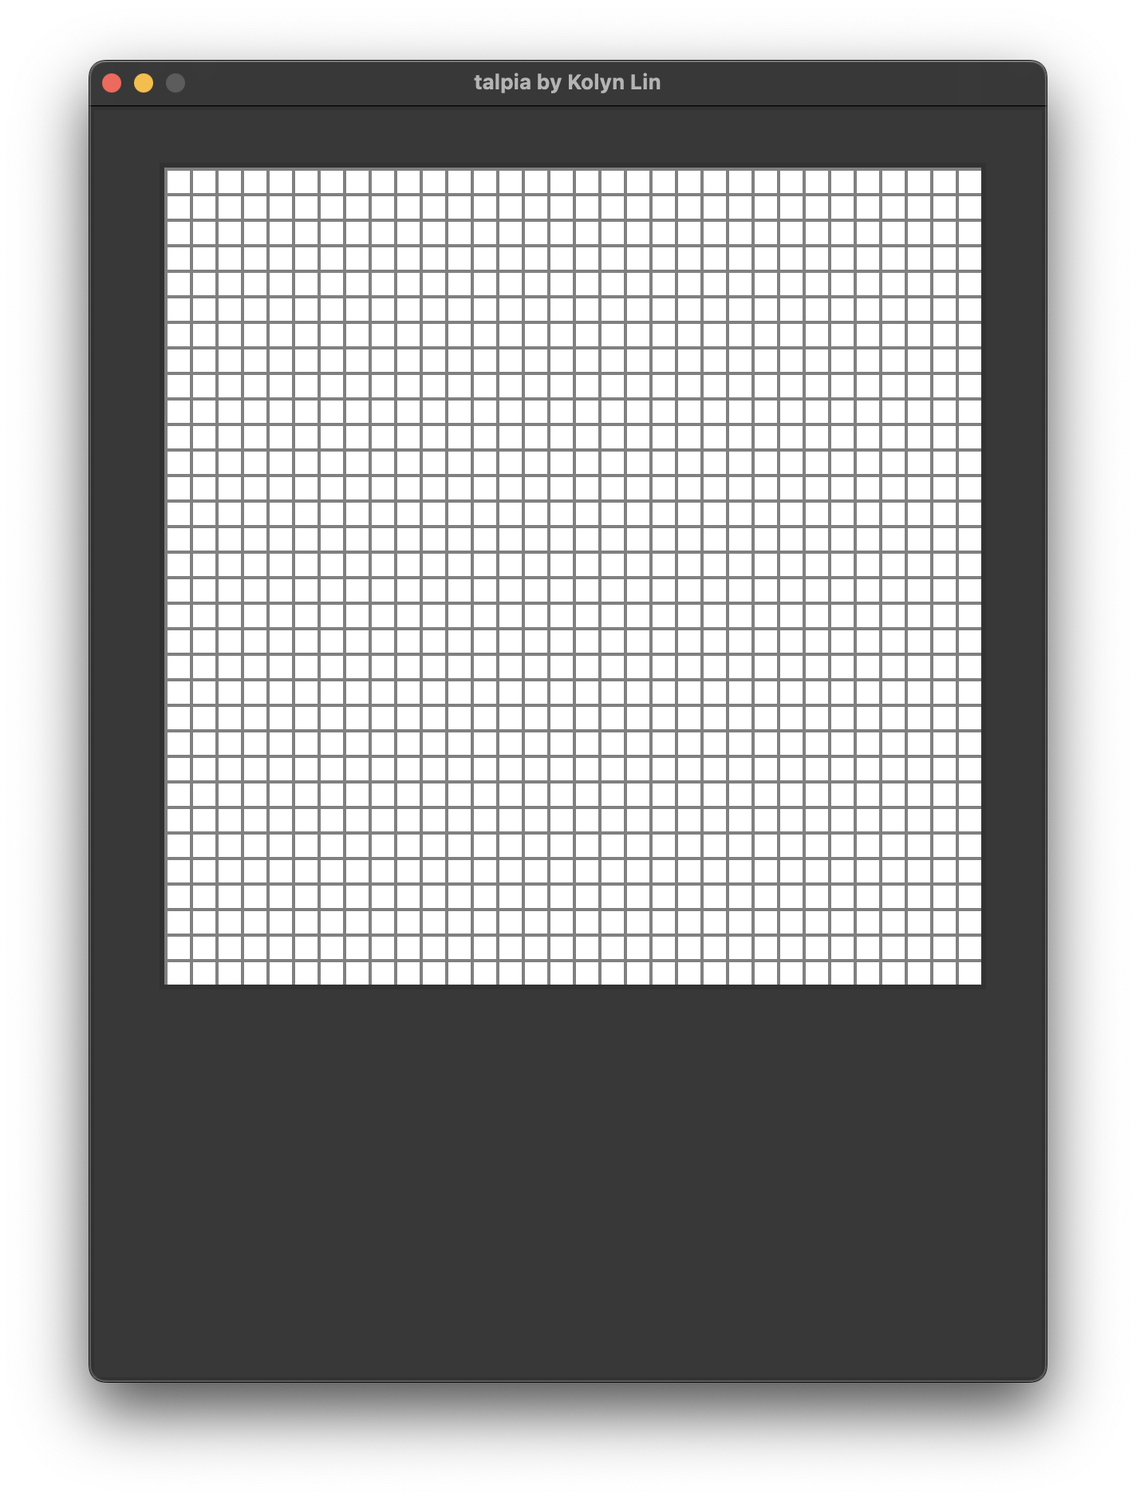
It still fits perfectly. Anyway, my purpose is not to determine the ultimate solution to fit the grid into the canvas so I will continue making the editor.
The next thing I want to do is to actually color a square by clicking on it. It can be done using tag_bind().
# Example (Don't copy)
canvas.tag_bind(rect, "<ButtonPress-1>", clicked)
I grabbed this from here.
Now I define a set_color() function to replace the clicked() function,
# Example (Don't copy)
def set_color(*args):
    canvas.itemconfig(args[0], fill='black')
By the way, itemconfig is from here
Then I pass this function into tag_bind().
# Example (Don't copy)
canvas.tag_bind(rect, "<ButtonPress-1>", set_color)
After I run it, I found that it doesn’t work and everything stays the same after I click on a square.
Maybe I forgot the parameters?
# Example (Don't copy)
canvas.tag_bind(rect, "<ButtonPress-1>", set_color(rect))
I was greeted with this.
After more online surfing, I found this, then I made some modifications to the class OneSquare which was suggested in the answer.
class OnePixel:
    def __init__(self, m_canvas, pixel_row, pixel_col,
                 start_x, start_y, size, outline, width):
        self.canvas = m_canvas
        self.id = self.canvas.create_rectangle((start_x,
                                                start_y,
                                                start_x + size,
                                                start_y + size),
                                               fill="white",
                                               outline=outline,
                                               width=width)
        self.canvas.tag_bind(self.id, "<ButtonPress-1>", self.set_color)
        self.row = pixel_row
        self.col = pixel_col

    def set_color(self, event=None):
        self.canvas.itemconfig(self.id, fill='black')
Great! Now instead of creating a rectangle, I can create a square.
for row in range(grid_len):
for col in range(grid_len):
x0 = row * sqsize + 3
y0 = col * sqsize + 3
rect = OnePixel(canvas, row, col,
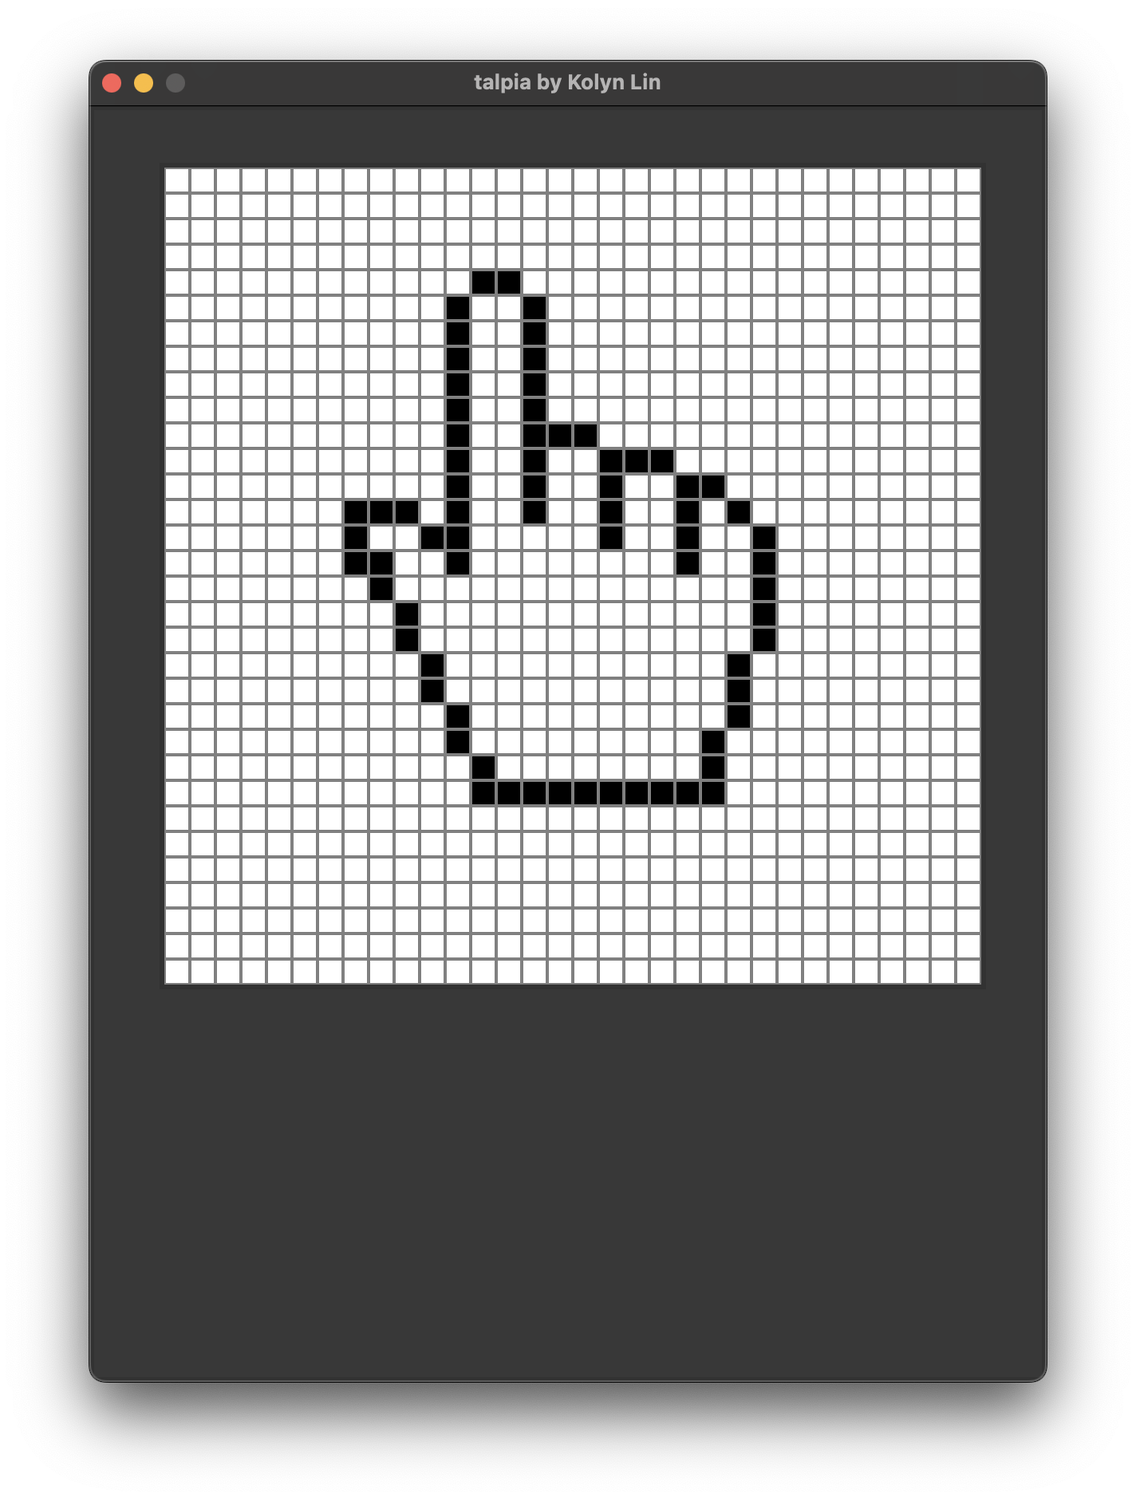
x0, y0, sqsize, 'gray', outline_width)Moreover, now I can paint black color.
Thank you for reading. Stay tunned for update!
Reference image credit: Wikipedia
PS: This article was originally named “Returning to python-1”.
I decided to give this project a name to make myself (a little) more motivated. You can find the code on my GitHub page, under the part_1 directory.
If you liked this tutorial, consider giving a Star to this repository or a Like to the original post.
🍯 Happy Coding 🍯
👉 Read next: talpia-2
This article, completely original, is copyrighted by its author, me. Please do not reproduce it.
本文为原创作品,作者 Kolyn090 拥有其著作权,受法律保护。严禁复制、转载、仿冒或以任何形式使用。