
Reading allies and skills cooldown
This article, completely original, is copyrighted by its author, me. Please do not reproduce it.
本文为原创作品,作者 Kolyn090 拥有其著作权,受法律保护。严禁复制、转载、仿冒或以任何形式使用。
Category: Tutorial
Platform: Windows
Prerequisite: Basic Python, read this article
Introduction
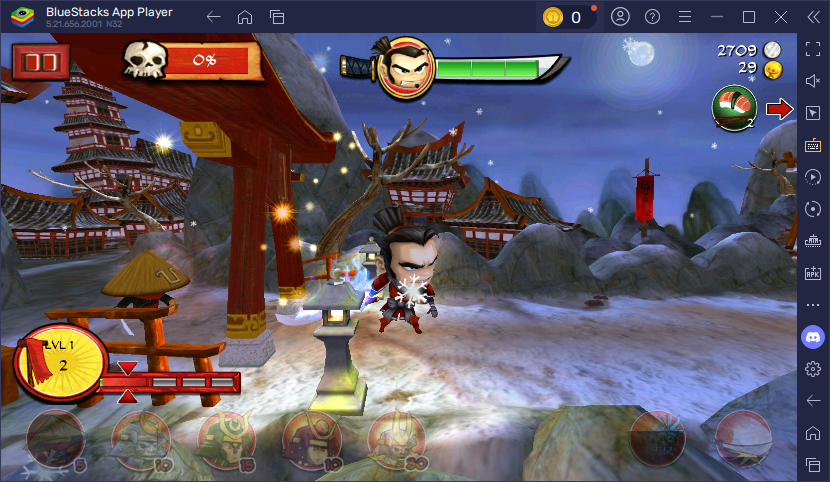
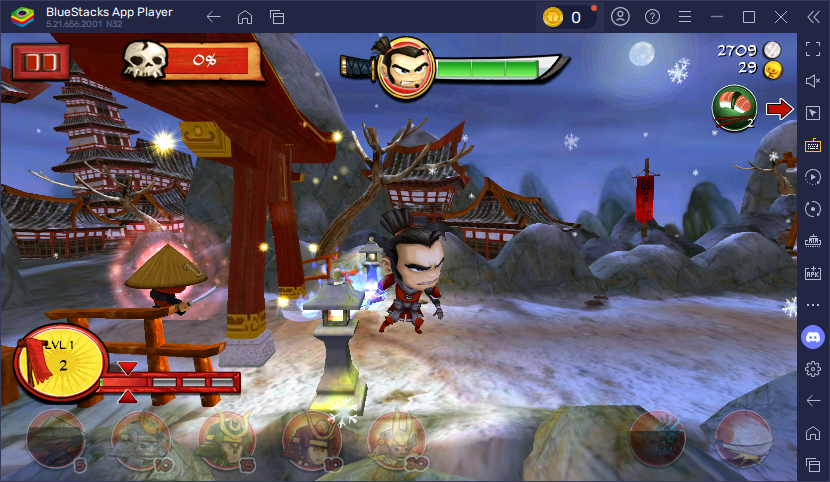
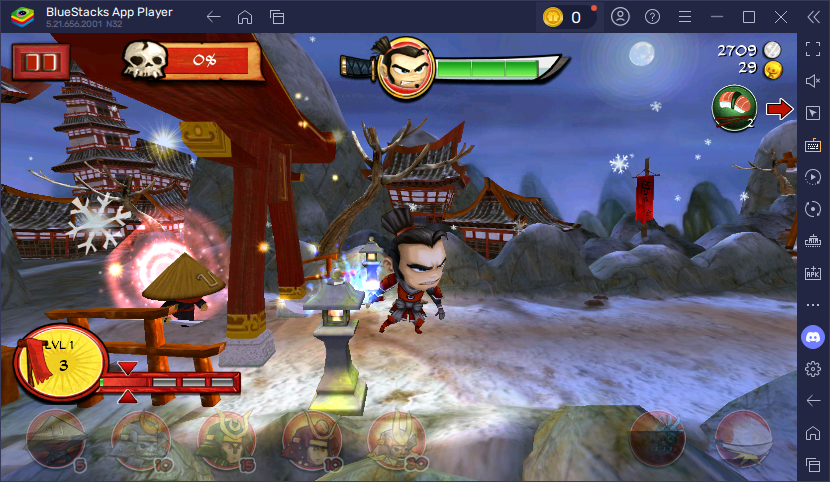
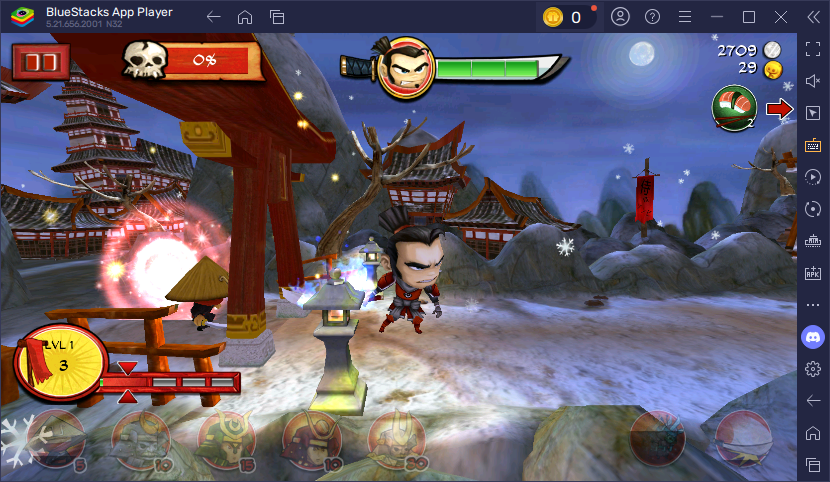
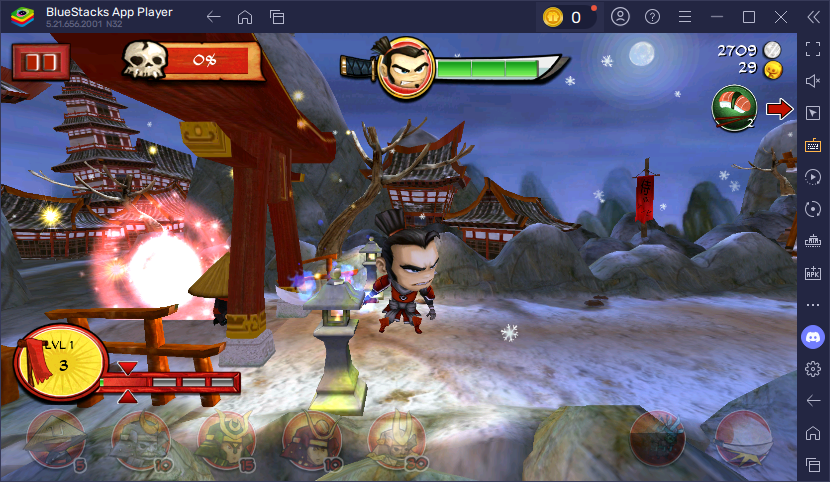
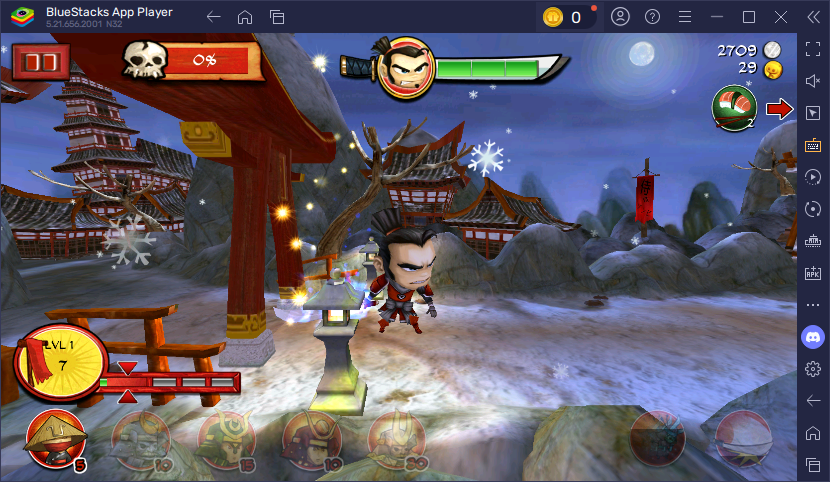
Today we’ll being reading the cooldown values of allies and skills in SvZ defense. The word ‘cooldown’ in a game generally means to recharge for the next use. In this case, an ally will be put to cooldown after an deployment. A skill will be put to cooldown after a cast. When an ally is in cooldown, you won’t be able to deploy the same ally. When a skill is in cooldown, you won’t be able to cast it. You will have to wait until the cooldown is over, and the waiting time is what we are interested today.
To be more specific, we need to extract the cooldown value from in-game icons.
![]()
![]()
![]()
![]()
![]()
![]()
Notice in this example, on the left we have just got into cooldown. On the right we have the cooldown over. The less dark overlay area the closer is being done.
The Plan
I have tried many ways to implement for this problem. They can be boiled down to two things: getting approximations (fast & enough for AI training) and getting the exact values (more accurate but slower). In this tutorial I will teach you how to get the exact values because it’s harder to do and could be more useful if you intend to use the technique on other games.
Maybe it was a little arrogant to say ‘getting the exact values’. Image processing cannot get you there. Ultimately we are still trying to get approximations. BTW getting the exact values is even more difficult in SvZ defense because the icons are transparent when put to cooldown. You’ll see what I mean by that…
Enough of that. Now let’s get to the plan. Based on observations we can see that the icons are all circular. Since we will be working with the icon heavily, it’s better to crop out the circular region.


We are also looking for a value (a percentage) to indicate how close the cooldown is getting to done. Since we know that the less dark overlay area the closer it’s getting to done, we can say that the progress is 0% if it’s entirely covered with dark overlay. The progress is 100% if there is no dark overlay.
Now we have transferred our problem. We need to get the dark overlay area. So our steps to solve this problem can be written as:
1 . Crop out the region of icon.
2 . Crop again to keep only the circular region.
3 . Get the dark overlay region area and perform some calculations to get the ratio between dark overlay area and the entire icon (the percentage of progress).
Step 1
Before we get start, we will create some new folders and files. Under ai, create the following.
ai
|___ player_hp
|    |___ ...
|___ read_digit
|    |___ ...
|___ read_cd
|    |___ debug
|    |___ test_images
|    |___ reader.py
|___ config.toml
|___ ui_position.py
I will also provide testing images this time. Drag the following screenshots to test_images.
After you did that we can start adding some code now. In read_cd/reader.py, put
import os
import cv2
import glob
import numpy as np
from PIL import Image, ImageDraw
from src.util.screen_getter import get_chosen_region_cv2, get_window_with_title, get_chosen_region
from src.ai.ui_position import ally1_cd, ally2_cd, ally3_cd, ally4_cd, skill1_cd, skill2_cd

class Reader:
    def __init__(self, window):
        self._window = window
        self.debug = False

    def extract(self, bound, image, index=0):
        # Step 1
        # cd_image = get_chosen_region(self._window, bound)
        cd_image = Image.open(image)
        cd_image = cd_image.crop(bound)

        if self.debug:
            cd_image.save(f'debug/crop/{index}.png')
        return 0
🤓 Notice that in extract(), we are only accepting image and index for debugging purposes.
Next put these in ui_position.py.
ally1_cd = [26, 410, 85, 468]
ally2_cd = [112, 412, 171, 470]
ally3_cd = [197, 410, 256, 468]
ally4_cd = [282, 412, 341, 470]
skill1_cd = [629, 411, 685, 466]
skill2_cd = [714, 411, 771, 466]
🤓 These are the bounds of the icons. They are rectangular.
Write the driver code to test our current code.
if __name__ == '__main__':
    reader = Reader(None)
    reader.debug = True
    os.makedirs('debug/crop', exist_ok=True)
    read_path = 'test_images/*.png'
    count = 0
    for file_path in glob.glob(read_path):
        print(reader.extract(ally1_cd, file_path, count))
        count += 1
Verify the debug images.


🎉 That was pretty easy.
Step 2
In this step we will further apply cropping to the image for the circular region. We will be drawing the largest possible circle in the rectangle. That’s the reason why my cooldown bounds are to the closest possible. In that way we’ll be getting the best cropping effect.
Now let’s write the function to crop out the circle. Let the diameter to be the minimum between the image’s height and width. Write the following in Reader.
@staticmethod
def _crop_to_circle(image, margin=5):
    width, height = image.size
    # ensure the crop is square
    # subtracts the margin to remove icon frame
    size = min(height-margin, width-margin)
    left = (width - size) // 2
    top = 0
    right = left + size
    bottom = size
    # crop the image to a square
    image = image.crop((left, top, right, bottom))
    # create a circular mask
    mask = Image.new("L", (size, size), 0)
    draw = ImageDraw.Draw(mask)
    draw.ellipse((0, 0, size, size), fill=255)
    # apply the mask to the image
    # include alpha layer (transparency)
    result = Image.new("RGBA", (size, size))
    result.paste(image, (0, 0), mask=mask)
    return result
🤓 You should be able to understand most of these stuff without a problem. The margin parameter shrinks the area you will be keeping in the final image. This is done to remove the icon’s frame, which will affect our calculation if we don’t. The trick here is to use ellipse() to draw a circle (or an ellipse with the same width and height) and apply that as a mask to paste your image to a new image with transparency. The transparency isn't very important here. It’s just nice to look at (because I needed to put images in this tutorial) so feel free to change this to improve performance.
Now we can use this.
def extract(self, bound, image, index=0):
    # Step 1
    # cd_image = get_chosen_region(self._window, bound)
    cd_image = Image.open(image)
    cd_image = cd_image.crop(bound)
    if self.debug:
        cd_image.save(f'debug/crop/crop-{index}.png')

    # Step 2
    circle = self._crop_to_circle(cd_image)
    if self.debug:
        circle.save(f'debug/icons/icon-{index}.png')
    return 0
Also change your driver code.
reader = Reader(None)
reader.debug = True
os.makedirs('debug/crop', exist_ok=True)
os.makedirs('debug/icons', exist_ok=True)
read_path = 'test_images/*.png'
count = 0
for file_path in glob.glob(read_path):
    print(reader.extract(ally1_cd, file_path, count))
    count += 1
Verify your debug images.
![]()
![]()
![]()
![]()
![]()
![]()
🎉 That was also a piece of cake. Here comes the hard part…
Step 3
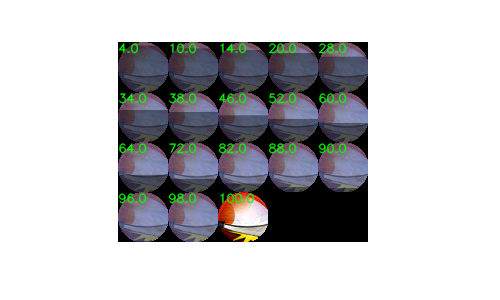
I think it’s easier to just tell you the conclusion first. Here is what we will be trying to achieve.


We will first try to binarize the image in such a way that it divides the area that are covered and not covered by dark overlay area.
After that, we will iterate through the rows of the image. For each row that is completely black, we increment the counter by 1. In the end, the ratio of the dark area is the counter divided by the total number of rows.
Among all the solutions I have tried, this one worked the best to get a good approximation about the cooldown, considering that the image’s background is transparent (meaning it adds a lot unstable factors). However, it still can create some false results, such as in this case the first image kinda shows the dark area is 96% but it will give out around 57% because of that small white curve there…
Anyway, let’s move onto the implementation. In Reader, add
def _get_cd_percentage(self, image, color_enhance=2, binary_threshold=60, index=0):
    def enhance_colors(target: np.ndarray, factor=5) -> np.ndarray:
        target = np.array(target, dtype=np.float32) / 255.0  # normalize

        # apply contrast enhancement
        target = (target - 0.5) * factor + 0.5  # increase contrast

        # clip values to ensure they remain within [0, 1]
        target = np.clip(target, 0, 1)

        # convert back to uint8 (0-255 scale)
        target = (target * 255).astype(np.uint8)

        return target

    image = np.array(image)
    image = cv2.cvtColor(image, cv2.COLOR_BGR2RGB)

    bgr = image[:, :, :3]

    bgr = enhance_colors(bgr, color_enhance)

    gray = cv2.cvtColor(bgr, cv2.COLOR_BGR2GRAY)

    # create a binary mask: Pixels below threshold stay black, others turn white
    _, mask = cv2.threshold(gray, binary_threshold, 255, cv2.THRESH_BINARY)

    if self.debug:
        cv2.imwrite(f'debug/binary_mask/binary-{index}.png', mask)

    dark_rows = np.sum(np.all(mask == 0, axis=1))
    height = mask.shape[0]
    cd_percentage = (1 - black_rows / height) * 100

    return cd_percentage
🤓 For enhance_colors(), you have seen something similar before. AKA, enhance_black_and_white() in read_digit\reader, this time we are enhancing all the colors. Why? Increasing the contrast pushes the lower limit higher so that more pixels are likely to be black. For the pixels covered in dark overlay, they will be more likely identified as black. The rest of the code are just what we discussed in the beginning of this step. We count the number of black rows and calculate the cooldown percentage. Here I have used compact numpy functions to do the job.
To use this function, modify extract().
def extract(self, bound, image, index=0):
    # Step 1
    # cd_image = get_chosen_region(self._window, bound)
    cd_image = Image.open(image)
    cd_image = cd_image.crop(bound)
    if self.debug:
        cd_image.save(f'debug/crop/crop-{index}.png')

    # Step 2
    circle = self._crop_to_circle(cd_image)
    if self.debug:
        circle.save(f'debug/icons/icon-{index}.png')

    # Step 3
    return self._get_cd_percentage(circle, index=index)
Also modify the driver code.
reader = Reader(None)
reader.debug = True
os.makedirs('debug/crop', exist_ok=True)
os.makedirs('debug/icons', exist_ok=True)
os.makedirs('debug/binary_mask', exist_ok=True)
read_path = 'test_images/*.png'
count = 0
for file_path in glob.glob(read_path):
    print(reader.extract(ally1_cd, file_path, count))
    count += 1
Run the code and verify your debug image.
Verify your output:
43.39622641509434
47.16981132075472
56.60377358490566
88.67924528301887
90.56603773584906
100.0
If you got the same results, congratulations! Now you are ready to put it on the real use. Modify the first few lines in extract().
# Step 1
cd_image = get_chosen_region(self._window, bound)
# cd_image = Image.open(image)
# cd_image = cd_image.crop(bound)
Next, modify your driver code as well.
if __name__ == '__main__':
    chosen_window = get_window_with_title('BlueStacks App Player')
    reader = Reader(chosen_window)
    reader.debug = False

    while True:
        print(reader.extract(ally1_cd))
time.sleep(0.5)🧑🔬 Open the game and enter battle mode. Try to deploy ally 1 while the code is running. If you was able to get results, try other bounds as well, such as skill1_cd.
🎉 That’s the end of this tutorial! Again, I think there is still a plenty of rooms left for improvements. However, do bear in mind that that’s not going to be easy, as I have also tried many approaches. If you got better ways, I do like to hear back from you.
🍯 Happy Coding 🍯
This article, completely original, is copyrighted by its author, me. Please do not reproduce it.
本文为原创作品,作者 Kolyn090 拥有其著作权,受法律保护。严禁复制、转载、仿冒或以任何形式使用。