
How to use 'import puzzle from image' feature (experimental) in Nonogram Solver
This article, completely original, is copyrighted by its author, me. Please do not reproduce it.
本文为原创作品,作者 Kolyn090 拥有其著作权,受法律保护。严禁复制、转载、仿冒或以任何形式使用。
Category: Tutorial
Prerequisite: Basic Python
Introduction
Nonogram Solver is a puzzle solver for Nonogram I made a while ago. Its algorithm is based on fedimser’s nonolab.
Nonogram Solver currently supports solving Nonogram puzzles, importing puzzles, and exporting puzzles. Most importantly, importing puzzles from images. Today I will be teaching you how to import puzzle from image in Nonogram Solver.
Table of Contents
- Installation
- How to import from image
- How to import for Picture Cross via MacOS QuickTime Player
- Code intuition
Step 1
Clone this project to your computer.
git clone https://github.com/Kolyn090/nonogram.gitStep 2
To open the application, go to src/ui/main.py and run
python main.pyYou should see a new window like this.
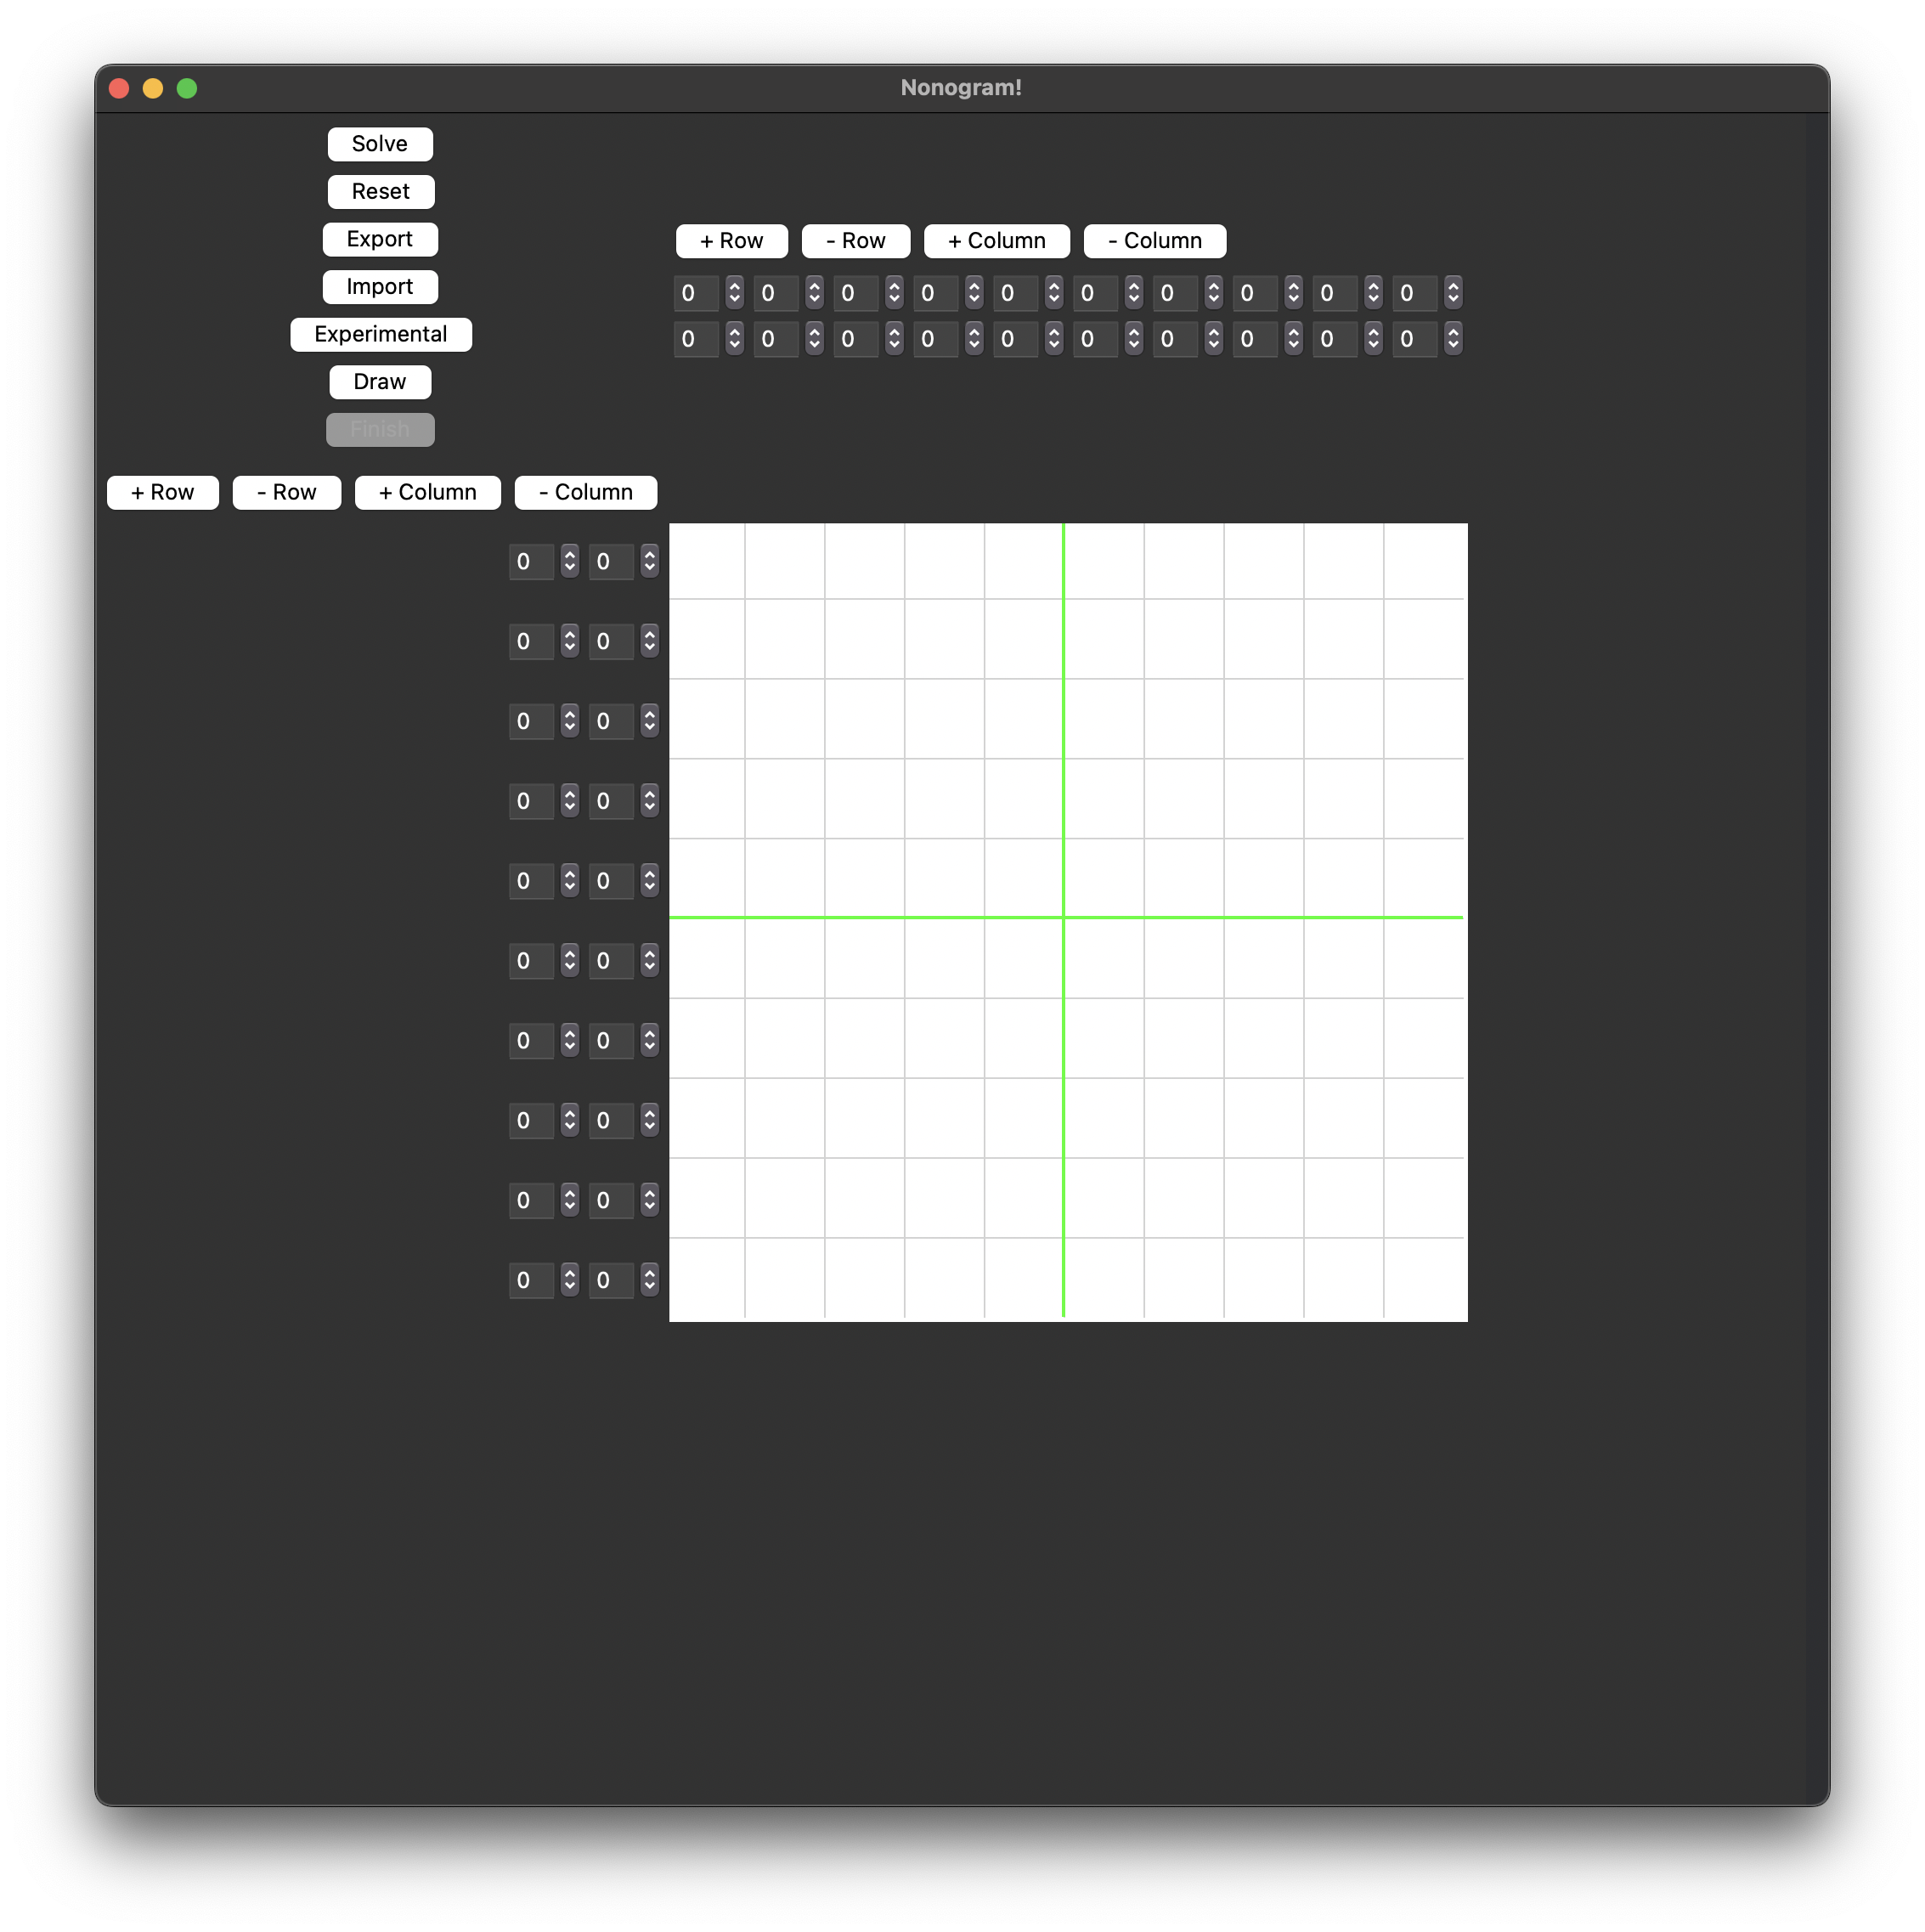
We have just verified that you can run this app. Let’s close this window for now.
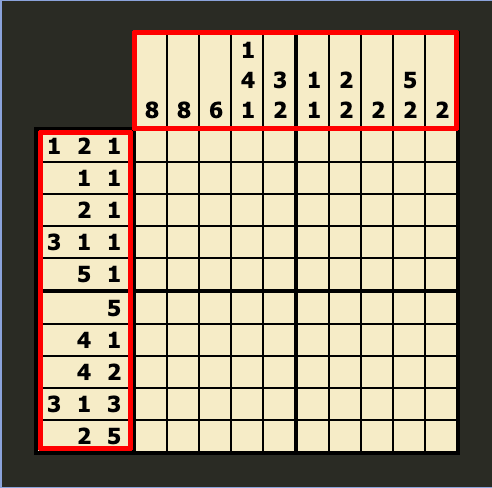
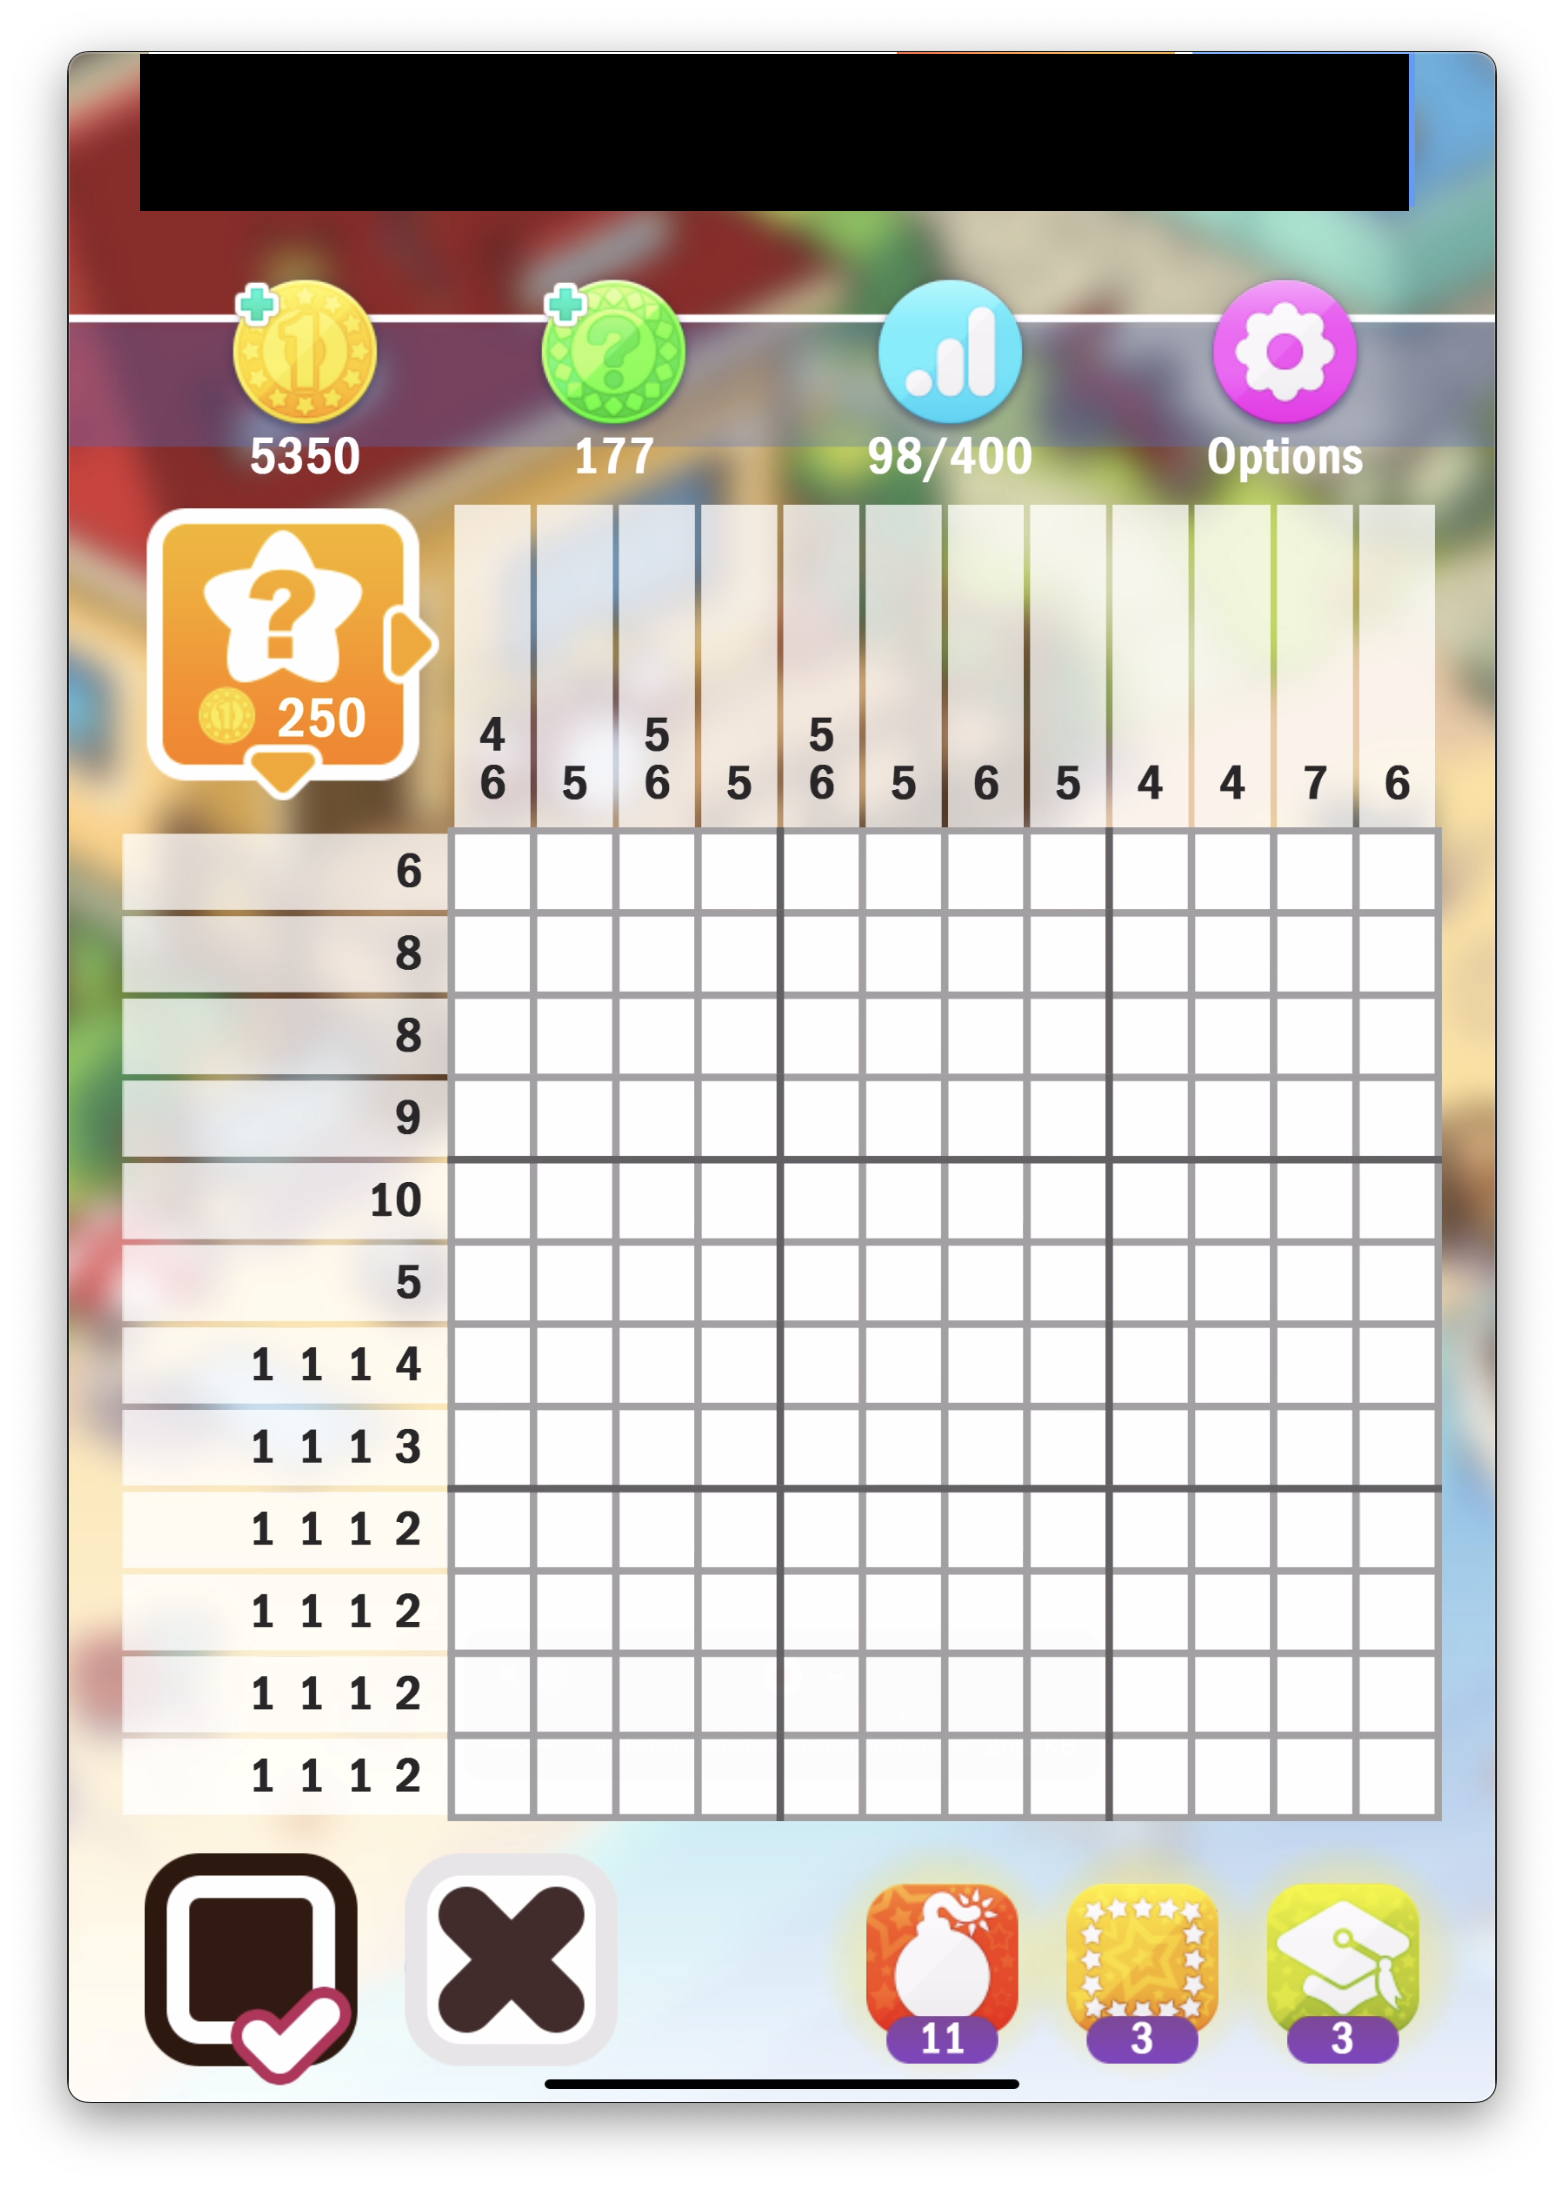
Now get a screenshot of a Nonogram. It can be something like
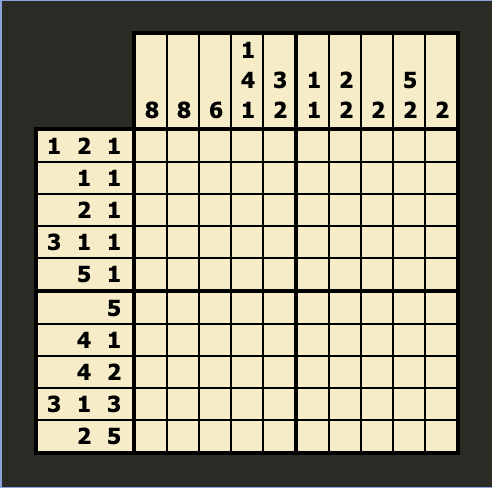
Puzzle from puzzle-nonograms.com
or
and more… As long as you make sure the contrast between digits and background is high.
The only two things this program cares about in these images are just two grids of numbers. I meant that by
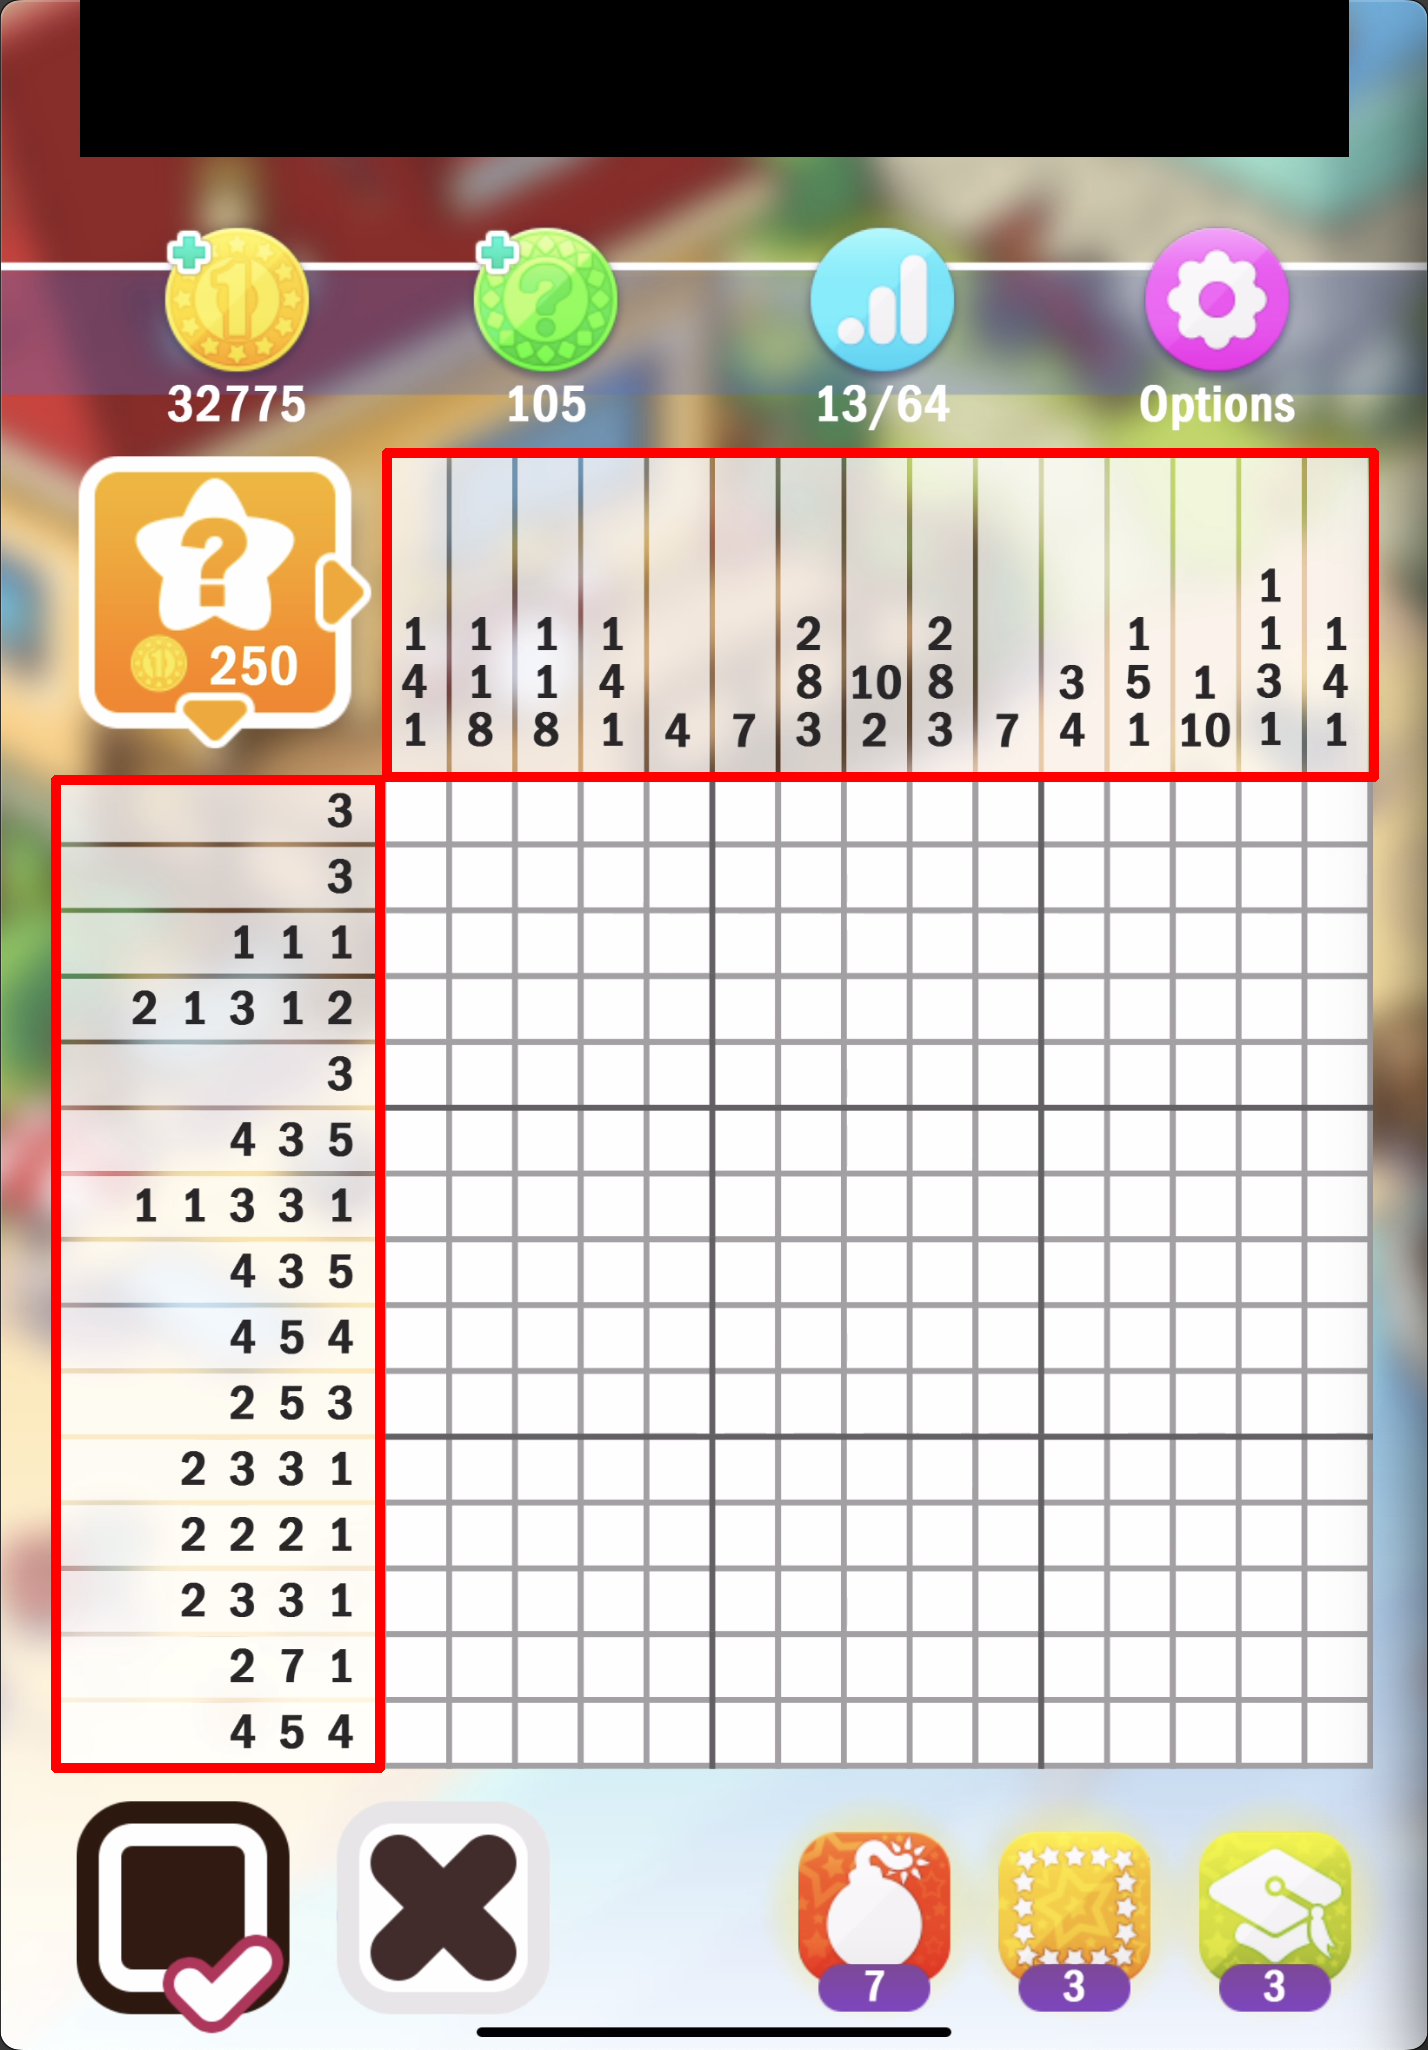
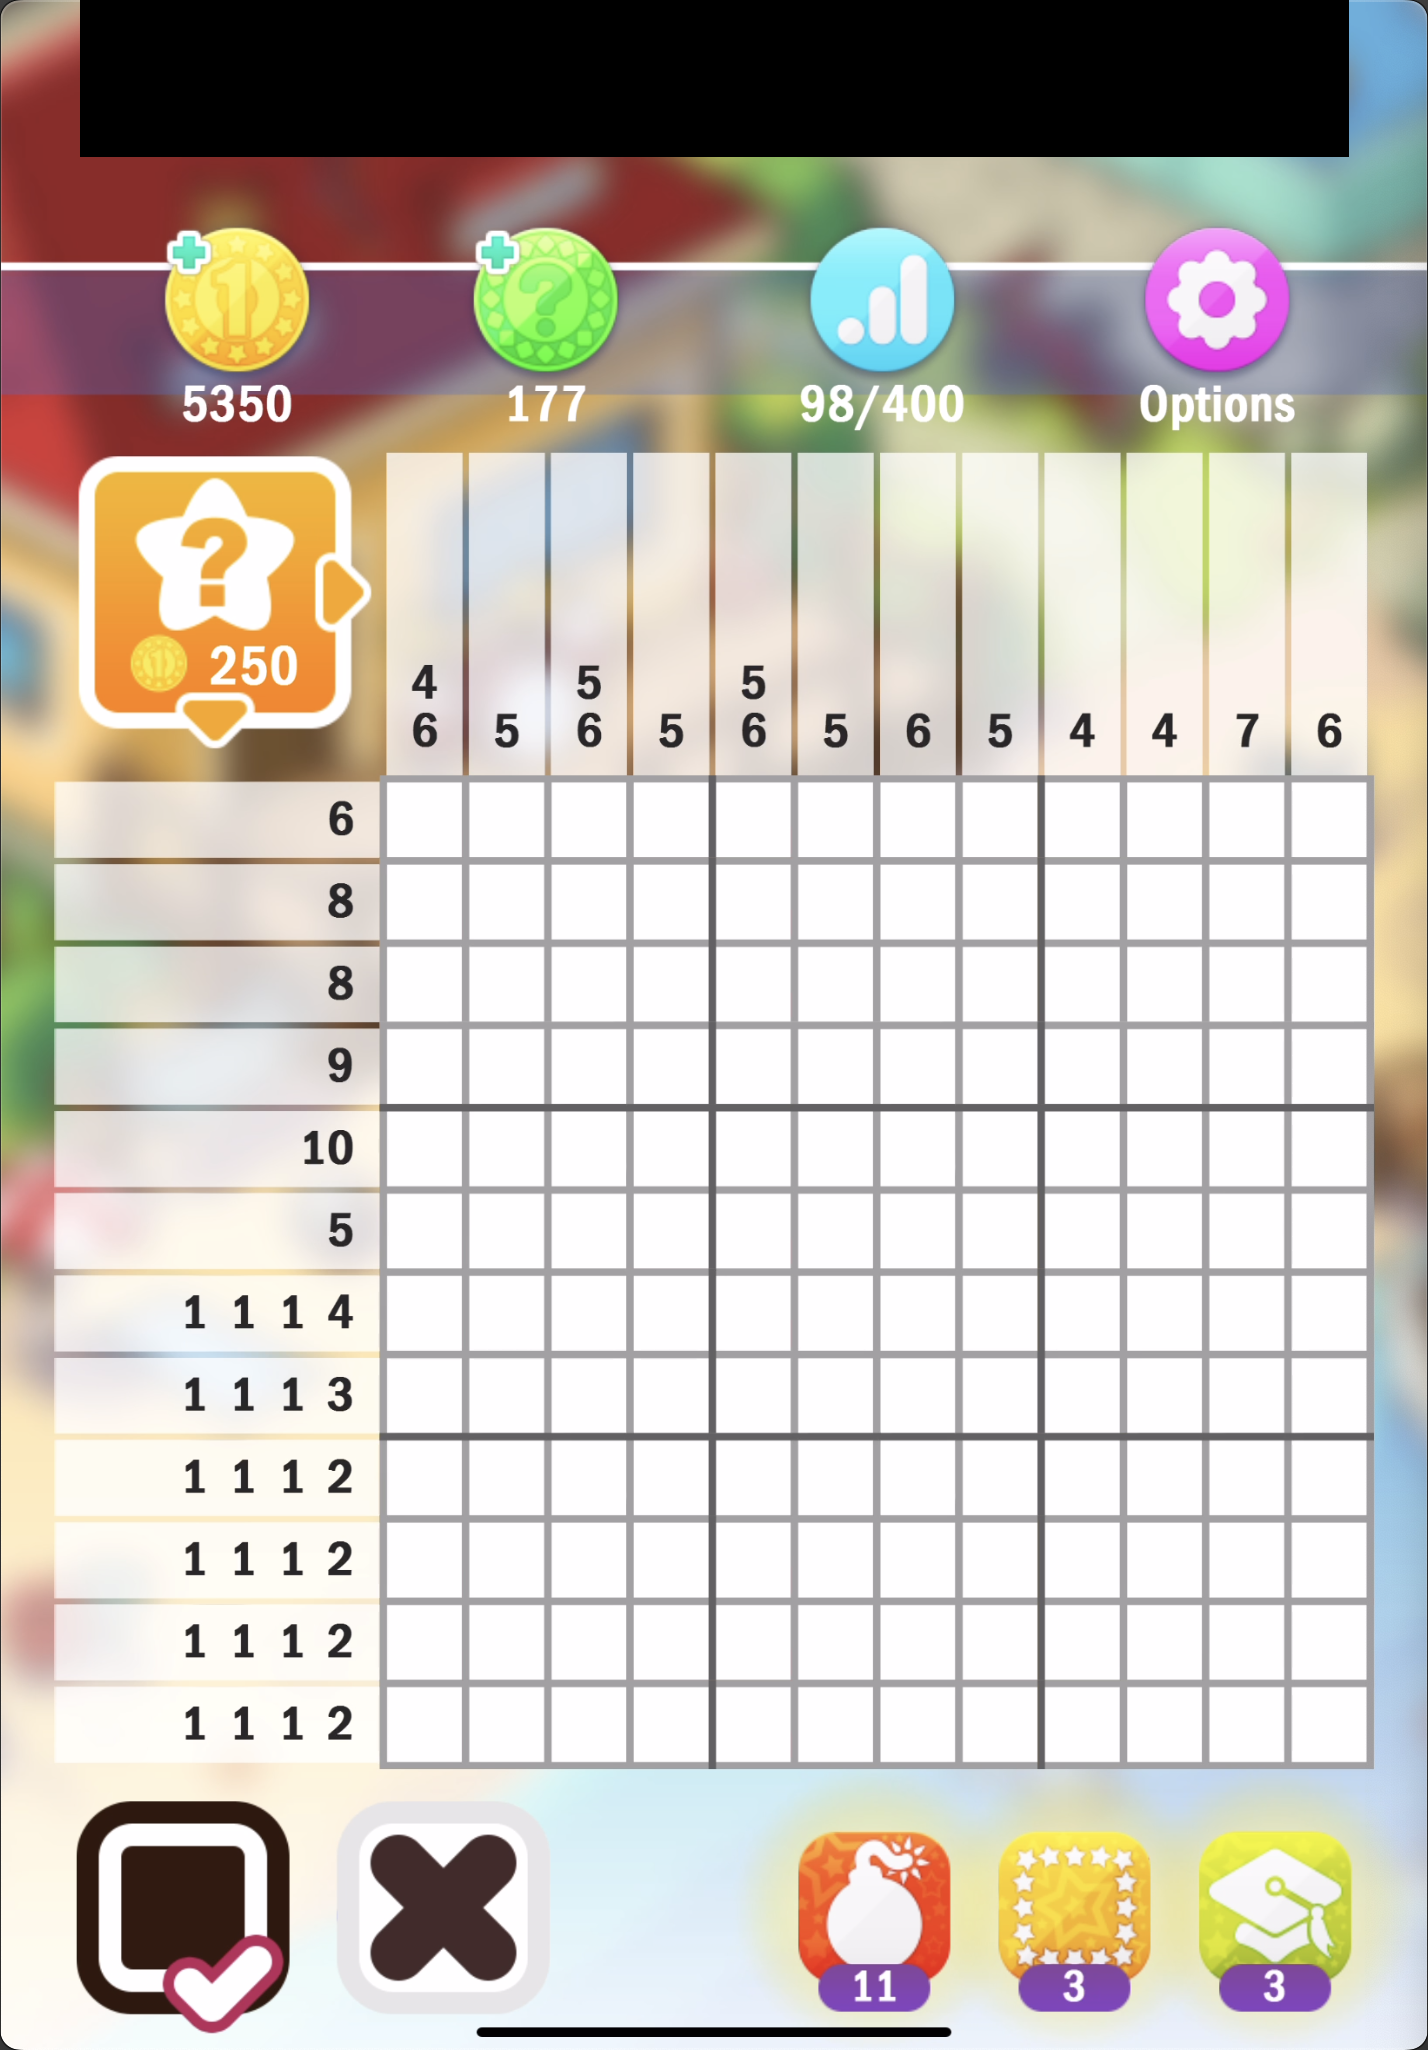
To make the program be able to recognize these two regions, you will have to know and modify the bounding boxes of them. Such as
Use an image editor to look for these points and record them in src/image_recognition/ui_position.py.
top_matrix_region = [385, 460, 1370, 760]
bottom_matrix_region = [60, 780, 380, 1770]
Go to src/image_recognition/main.py, find these two lines (should be close to the top in get_two_vector_matrices())
screenshot = Screenshot("QuickTime Player").image
# screenshot = cv2.imread('test/screenshot/quicktime_screenshot.png')
Change to
# screenshot = Screenshot("QuickTime Player").image
screenshot = cv2.imread('test/screenshot/quicktime_screenshot.png')
Currently the program will not attempt to take screenshot from ‘QuickTime Player’ but reading a local screenshot. To find the specified image, go to src/image_recognition find /test/screenshot/quicktime_screenshot.png. You will find that it’s the one shown above from Picture Cross. You can add more screenshots under screenshot folder. Change the image path so that cv2 will read your screenshot.
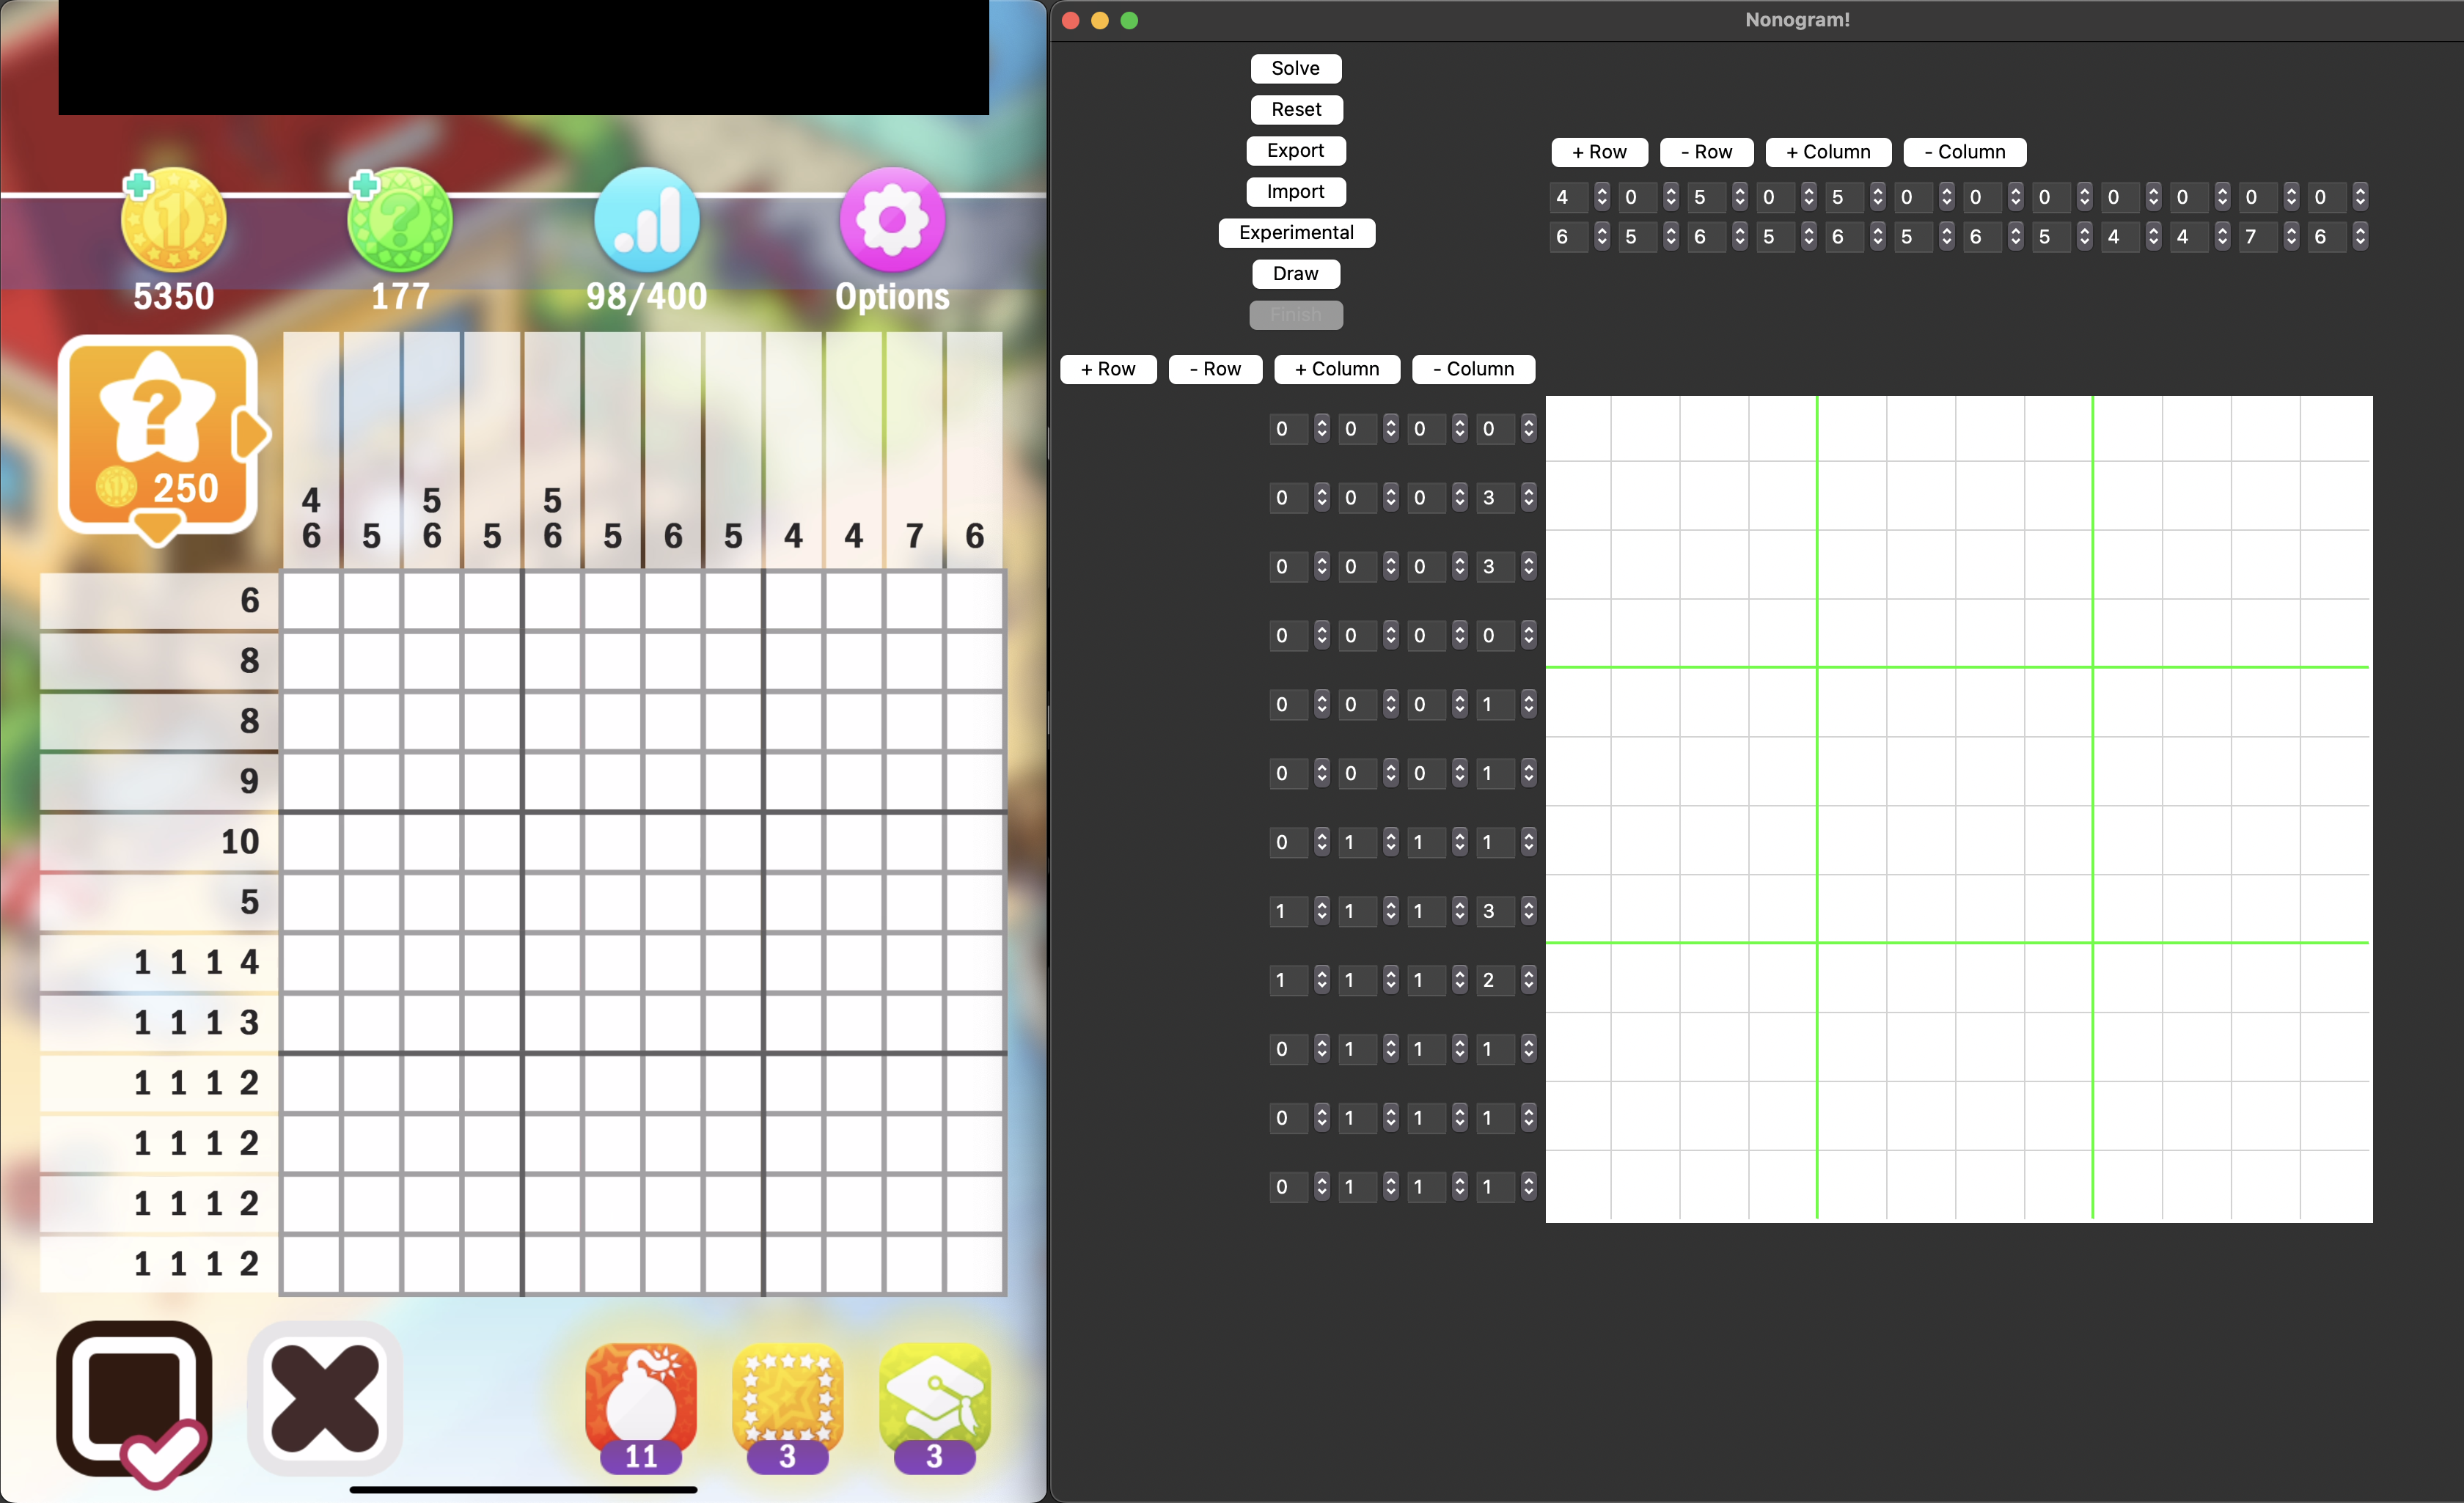
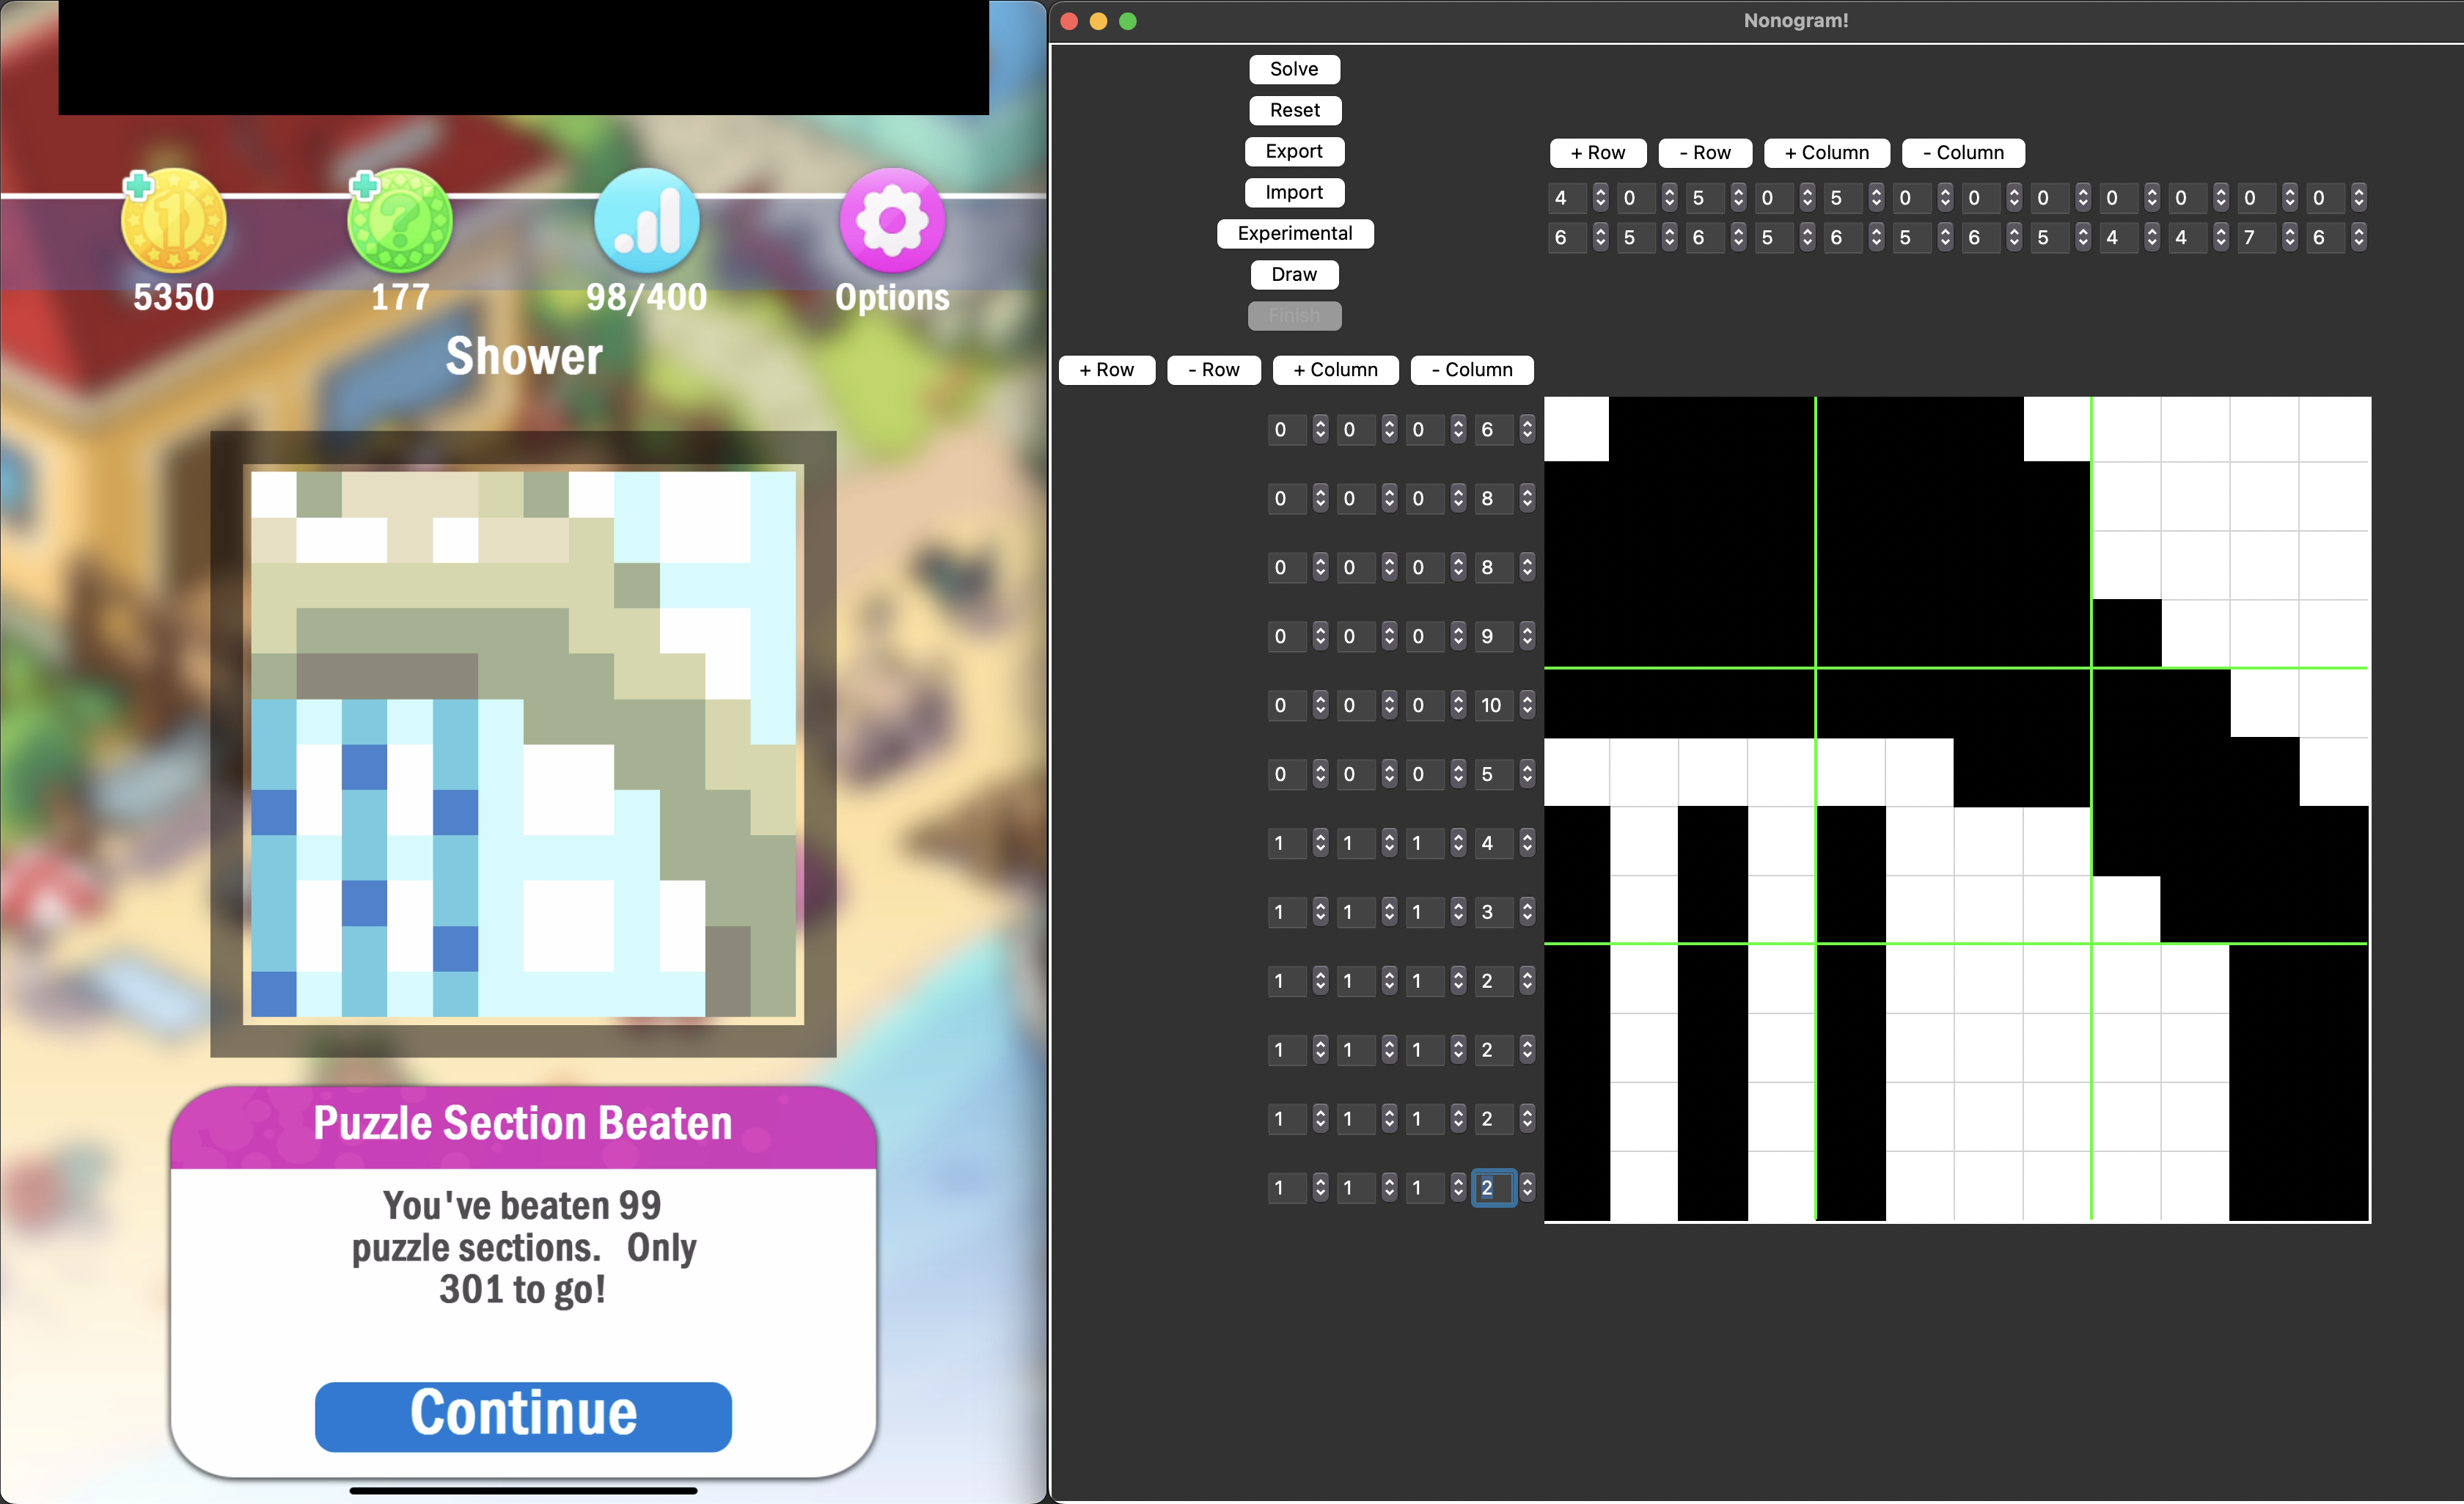
Or it’s perfectly fine to use the current setting for testing. Run the application and click the ‘Experimental’ button. The program will attempt to load the puzzle and it could take some time to finish. After it has finished running. Try to fix the missing digits. The program currently isn’t perfect and it tends to create errors, especially for the bottom matrix.
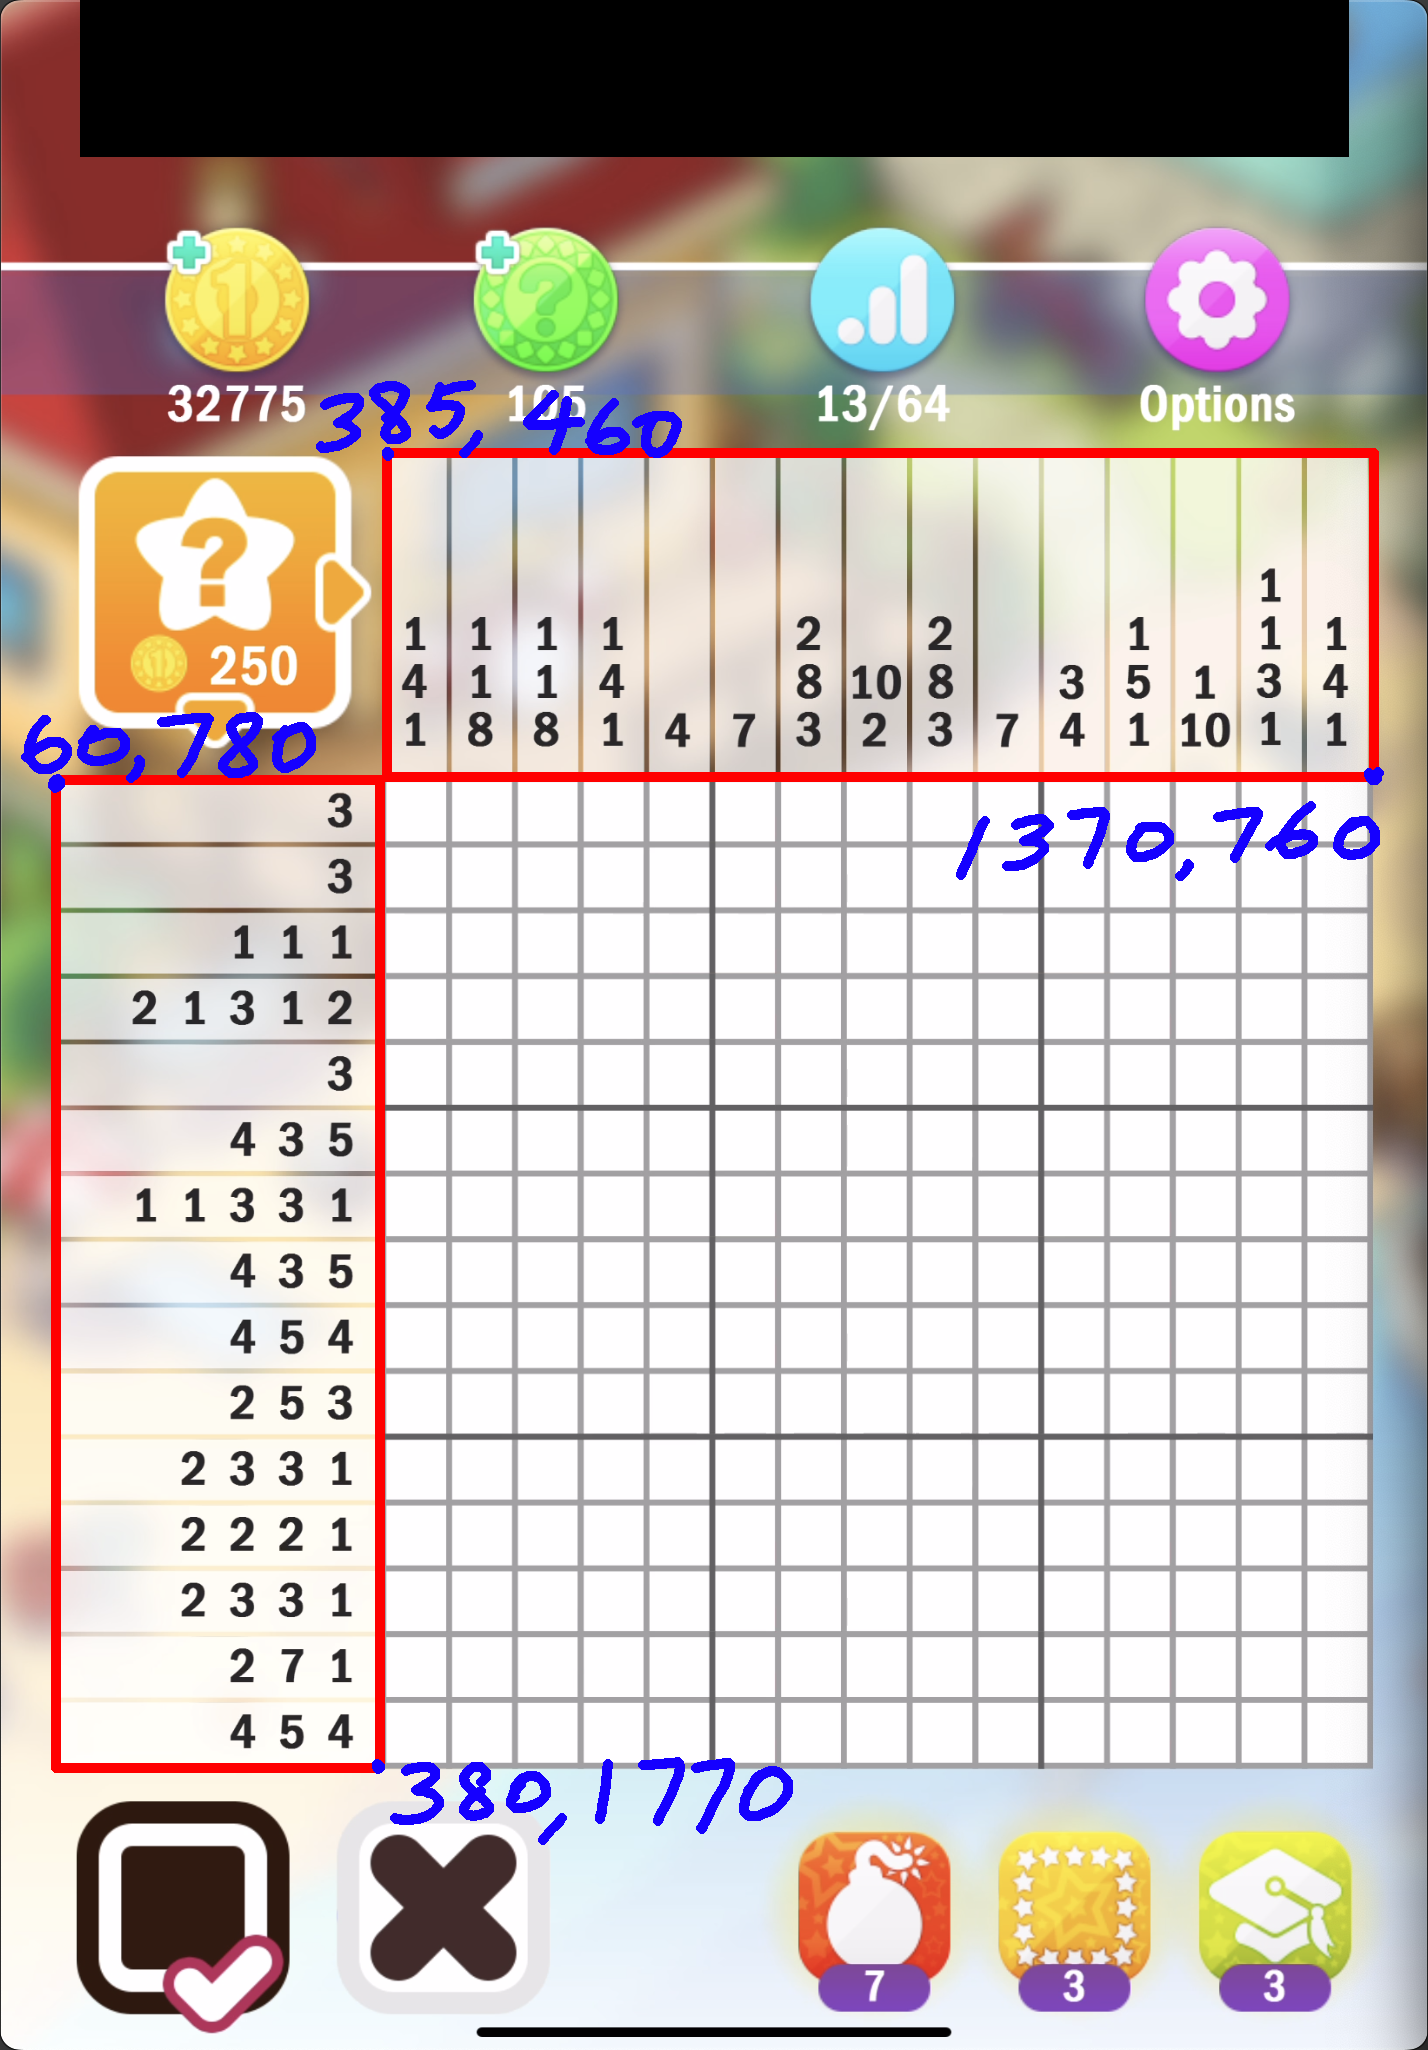
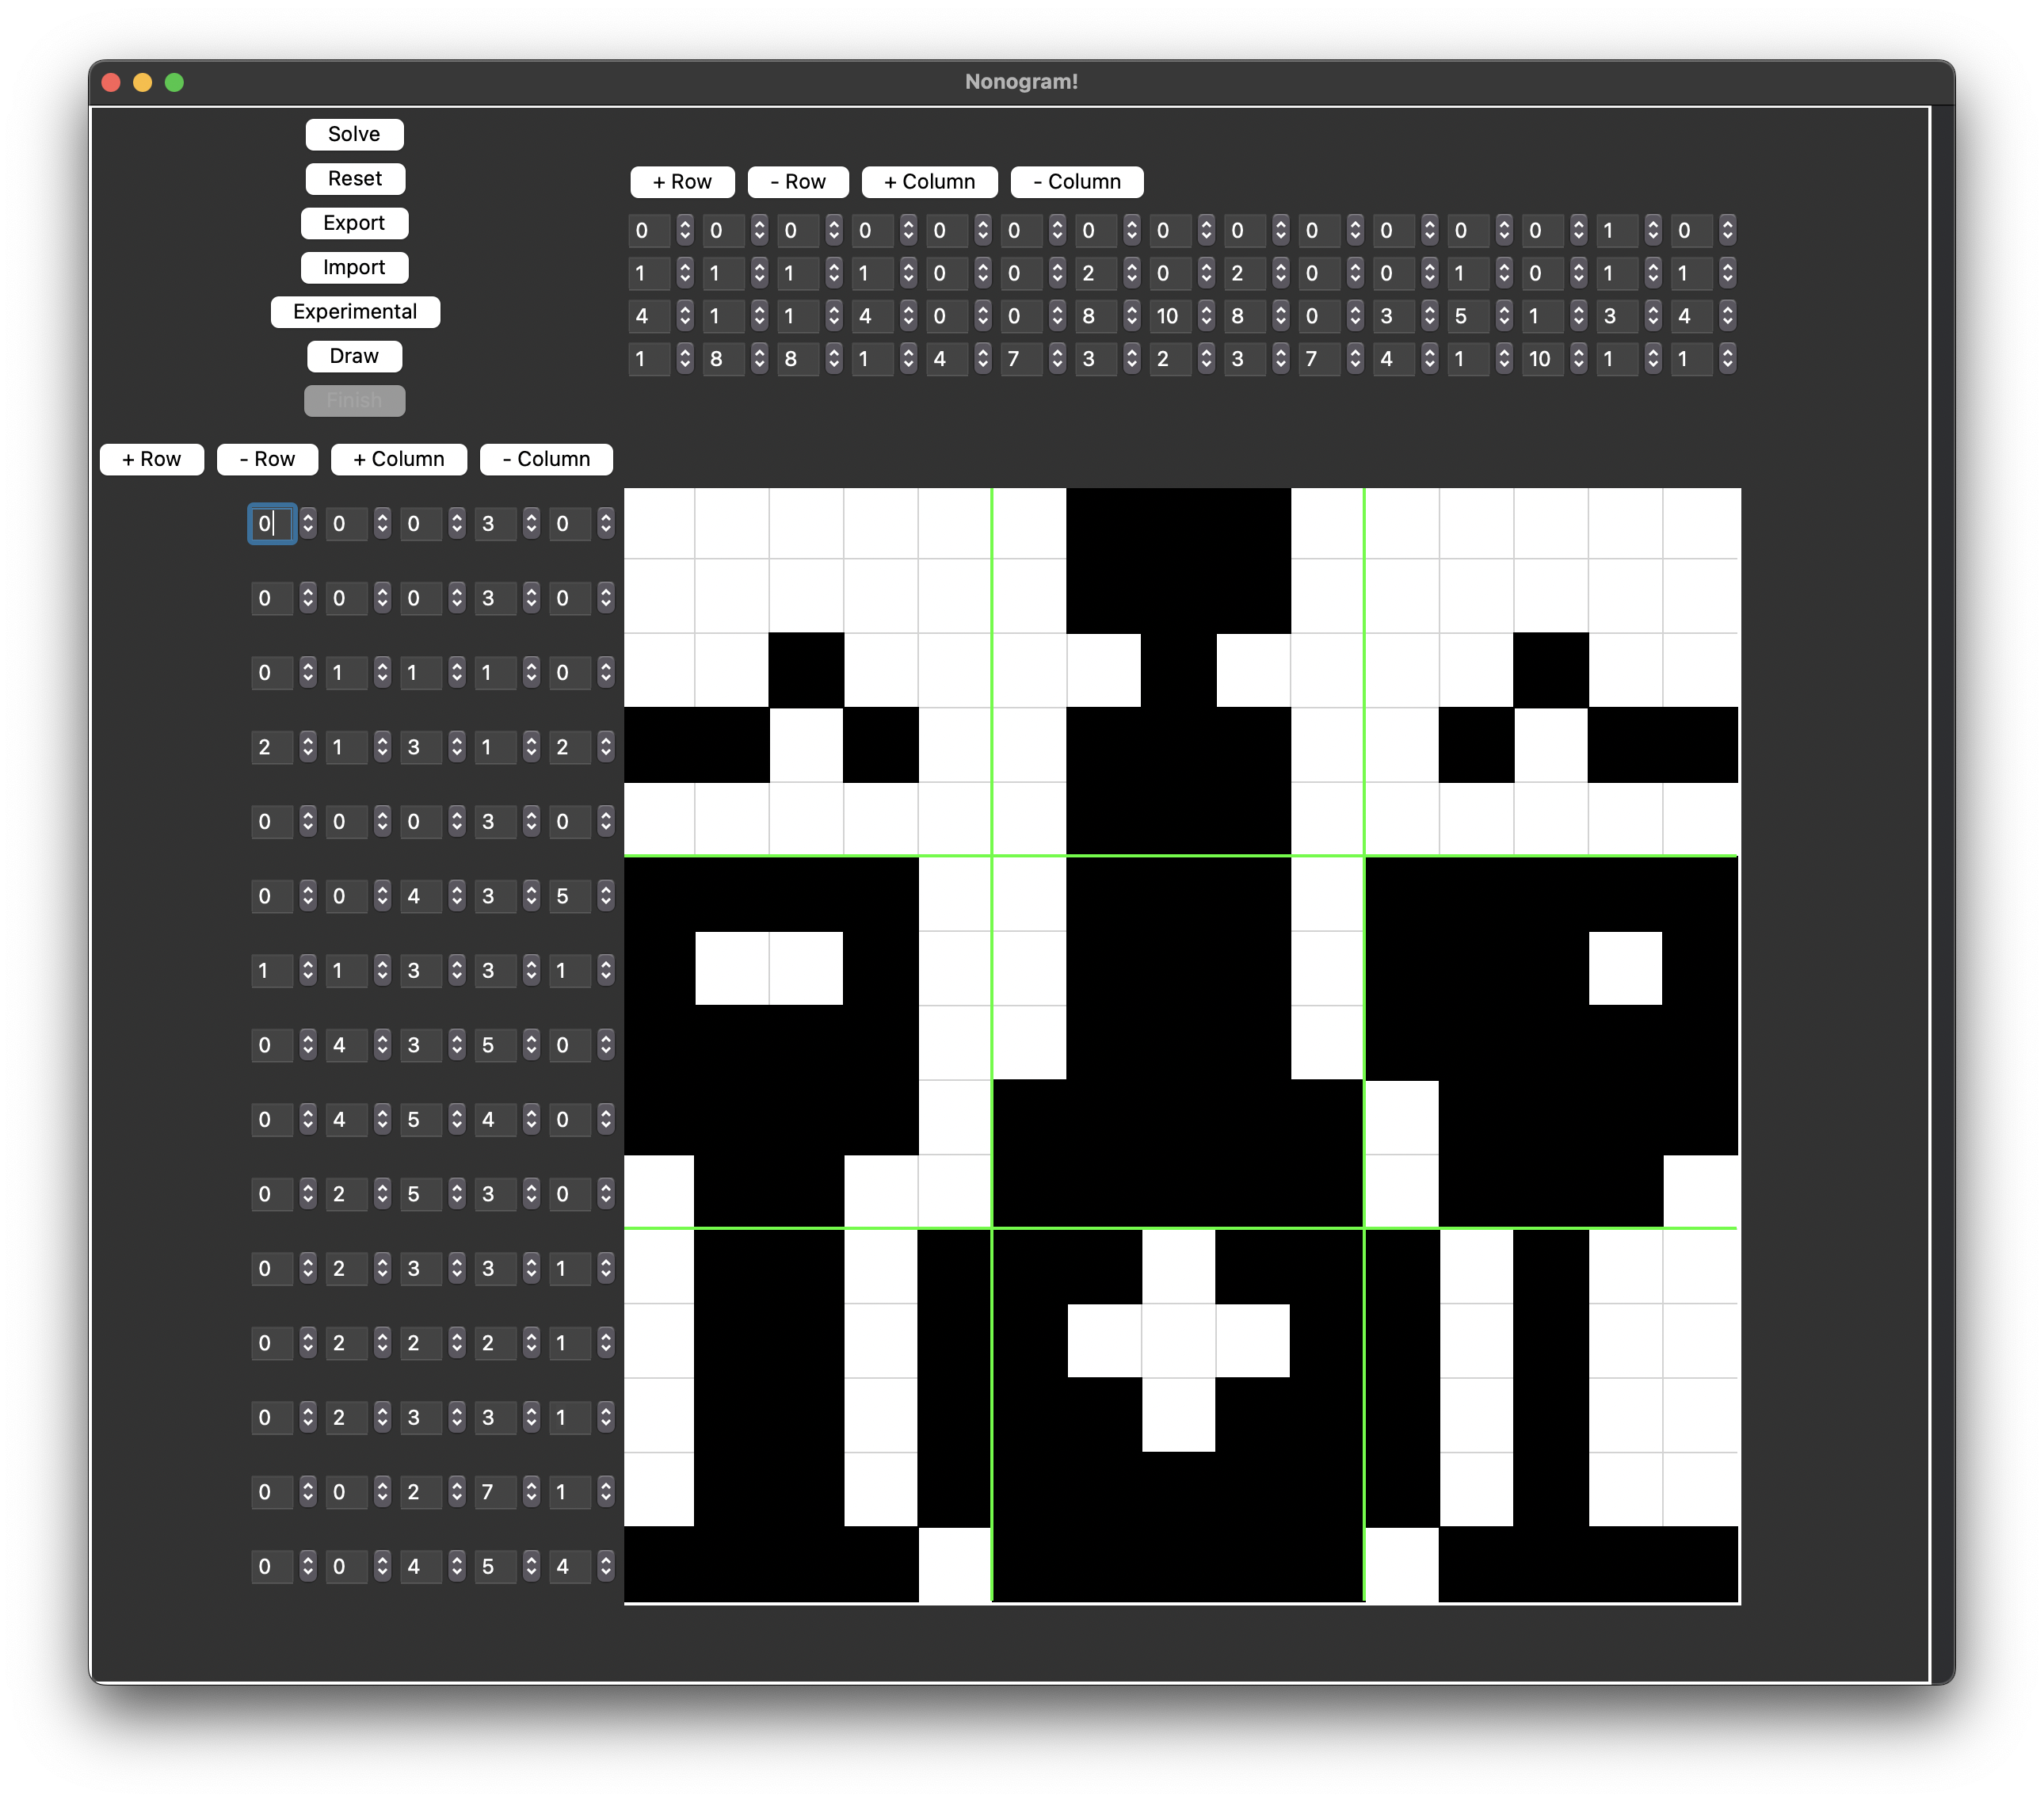
Using the default setting, after the program solves the puzzle, you would get
Now let’s try the second example we have. Change screenshot to
# screenshot = Screenshot("QuickTime Player").image
screenshot = cv2.imread(script_dir + '/test/screenshot/puzzle-nonograms.png')
Within main.py (the same script), find
rows_binary_trimmed = cropper.trim(rows_binary, min_black_blob_size=100)
cols_binary_trimmed = cropper.trim(cols_binary, min_black_blob_size=100)
Change to
rows_binary_trimmed = cropper.trim(rows_binary, min_black_blob_size=50)
cols_binary_trimmed = cropper.trim(cols_binary, min_black_blob_size=50)
We want a smaller min_black_blob_size here because the digit font in the second example is much smaller. If we used 100 here the program won’t be able to find any digit. Change this parameter wisely when you import images.
In the end, modify ui_positions.py
top_matrix_region = [136, 35, 455, 126]
bottom_matrix_region = [38, 131, 131, 450]
Now go ahead and run Experimental again.
Step 3
Now I hope you have an idea about how to use Nonogram Solver. Next I will be teaching you how to incorporate QuickTime Player (MacOS) with this app.
📍 Screenshot only currently works on iOS & Mac for now.
Before you try this step, make sure you have:
- A Mac that can run Nonogram Solver
- An iPad / iPhone
- A USB cable that can connect Mac to your iPad / iPhone
- Your iPad / iPhone has Nonogram game (such as Picture Cross)
P.S. You don’t need the cable if you are using iPhone Mirroring and iPhone.
Remember, image recognition is all about the images. In this case it’s the screenshots. Therefore, you can get screenshots of Nonogram puzzles from any window. It’s not limited to QuickTime Player. There are many other ways to do this: web browser, application, iPhone Mirroring… I am just showing a way to extend the program’s usage to other devices.
Now let’s get started.
1 . Go to main.py, find screenshot and modify it.
screenshot = Screenshot("QuickTime Player").image
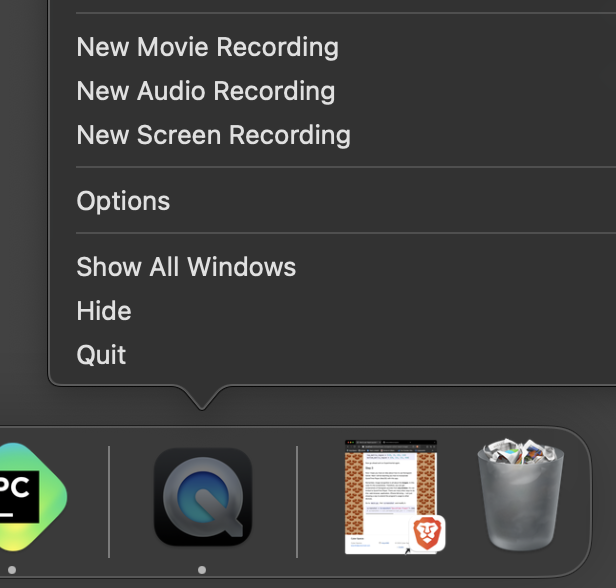
# screenshot = cv2.imread(script_dir + '/test/screenshot/quicktime_screenshot.png')2 . Before we run the program, we must first set up QuickTime Player. Open QuickTime Player. In the Docker, hover over QuickTime Player. You should see ‘New Movie Recording’, select it.
3 . Connect your iPad to Mac using USB. Trust your Mac on iPad.
4 . Select your iPad / iPhone in Movie Recording.
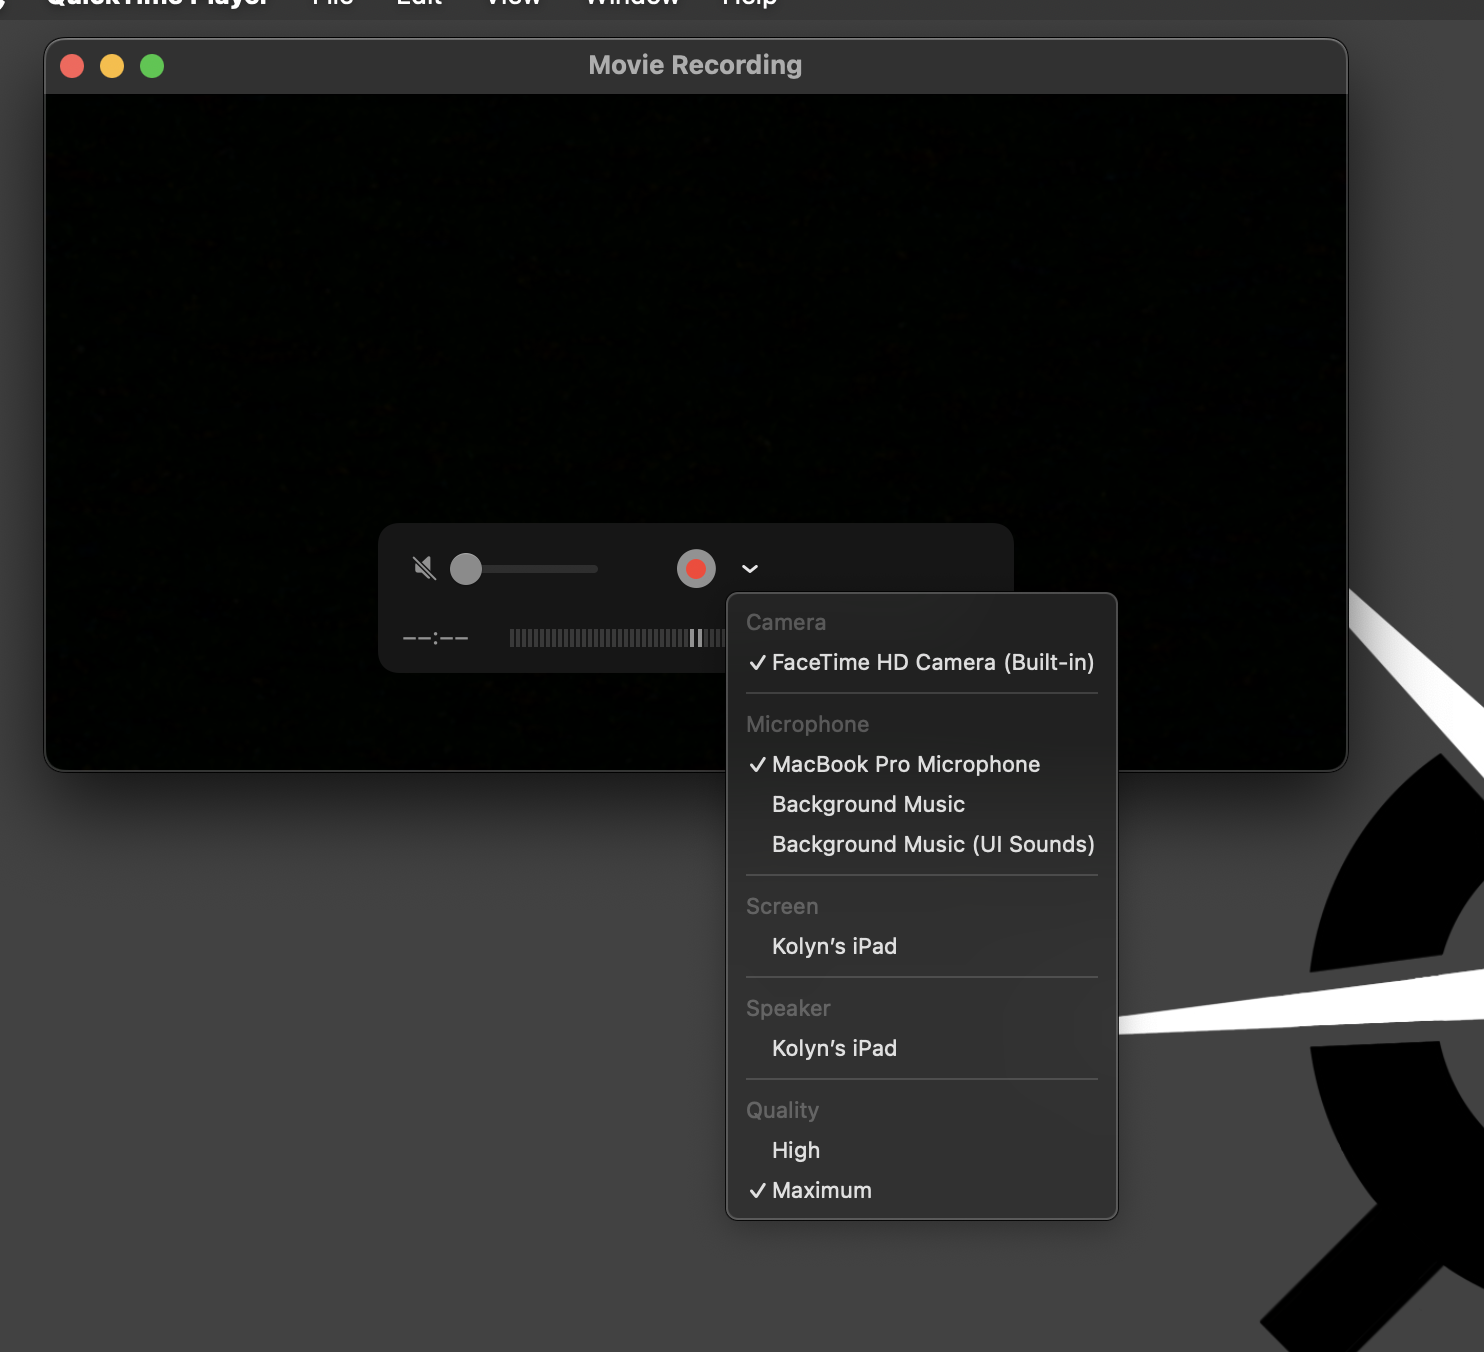
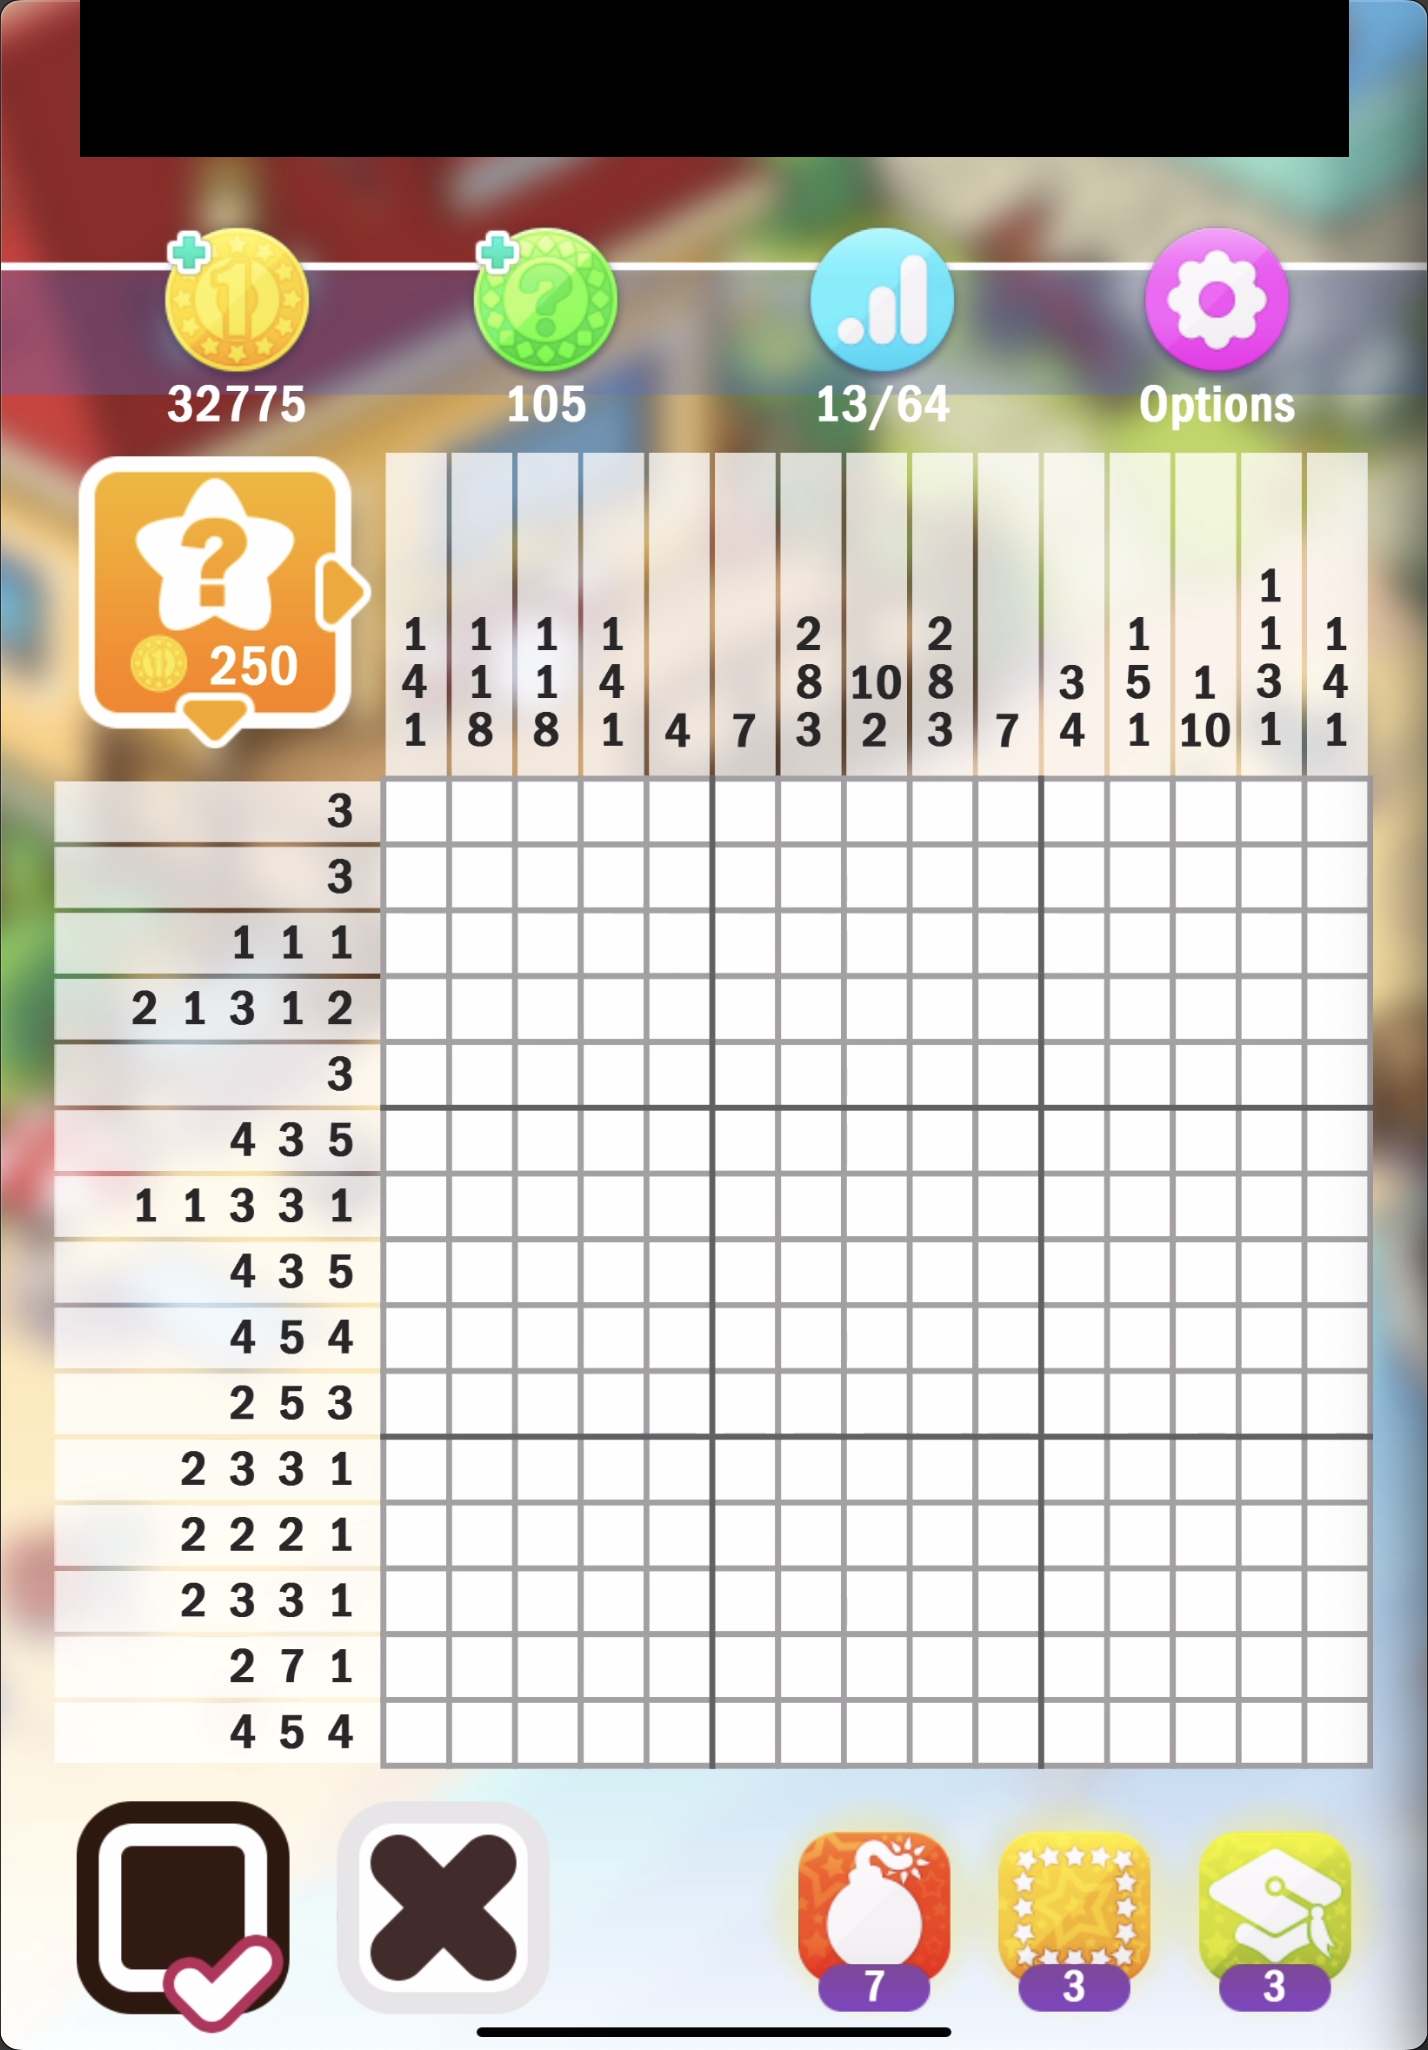
5 . Now your QuickTime Player should be projecting your iPad / iPhone in real time. Open a Nonogram game. Here I have chosen Picture Cross.
6 . Go to screenshot.py, run that script. It’s extremely important to make sure you don’t have any window above QuickTime Player. You should find a new screenshot named quicktime.png under test/screenshot folder.
7 . Input this screenshot to an art editor, find the bounding boxes of the two grids, as described in Step 2. Modify ui_position.py. Don’t modify the QuickTime window size after you have found those values.
8 . Open Nonogram Solver and click ‘Experimental’.
It’s working! Okay, I admit it’s not working really well in this case. That’s why I will be improving it. For now let’s manually adjust the grids and run the program.
If you are using iPhone Mirroring or any other windows, the logic is the same but you will need to know the name of your window. Change this line in main.py to the name of your window.
screenshot = Screenshot("QuickTime Player").image🤓 BTW, some common names are: “Safari” for the Safari browser. “iPhone Mirroring” for iPhone Mirroring. If you have other kinds of window, go to screenshot.py, in get_window_bounds(), Change the loop like so
for window in window_list:
    print(window['kCGWindowOwnerName'])
    ...
Now the program will print all active windows’ name.
🎉 Have fun with this!
Step 4
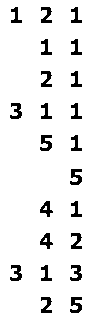
Next I will be explaining the code intuition behind finding Nonogram puzzles from screenshots. First of all, we have already discussed that we only care about the two grids of numbers.
1 . Since we have manually set the bounding boxes. We can simplify the screenshot to

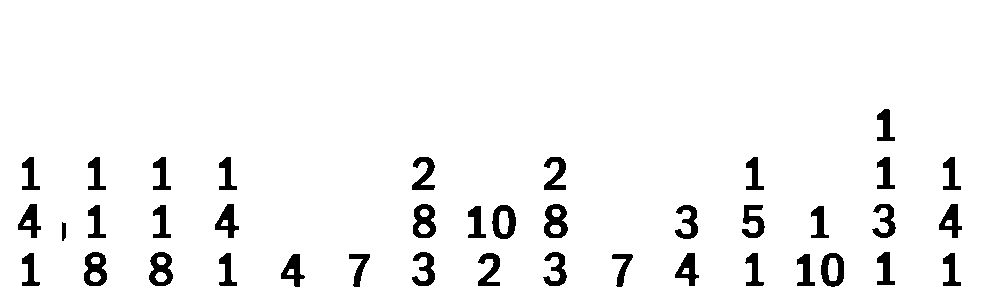
2 . Processing binary images (black-and-white) is always preferred in a situation like this one. Let’s do that.
Here is the result came from Binarizer. Its threshold might have been set too low so digits like 6 and 8 are not looking great. You can tune this value if you like.
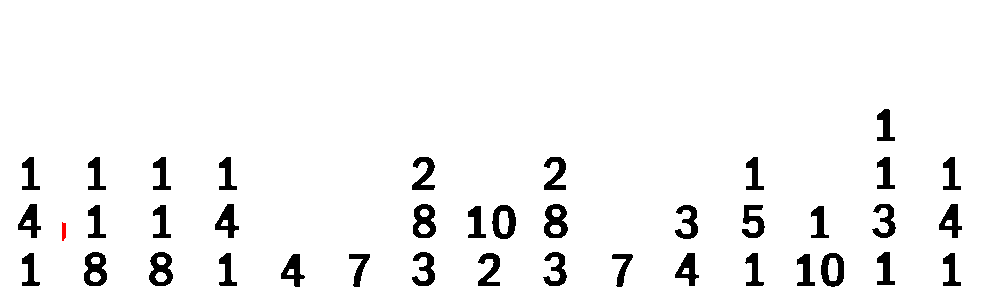
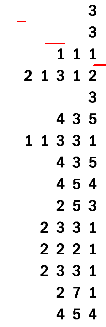
Also, here we have a nice example. If we were using the screenshot from Picture Cross, we might get some residual lines (unwanted things), to demonstrate:
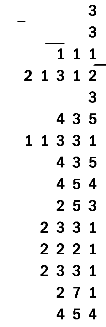
If it’s not obvious to you have painted them red.
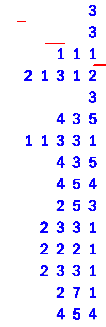
Here I am showing the result after I have attempted removing the residual lines.
3 . Now the residual lines are within an acceptable range. To further enhance our image, we need to trim out unnecessary regions. One way I came up with is to determine blob sizes. If you are confused about what is a blob, check out the first half of this post.
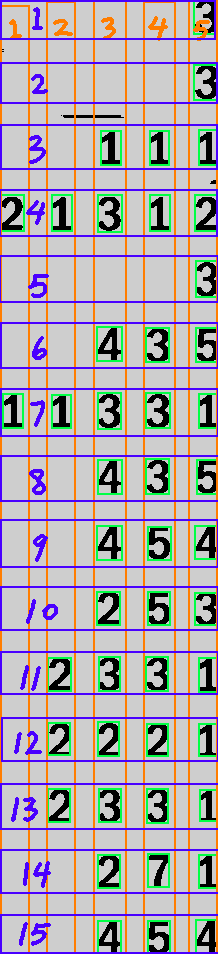
The idea is to consider only blobs larger than a certain size. In our case, we chose the value to be 100. Also, the blob size must be above certain height and certain width. For example, all blue blobs in the following image. (This is alternatively removing residual lines.)
We can obtain information about the positions of the
- black pixel closest to the top
- black pixel closest to the left
- black pixel closest to the bottom
- black pixel closest to the right
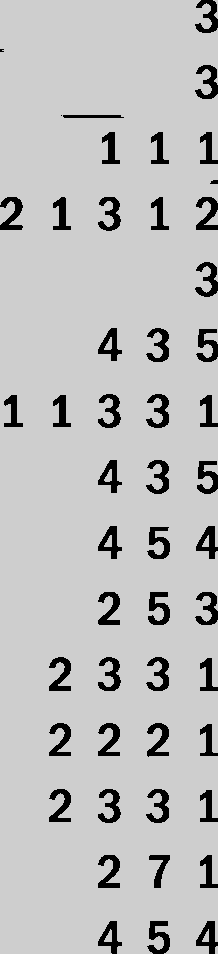
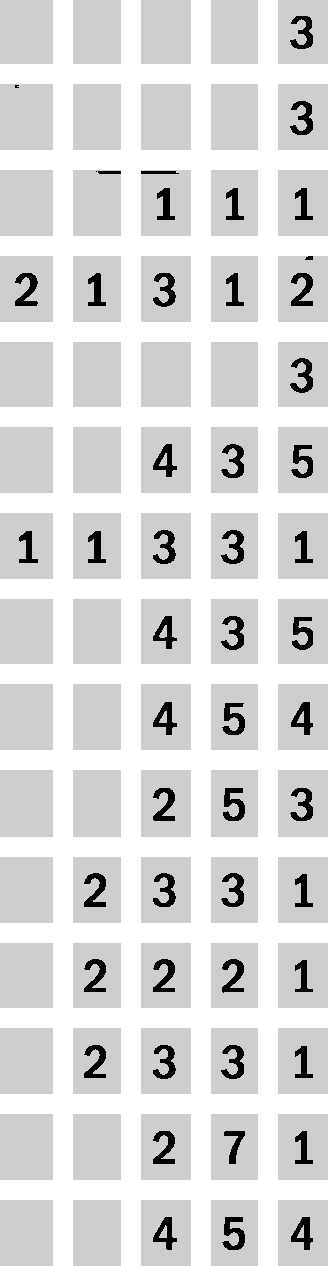
I have painted the background with gray so that you can see what I mean by trimming out unnecessary regions.
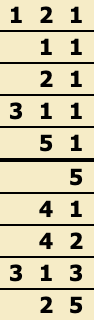
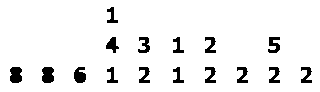
4 . By this point, we can already make a program to determine the dimension of the grid. The idea is to draw a bounding box around every valid blob (blue blobs). Then determine whether a blob is likely to be in an existing row / column or a new row / column. After we perform this step to all blobs, we should get a grid. To demonstrate.
🤓 It’s literally just all these for two integers.
5 . The next step is easier. We want to extend the bounding box of the image so that the numbers are not not the edges. Since we know the positions of all blobs, we can calculate the average gaps between them as well. After we get the gap values, extend the image by gap / 2.
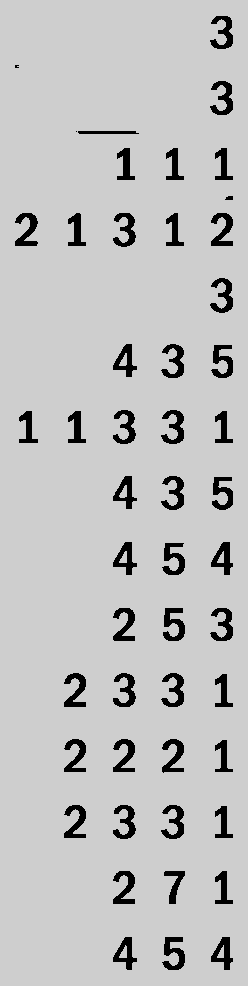
6 . Now hopefully, we can cut the image into pieces nicely, like cutting a paper.
7 . By far we have greatly simplify the job for digit recognizer. Feed each piece to it and in the end return a 2D list with the numbers. Then we convert this list into a Description (form a puzzle).
[
    [3],
    [3],
    [1, 1, 1],
    [2, 1, 3, 1, 2],
    [3],
    [4, 3, 5],
    [1, 1, 3, 3, 1],
    [4, 3, 5],
    [4, 5, 4],
    [2, 5 ,3],
    [2, 3, 3, 1],
    [2, 2, 2, 1],
    [2, 3, 3, 1],
    [2, 7, 1],
    [4, 5, 4]
]
📍 What do you think might happen if we had a number above 9?
That’s all about how the program finds a Nonogram puzzle from a screenshot. I know it’s not very efficient nor accurate. I might try to make updates about this in the future.
If you liked this tutorial, consider giving a Star to this repository.
🍯 Happy Coding 🍯
This article, completely original, is copyrighted by its author, me. Please do not reproduce it.
本文为原创作品,作者 Kolyn090 拥有其著作权,受法律保护。严禁复制、转载、仿冒或以任何形式使用。